Quick Answer
If your Windows 7 computer is experiencing problems and you need to repair or reinstall Windows but don’t have an installation disk, there are a few options available:
- Use the Windows 7 recovery partition if available – This allows you restore Windows to factory settings
- Use System Repair Disc if you created one previously
- Use the Windows 7 ISO file – Download the official Windows 7 ISO file and burn it to a USB drive or DVD
- Use system file checker tool (SFC) to scan and replace corrupted system files
- Use Startup Repair to automatically diagnose and fix problems
What options do I have to repair Windows 7 without the install disk?
If you need to repair or reinstall Windows 7 on your computer but don’t have the original Windows 7 install disk, you still have several options available to you:
Use the Windows 7 Recovery Partition
Many Windows 7 computers come with a hidden recovery partition on the hard drive. This partition contains a compressed copy of the original Windows 7 system files and programs. If your computer has this recovery partition, you can use it to restore your Windows 7 installation back to factory settings.
To access the recovery options from the partition, reboot your computer and press the appropriate key during startup to access the boot menu (usually F8, F10 or F12 but varies by manufacturer). Select the recovery option to access the recovery environment.
Use a System Repair Disc
The Windows 7 System Repair Disc is bootable media that can be used to access various recovery tools in order to repair Windows 7. If you created a System Repair Disc previously by going to Control Panel > Backup and Restore > Create System Repair Disc, you can boot from this disc to access Startup Repair, System Restore, Windows Memory Diagnostic, Command Prompt and more.
Use the Official Windows 7 ISO
You can legally download an official ISO image of Windows 7 from Microsoft. This ISO file can then be burned to a DVD or copied to a USB drive to create bootable Windows 7 installation media. You can then boot from this media to repair or reinstall Windows 7.
Microsoft provides both direct download links for Windows 7 ISOs as well as tools to allow you to download the correct ISO for your edition of Windows.
Use the System File Checker Tool
The System File Checker (SFC) scan is built into Windows and can scan Windows system files and replace corrupted files with a cached copy. This can often fix problems with missing or corrupt system files that may be causing issues.
To run SFC, open an elevated Command Prompt and type:
sfc /scannow
SFC will then scan Windows protected files and replace any that are corrupt or missing.
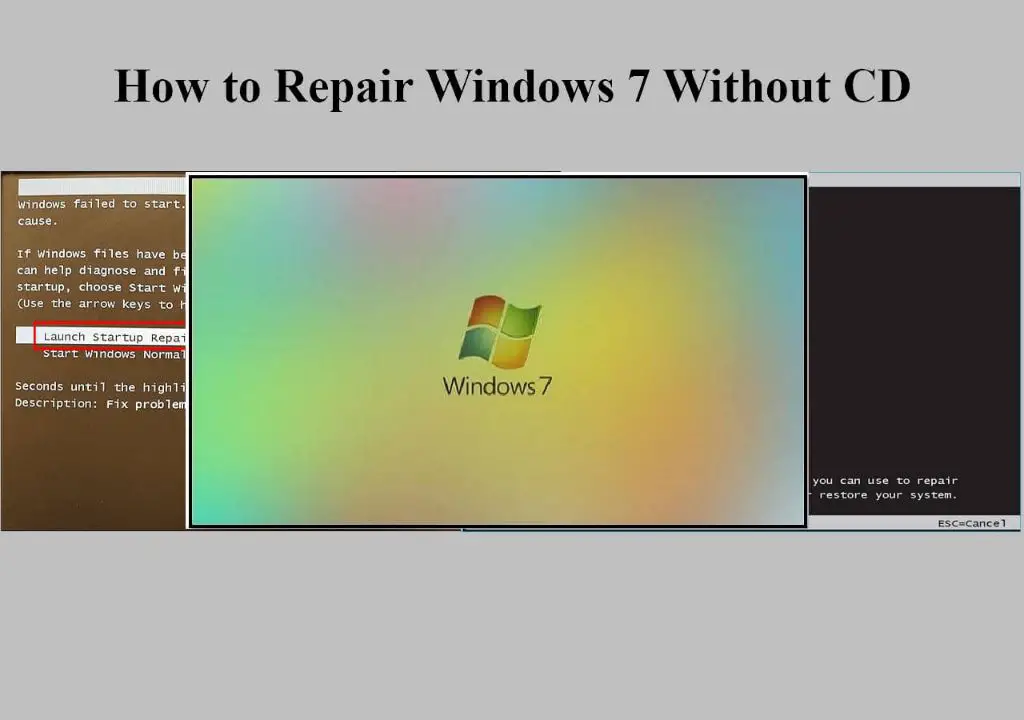
Use Startup Repair
Startup Repair is an automated recovery tool that can fix common problems that are preventing Windows from starting properly. It will automatically diagnose issues and attempt to fix the issues it detects.
To access Startup Repair, insert your Windows 7 installation media or System Repair Disc. Boot from the media and choose your language settings. Then select “Repair your computer.” This will scan your system and take you to the System Recovery Options menu where you can select Startup Repair.
Creating Windows 7 Recovery Media
If your computer doesn’t have a recovery partition and you don’t already have Windows 7 recovery media, you’ll want to create a recovery USB or DVD. Here are some tips for creating Windows 7 recovery media:
Using a USB Drive
You’ll need a USB drive with at least 4GB of space. 8GB or more is recommended.
- Download the correct Windows 7 ISO file for your edition.
- Use a program like Rufus to copy the ISO to the USB drive which will make it bootable.
- Boot from the USB drive and choose your recovery options.
Burning to DVD
You’ll need blank DVDs to burn the Windows 7 ISO file to. The number needed depends on your Windows edition:
| Windows 7 Edition | DVDs Needed |
|---|---|
| Home Basic | 1 |
| Home Premium | 1 |
| Professional | 1 |
| Ultimate | 1 |
Use DVD burning software to burn the ISO to the DVDs. Then you can boot from the DVD to access the Windows 7 recovery options.
Using the Windows Recovery Environment
Once you’ve created recovery media, you can boot from it to access the Windows Recovery Environment (WinRE). This contains various troubleshooting and recovery tools.
System Recovery Options
When you first boot into WinRE you’ll see the System Recovery Options menu. From here you can choose:
- Startup Repair – Automatically fixes boot issues
- System Restore – Rolls back system files and settings
- Windows Complete PC Restore – Reinstalls Windows 7
- Windows Memory Diagnostic – Tests for memory issues
- Command Prompt – Gives command line access
Refresh Your PC
The “Refresh your PC” option will reinstall Windows 7 while preserving your personal files and settings. It also preserves your installed apps from Windows Store.
Advanced Recovery Methods
From the Command Prompt you can access more advanced recovery tools like bootrec.exe, DISM.exe, sfc etc. You can repair the bootloader, rebuild BCD, repair Windows system image and more.
Using Third Party Tools
There are also third party tools available that provide additional recovery options:
Hiren’s BootCD
Hiren’s BootCD contains many diagnostic utilities bundled into a bootable ISO that you can burn to CD/DVD or USB. It includes file recovery tools, password resetters, partitioning tools and more.
Ultimate Boot CD
Ultimate Boot CD provides an extensive collection of system diagnostic and recovery tools for Windows, Linux and other operating systems. Tools include partition managers, cloning software, antivirus scanners and more.
Falcon Four BootCD
Falcon Four is specifically designed for Windows recovery and includes tools for resetting passwords, cloning disks, data recovery, network diagnostics and Windows repairs.
Reinstalling Windows 7 Clean
If repairing Windows 7 fails and you simply need to start over with a clean install, you have a couple options:
Standard Install
Booting from your Windows 7 media and choosing the standard reinstall option will wipe your drive and do a clean install of Windows. You’ll have to reinstall programs and restore data from backup.
Custom (Advanced) Install
Doing a custom install allows you to delete existing partitions and create new ones from scratch before installing Windows 7 clean. This ensures no traces are left from the old installation.
Conclusion
In summary, even without a Windows 7 install disk you have various options to repair and reinstall Windows 7:
- Use built-in recovery tools like System File Checker, Startup Repair and Refresh Your PC.
- Burn the Windows 7 ISO to DVD or USB to create recovery media.
- Leverage the power of the Windows Recovery Environment.
- Use third party diagnostic and recovery tools for additional options.
- Clean install Windows 7 completely if needed.
As long as you can access the official Windows 7 ISO and create bootable recovery media, you can use the various built-in tools and advanced utilities to troubleshoot and repair your system.