If your Mac won’t start up properly and you need to restore it without a startup disk, you have a couple options. Essentially, you need a bootable disk or drive containing macOS in order to reinstall the operating system.
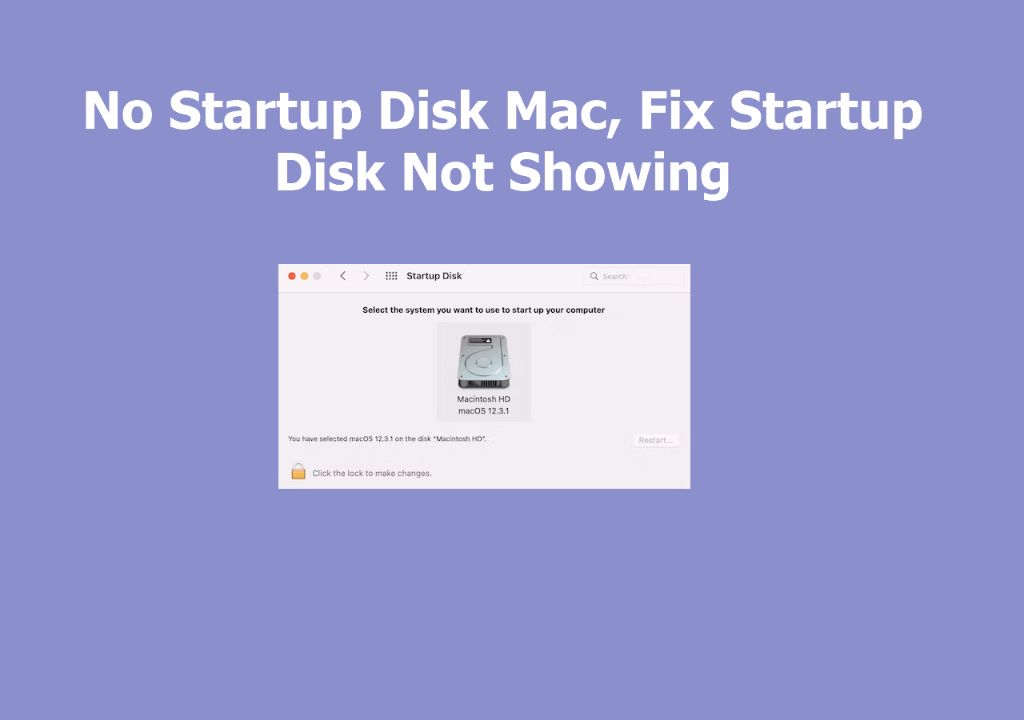
The startup disk contains the bootable installer for macOS and allows your Mac to start up. It is typically the internal drive named “Macintosh HD” by default. If this drive is damaged, corrupt, or erased somehow, your Mac will not be able to start up normally. Therefore, you need to create a separate bootable installer on an external drive in order to reinstall macOS and restore your Mac.
This guide will walk through the necessary steps to create a bootable installer, erase the internal drive, reinstall macOS, and restore your data and apps. With the right preparation, you can fully restore your Mac to a working state without the original startup disk.
Back Up Your Data
Before restoring your Mac, it is crucial to back up your important files and data. A backup allows you to restore your files in case anything goes wrong during the restore process. According to Apple support, using a backup allows you to restore your files even if the originals are deleted from your Mac.
To back up your data, you can use Apple’s Time Machine backup software. Time Machine automatically makes hourly backups of your system and files. To set up Time Machine:
- Open System Settings and click on “Time Machine”
- Click “Select Backup Disk” and choose an external drive to use for backup
- Turn on Time Machine
Time Machine will now regularly back up your Mac’s drive to the designated external drive. It’s a good idea to do a manual backup before restoring as well. You can also use cloud backup services like iCloud to back up your files. Just make sure your important data is backed up before proceeding with a restore.
Create a Bootable Installer
Before reinstalling macOS, you’ll need to create a bootable installer on an external drive. This bootable installer will be used to start up your Mac and install the operating system. To create the installer, you’ll need:
- A USB flash drive that is at least 8GB
- The macOS installer, available for download from the App Store
With the installer and USB drive ready, use the Terminal app to make the drive bootable. Here are the steps:
- Connect the USB drive to your Mac and launch Terminal (located in /Applications/Utilities/)
- Run
sudo /Applications/Install\ macOS\ Big\ Sur.app/Contents/Resources/createinstallmedia --volume /Volumes/MyVolumereplacing “MyVolume” with the name of your USB drive. - Enter your admin password when prompted
- The drive will be erased and transformed into a bootable installer. This may take some time to complete.
Once finished, you will have a bootable USB drive that can be used to install macOS on your Mac. Be sure to back up any important data on the drive before running the createinstallmedia command, as the drive will be erased in the process. For specific guidance, refer to Apple’s support article on creating a bootable installer.
Boot From the Installer
Once you have created a bootable installer drive, the next step is to boot your Mac from the USB drive instead of the internal drive.
First, restart your Mac and hold down the Option key immediately after you hear the startup chime. This will bring up the Startup Manager which allows you to select a bootable drive.
Next, plug your USB installer drive into your Mac. The Startup Manager should detect the USB drive and display it as an option to select. Use the arrow keys to select the USB installer drive and press Return [1].
Your Mac will now boot from the USB installer instead of the internal drive. You will see the macOS Utilities window. From here, you can proceed with erasing your internal drive and reinstalling macOS.
Erase the Drive
Once you’ve booted into the Recovery installer, you’ll want to completely erase your Mac’s main drive to prepare it for a fresh install of macOS. Here are the steps to erase the drive using Disk Utility:
First, open Disk Utility from the Recovery menu. You can find Disk Utility under the Utilities menu.
Next, select your Mac’s main drive in the sidebar in Disk Utility. This is usually named “Macintosh HD.” Be very careful to select the correct drive here, as erasing the wrong drive can result in data loss.
Finally, click the “Erase” button at the top of the Disk Utility window. Make sure to select “Mac OS Extended (Journaled)” as the format and “GUID Partition Map” as the scheme. Then click “Erase” to wipe the drive clean (Source).
Once the erase process completes, your Mac’s main drive will be reset to a blank slate, ready for you to reinstall a fresh copy of the macOS operating system.
Reinstall macOS
The next step is to reinstall the latest version of macOS on your Mac using the bootable installer drive you created. Connect the bootable installer drive and restart your Mac while holding down the Option key. This will bring up the boot manager. Select the installer drive to boot from it.
Once booted from the installer drive, launch the macOS installer. Follow the onscreen prompts to reinstall macOS. Be sure to select your erased startup drive as the destination. The installation process will take some time to complete as macOS is copied over and configured.
After macOS is finished installing, you will be prompted to setup the Mac. Be sure to enter your Apple ID and password in order to sync your iCloud data. This will restore key data like your contacts, calendars, photos, and documents from iCloud once you finish setup.
(Source: https://support.apple.com/en-us/101578)
Restore From Backup
Once you have reinstalled macOS on your Mac, you can restore your files and settings from a backup. If you use Time Machine to back up your Mac, connecting your Time Machine drive is the easiest way to restore your data.
To restore from a Time Machine backup, first plug in your external Time Machine hard drive. Then open the Migration Assistant application on your newly setup Mac. Migration Assistant will detect the Time Machine backup on the external drive and guide you through restoring your files, settings, and apps.
In the Migration Assistant, make sure your Time Machine drive is selected as the source to transfer from. You can choose to migrate everything from your backup or select specific items like documents, music, photos, email accounts, and applications. Click the Continue button and Migration Assistant will transfer your data from the backup to your new system.
The main benefit of using Migration Assistant is that it makes restoring from Time Machine very easy with just a few clicks. Everything on your backup can be copied over automatically without having to manually copy files or reconfigure your apps and settings. Just plug in your Time Machine drive and Migration Assistant handles the restore process.
For more details, refer to Apple’s support article on using Migration Assistant: Restore your Mac from a backup
Reinstall Apps
After reinstalling macOS, you’ll need to reinstall your apps. Here are some major apps to consider reinstalling:
- Microsoft Office – Download the latest installer from Microsoft’s website.
- Adobe Creative Cloud – Download the Creative Cloud desktop app from Adobe’s website to reinstall your Adobe apps.
- Google Chrome – Download the latest version from Google’s website.
Check the vendor websites for other apps you frequently use to download the latest installers. Many popular apps like Zoom, Slack, Spotify, etc. have downloadable installers on their websites.
Resync Data
After reinstalling macOS and restoring your data from a backup, you will likely need to resync some documents and data from iCloud and online accounts. Here are some tips for resyncing your data:
Sync documents from iCloud – Sign into iCloud on your Mac to download any documents, photos, contacts, calendars and more stored in iCloud. This will ensure your Mac has the latest versions of everything in your iCloud account.
Sign into accounts to resync data – Open apps like Mail, Contacts, Calendar, Notes, Messages and sign into your accounts like iCloud, Gmail, Exchange, etc. This will trigger a sync to download your latest emails, contacts, calendars and notes from these services. You may need to reopen certain apps multiple times to force a full resync from each service.
Check app-specific cloud sync services – Many apps have their own built-in cloud sync services, like Chrome sync or 1Password. Open these apps and ensure you are signed in to resync the latest data from each one.
Conclusion
In summary, the process for restoring a Mac without a startup disk involves first backing up your data, creating a bootable installer, booting from the installer, erasing the drive, reinstalling macOS, and then restoring from your backup. It’s critical to have a complete backup before beginning this process.
To avoid issues in the future, be sure to regularly maintain backups using Time Machine or another backup solution. Test your backups periodically by booting from them to ensure they are valid and complete. An external startup disk, even a small USB thumb drive, can also be a lifesaver if you ever experience boot issues again. Keep it updated with the latest macOS installer so you always have a way to access Disk Utility and reinstall the OS.