Bad sectors are areas on a solid state drive (SSD) that can no longer reliably store data due to physical damage or manufacturing defects. While SSDs are generally more reliable than traditional hard disk drives (HDDs), they can still develop bad sectors over time. It’s important to periodically scan for bad sectors because they can lead to data loss or corruption. If too many bad sectors accumulate, the drive may fail completely.
Scanning your SSD identifies any existing bad sectors so you can take action before they multiply or serious problems occur. This involves using disk utility software to go through the drive and flag sectors that don’t read or write data correctly. The utilities map out these problematic areas so the SSD controller knows to avoid using them.
When To Scan Your SSD
It’s generally a good idea to scan your SSD for bad sectors about once a month or so. SSDs don’t tend to develop bad sectors as frequently as traditional hard drives, but it’s still smart to check periodically. Bad sectors can develop over time through normal wear and tear. They can also show up if your computer unexpectedly loses power or shuts down improperly while writing data to the drive.
Scanning after unexpected computer crashes or power outages is highly recommended, as data can be left in an incomplete state. Running a scan of your SSD after incidents like these can help identify if any bad sectors developed as a result.
Scanning monthly helps you spot any bad sectors that may be accumulating over time before they become a bigger problem. Even if you don’t notice computer crashes or performance issues, it doesn’t hurt to do periodic scans as preventative maintenance.
Some experts suggest scanning more frequently if your drive starts to fill up past 70-80% capacity. The less spare capacity an SSD has, the more prone it may be to bad sector development under heavy usage. Keeping an eye on your free space and scanning more often as it drops can help avoid nasty surprises.
Checking SMART Data
One way to check for bad sectors on an SSD is by looking at the SMART (Self-Monitoring, Analysis and Reporting Technology) data. This data provides information on various attributes related to drive health and performance.
To check the SMART data on Windows, you can use the built-in Windows Disk Management utility. Go to Start > Control Panel > Administrative Tools > Computer Management. Under Storage, select Disk Management. Right click on your SSD and choose Properties. Go to the Tools tab and click Check Now under Error checking. This will display the SMART data for the drive.
You can also use free third party tools like CrystalDiskInfo to check SMART data. Run the tool and look for the ‘Reallocated Sector Count’ – this shows the number of sectors that have been remapped due to read/write errors. A high count indicates potential bad sectors on the drive.1
As a rule of thumb, if the reallocated sector count is above 10, you may want to scan your SSD and backup your data. Counts above 100 indicate significant bad sectors.2 However, the threshold varies by SSD model and usage time.
Using Built-in Tools
Many SSD manufacturers provide free tools to scan for bad sectors and overall drive health. One of the most popular is Samsung Magician, which works specifically with Samsung SSDs. Samsung Magician has a diagnostic scan feature that looks for bad sectors and other issues like performance degradation.
To use Samsung Magician to scan an SSD:
- Download and install the latest version of Samsung Magician from Samsung’s website.
- Open the program and select your Samsung SSD from the drive list.
- Click on “Diagnostics” and then click “Scan” to start the diagnostic scan.
- The scan will look for bad sectors and inform you if any are found. It checks the drive’s health status too.
- If bad sectors are reported, consider backing up your data and replacing the drive.
Other SSD manufacturers like Crucial, Western Digital, and Kingston have similar scanner tools available. Check your SSD manufacturer’s website for a diagnostic scanner tailored for your drive.
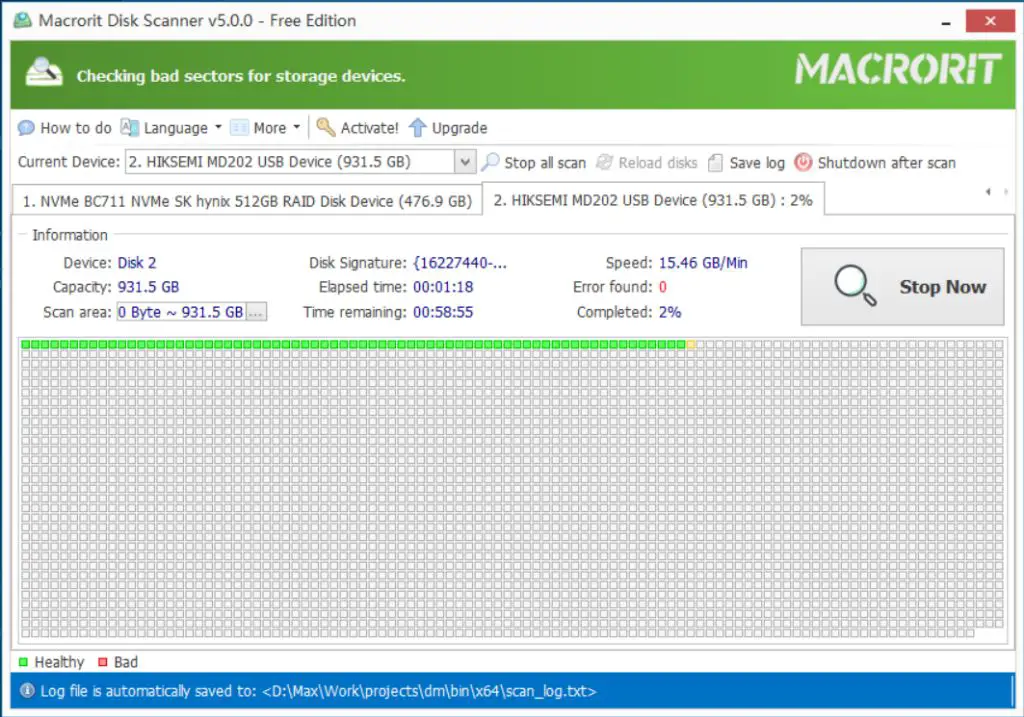
Using Third-Party Tools
One of the most popular third party tools for scanning SSDs for bad sectors is HD Tune Pro. This utility has many functions beyond just scanning for errors – it can also measure drive performance, check SMART health status, benchmark transfer speeds, and more. HD Tune Pro is available as a free trial version, with the full Pro version costing around $40.
To scan your SSD for bad sectors using HD Tune Pro:
- Download and install the latest version of HD Tune Pro from their website (https://www.hdtune.com/).
- Open HD Tune Pro and select your SSD from the drive list.
- Go to the Error Scan tab.
- Click the ‘Start’ button to begin a full scan of your drive. The scan will test each sector for errors.
HD Tune will take some time to fully scan your drive. Once complete, it will display any bad sectors it found. Even a single bad sector indicates a reliability issue with your SSD that warrants replacement. Using HD Tune Pro regularly to scan for bad sectors can help you identify SSD problems before they result in data loss.
Other popular third party tools for scanning drives include Victoria for Windows, DiskScan for Mac, and GSmartControl for Linux. But HD Tune Pro is generally considered among the best drive diagnostic utilities for detecting bad sectors.
Understanding Scan Results
The results of a bad sector scan will indicate whether any bad sectors were found on the SSD. Both Windows built-in tools like CHKDSK and third-party tools will clearly report if any bad sectors were detected.
If the scan reports 0 bad sectors, that is good news and indicates your SSD is in a healthy condition with no current bad sectors. However, it’s still a good idea to periodically rescan in case any develop over time with further use.
If the scan detects bad sectors, the number and location of bad sectors will be reported. A small number like 1-2 may not be a major concern yet, but a larger number likely indicates an SSD that is failing and should be replaced. The results should specify the logical block address (LBA) of each bad sector.
You’ll also want to compare results over time. If subsequent scans show the bad sector count increasing, that indicates progressive failure requiring replacement of the SSD soon. The SSD’s own S.M.A.R.T. data will also report reallocated and pending sector counts, which indicate bad sectors.
Most tools also perform read/write testing on any bad sectors found. If a sector cannot be read from or written to reliably, it is confirmed as permanently damaged and unusable. The SSD will remap and reallocate that sector to avoid using it.
Overall, the scan results require analysis but clearly reveal the SSD’s condition. Comparing results over time also gives a useful trend view of any growing bad sector problems.
Fixing Bad Sectors
While bad sectors cannot be repaired on an SSD, there are still a few options you can try to extend the drive’s useful life and potentially recover data from affected areas:
Use third-party tools like Partition Wizard or Stellar Data Recovery. They can mark bad sectors as out of bounds so your system stops attempting to access them. This helps avoid data loss from continuing read/write issues.
Perform a secure erase, which involves overwriting all sectors with zeros. This might allow the SSD’s firmware to remap bad areas that previously couldn’t be remapped. Be aware this will delete all data.
If the bad sectors contain critical data you need, try cloning the drive first then run data recovery software on the clone. This avoids overwriting the original sectors while you attempt to retrieve data.
As a last resort, low-level formatting tools can overwrite the entire raw disk surface, but this carries risks and is not guaranteed to fix bad sectors. Back up essential data first.
While recovering some files may be possible, bad sectors typically spread once they appear. New ones will eventually render the SSD unreliable. Consider replacing it sooner rather than later.
Data Recovery
If the bad sectors on your SSD can’t be repaired, you may need to recover data from the drive before replacing it. There are several data recovery software options for retrieving data from drives with bad sectors:
One recommended free tool is EaseUS Data Recovery Wizard. This software scans the drive and attempts to extract data from damaged or inaccessible areas. It has different scan modes to search lost files and reconstruct ones that cannot be accessed normally.
Another popular paid tool is Disk Drill. Disk Drill has advanced capabilities to recover data from SSDs with bad sectors. It can scan at the file system level as well as the raw data level to maximize the chances of data recovery.
If the SSD is severely damaged, a bootable data recovery tool like TestDisk may be required. TestDisk can create a disk image to work with so that data can be extracted safely from a failing drive.
Recovering data from SSDs with bad sectors requires specialized tools. Consulting a data recovery specialist is advisable for difficult cases with substantial data loss. Backup your data regularly to avoid reliance on advanced recovery software and services.
When to Replace an SSD
If your SSD has a large number of bad sectors that continues to grow, it may be time to replace it. As a general rule, if the number of bad sectors exceeds 10% of the total sectors, the drive is considered unusable and should be replaced [1]. However, even a small number of bad sectors can indicate an SSD that is nearing the end of its lifespan.
Most SSD manufacturers consider an SSD defective if it has just one bad sector. The key factor is whether the number of bad sectors changes over time. If an SSD consistently develops new bad sectors, it means the NAND flash memory chips are degrading and will continue to get worse [2].
Other signs that your SSD may need replacing include dramatically slower performance, file corruption, freezing/crashing during use, or SMART data showing high wear. Since SSDs do not display warning signs as long before failure as hard disk drives, it is best to replace an SSD once issues arise to avoid potential data loss.
Ultimately, if your SSD is exhibiting clear symptoms of failure or has accumulated a concerning number of bad sectors, replacement is the safest option to avoid losing your important data.
Backing Up Your Data
Backing up your data regularly is crucial to protect against potential data loss from bad sectors on your SSD. While SSDs are generally reliable, they can still develop bad sectors over time which can lead to irrecoverable data loss if backups are not available.
Ideally, you should have at least two backup copies of your important data, with at least one copy stored off-site or in the cloud. This protects you against both hardware failure and events like theft or natural disaster. There are many affordable and easy to use backup solutions available, both hardware and software.
Some examples of recommended backup solutions include:
- External SSD or HDD drives for local backups
- Cloud backup services like Backblaze, IDrive, and Acronis
- Cloning your SSD to another internal drive
Backups only help if they are current, so be sure to backup your SSD on a regular basis. How often you backup depends on how much effort you are willing to lose if you need to restore from a backup. Daily or weekly backups are generally recommended for most users.
Protecting your data should be your top concern when dealing with potential SSD issues like bad sectors. Take the time to implement a good backup solution before problems occur (https://iosafe.com/data-protection-topics/ssd-vs-hdd/). It’s a simple way to safeguard irreplaceable information and memories.