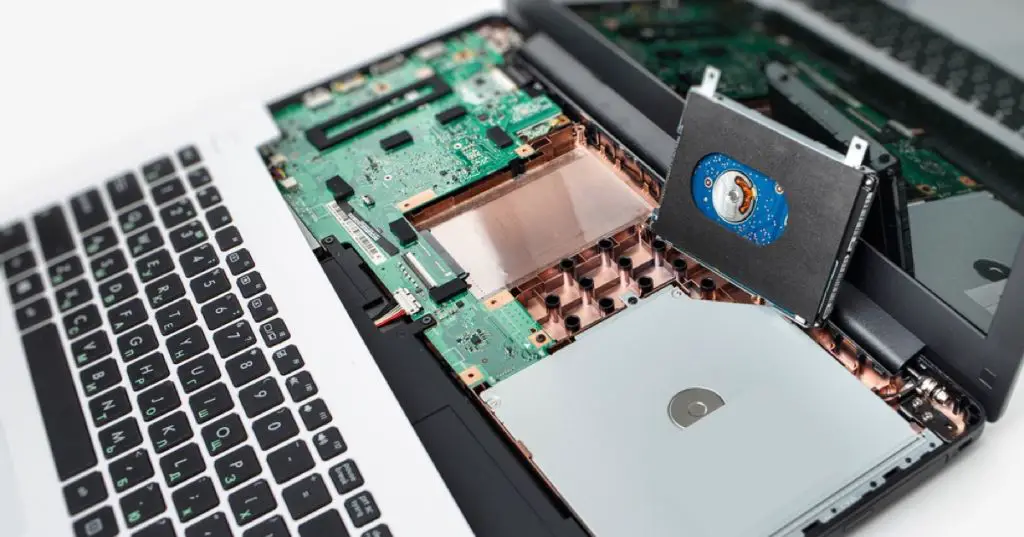
Securely erasing an SSD on a Mac is important for a few key reasons:
When you delete files normally on a Mac, the files are not actually erased from the SSD. Instead, the space they occupied is marked as available to be overwritten. The deleted files remain on the SSD until new data overwrites them. This means deleted files can potentially be recovered.
Before selling, recycling or disposing of a Mac SSD, it is critical to securely erase the entire drive. This overwrites all data to prevent files or personal information from being recovered by someone else.
Secure erasure also helps maintain the performance of an SSD over time. When an SSD has old deleted files accumulated over use, it can slow down write speeds. Securely erasing enables the SSD to restore peak performance.
Overall, securely erasing an SSD ensures all personal data is non-recoverable and performance is optimized before the drive changes ownership.
How Deleting Files Normally Works on an SSD
When you delete a file on a solid state drive (SSD), the file isn’t actually erased right away. Unlike traditional hard disk drives (HDDs) that overwrite data when files are deleted, SSDs handle deletions differently due to their flash memory architecture.
Specifically, when a file is deleted on an SSD, the operating system simply marks the space that file occupied as being available for new data. The original file data remains intact until new data overwrites it. This is done for efficiency, as flash memory can only be erased in entire blocks, not individual bits.
Additionally, SSDs utilize a process called garbage collection to further optimize performance. Garbage collection will periodically free up unused blocks so they can be rewritten. Until garbage collection occurs, traces of your deleted files may still exist. This is why it’s important to securely erase SSDs if you want to ensure your files can’t be recovered.
For example, see: Secure Deletion – Mac
Why You Should Securely Erase an SSD Before Selling or Disposing
When you normally delete files on your SSD, the files are not actually removed from the drive. Instead, the operating system simply marks the space those files occupied as available for new data. The original data remains intact on the SSD until it gets overwritten by new files.
This means if you simply delete personal or sensitive files on your SSD before selling or disposing of it, those deleted files can still be recovered. Special data recovery software can scan the drive and restore deleted files that have not yet been overwritten.
For example, one study found that data could be recovered from some SSDs even after the drives were filled to capacity multiple times. Secure erasure is necessary to prevent personal data from falling into the wrong hands.
When You Should Securely Erase an SSD
There are a few key times when you should take steps to securely erase the SSD in your Mac:
Before selling, returning, or disposing of a Mac: When getting rid of an old Mac, you want to make sure personal and sensitive data is completely erased before the computer changes hands. Doing a standard erase through Disk Utility may not be enough, as data remnants can still exist on the SSD. A secure erase provides extra protection.
Before giving your Mac to someone else: Similarly, if you’re passing your Mac to a friend or family member, you want to wipe the SSD clean beforehand. This prevents them from accessing any of your private files or information.
When repurposing your Mac: If you plan on wiping your Mac and starting fresh with a new OS install, doing a secure erase first provides a clean slate for the new system.
In these situations, taking the extra step to do a secure erase of your Mac’s SSD gives you peace of mind that your data has been completely and irreversibly removed.
How Secure Erasure Works on an SSD
Securely erasing an SSD works differently than a traditional hard drive. SSDs perform wear leveling, which means data is constantly moved around the drive to help prevent any one area from wearing out. This makes it impossible to target individual sectors to be overwritten.
Instead, securely erasing an SSD relies on overwriting all accessible storage with patterns of data. This is done by writing zeros, ones, or random bit patterns to every block and sector across the entire drive. The SSD controller handles remapping all of this blank data across the whole drive through wear leveling to replace any existing data. Typically, at least one pass is made writing zeros to the drive. Up to 7 passes may be made using different bit patterns for maximum security.
After this overwrite process, all formerly stored data is rendered unrecoverable. No traces remain that could be reconstructed even by advanced data forensics. The drive is returned to a fresh out-of-the-box state.
(Indiana University)
Secure Erase Options in macOS
macOS provides a couple methods for securely erasing an SSD. You can use Apple’s Disk Utility application or terminal commands.
Using Disk Utility
Disk Utility is an app included with macOS that provides options for erasing and formatting storage devices like SSDs. According to Apple’s support documentation, Disk Utility allows you to securely erase an SSD by selecting the disk and clicking “Erase” while choosing the “Most Secure 3-Pass Erase” option. This will write over all data on the SSD three times to prevent recovery.
Using the Terminal
For more advanced users, the macOS terminal can be used to securely erase an SSD as well. Commands like diskutil secureErase and srm can securely overwrite all data on an SSD when executed properly in the terminal. Using terminal commands provides more flexibility and options compared to Disk Utility. However, it requires familiarity with the command line interface.
Using Disk Utility to Securely Erase an SSD
Disk Utility is the built-in utility on Macs that provides options for securely erasing an SSD. Here is a step-by-step guide on how to use Disk Utility to securely erase your SSD:
1. Open Disk Utility on your Mac. You can find it by searching for it in Spotlight or going to Applications > Utilities > Disk Utility.
2. In the sidebar, select the SSD drive you want to erase.
3. Click the “Erase” button at the top of the Disk Utility window.
4. In the pop-up menu, choose “Mac OS Extended (Journaled)” as the format.
5. Next to “Scheme,” choose “GUID Partition Map.”
6. Importantly, choose “Secure Erase” from the Erase drop down menu. This will securely erase all existing data by overwriting it.
7. You can also choose between a 1-pass, 3-pass, or 7-pass secure erase. The more passes, the more securely it will erase the data.
8. Click “Erase” to begin the process. This may take several hours depending on the size of your SSD and number of passes you select.
9. Once completed, you can verify the SSD has been securely erased by going to View > Show All Devices in Disk Utility. The SSD should now show as “unallocated” space with no partitions or volumes.
Using Disk Utility is the easiest way to securely erase an SSD on a Mac. Just make sure to select the “Secure Erase” option when erasing. See this Apple support article for more details.
Using the Terminal to Securely Erase an SSD
The most thorough method for securely erasing an SSD on Mac is to use the Terminal. The Terminal provides more options and control compared to Disk Utility.
Here are the step-by-step terminal commands to securely erase an SSD:
- Open the Terminal app on your Mac.
- Type
diskutil listand press enter. This will show a list of all disks connected to your Mac. - Identify the disk identifier for the SSD you want to erase, such as
disk2. - Type
diskutil secureErase freespace 2 disk2and press enter. Replace “disk2” with your disk identifier. - You will be asked to enter your admin password to confirm.
- The secure erase will now start. It overwrites all free space on the disk with zeros to securely delete any existing files and make them unrecoverable.
- Once completed, you can verify the disk has been erased by typing
diskutil secureErase freespace 2 disk2again. It will confirm there is no free space left to be erased.
This overwrites all free space on the SSD with zeros. For even more security, include the -verbose option to see the progress of the overwrite process. Be aware that this will take much longer to fully complete.
To overwrite the entire disk space, not just free space, replace freespace with disk in the commands above. This will completely erase the SSD by overwriting all data on it.
The Terminal provides a very secure way to thoroughly erase an SSD on Mac with options to verify the erasure when completed. Just be sure to properly identify the correct disk you want to erase to avoid accidentally wiping the wrong drive.
Reference:
https://easyosx.net/2022/08/29/erase-a-macs-hard-drive-using-the-terminal/
Verifying the SSD Has Been Securely Erased
After securely erasing your SSD, it’s important to verify that the process was successful. Here are a few ways to confirm your SSD has been fully erased:
– Check that the free space on the drive is now showing the full capacity of the SSD. After a secure erase, all previous files and data should be gone, leaving the maximum available free space.
– Open Disk Utility and verify that the drive no longer shows any partitions or volumes other than the main drive itself. A secure erase should remove all additional partitions.
– Use a disk verification tool like Blackmagic Disk Speed Test (https://apps.apple.com/us/app/blackmagic-disk-speed-test/id425264550?mt=12) to run a full read/write test on the drive. This will ensure all sectors can be accessed after the erase.
– For extreme confirmation, use a paid utility like Disk Drill (https://www.cleverfiles.com/howto/ssd-secure-erase-mac.html) to scan for any remaining data fragments. But this is overkill for most users.
If your SSD shows its full capacity as free space and passes the Disk Utility or Blackmagic verification, you can rest assured knowing your SSD has been securely wiped and is ready for sale or disposal.
Other Options for Securely Erasing an SSD
If the built-in macOS options don’t meet your needs for securely erasing an SSD, there are some other options to consider:
Third party software – There are several third party utilities available that offer secure erase features specifically designed for SSDs. Some popular options include Backblaze, Disk Drill, and M3 Mac Data Recovery.
Physical destruction – If you need to absolutely ensure no data can be recovered, physically destroying the SSD is an option. This involves physically dismantling the drive and destroying the flash memory chips. Professional data destruction services are available that will shred and demolish SSDs to Department of Defense standards.
Encrypting the SSD – Another option is to encrypt the entire SSD before erasing it. This scrambles the data at the hardware level to make it unreadable. The SSD can then be erased normally. This doesn’t physically delete data but prevents it from being accessed without the encryption key.
Just keep in mind that many of these options require third party software or services, and may not be free. The built-in macOS secure erase options are generally sufficient for most consumer needs.
