Syncing your Apple library from your iPhone, iPad, or iPod Touch to your computer is a great way to back up your music, movies, TV shows, audiobooks, and more. Keep reading for step-by-step instructions on how to sync your Apple library using a Mac or Windows PC.
What You’ll Need Before Syncing Your Apple Library
Before syncing your Apple library from your device to your computer, make sure you have the following:
- iPhone, iPad, or iPod Touch with media content you want to sync
- Mac or Windows PC you want to sync your device to
- USB cable to connect your device to your computer
- iTunes installed on your computer (latest version recommended)
- iCloud account (recommended for easy syncing across devices)
If you don’t already have iTunes, you can download it for free from the Apple website. Make sure you’re running the latest version of iTunes for the best syncing experience.
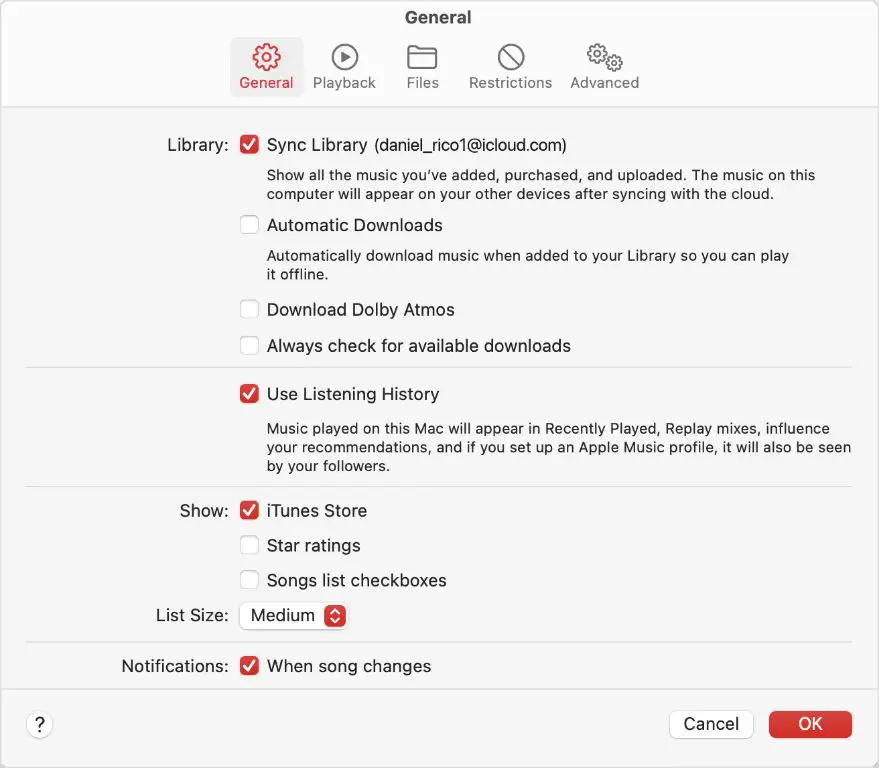
How to Sync Your Apple Library on a Mac
Follow these steps to sync your Apple library from your iPhone, iPad or iPod Touch to a Mac computer using iTunes:
- Connect your device to your Mac using the USB cable that came with your device. iTunes should open automatically. If not, open iTunes manually.
- In iTunes, click on the media drop-down menu near the top left and select Music, Movies, TV Shows, Podcasts, Audiobooks, or whichever media you want to sync. This will bring up your library for that type of media.
- Check the box next to “Sync” near the top right of the iTunes window. This will allow syncing between your device and computer.
- Select the playlists, artists, albums, TV shows, movies, podcasts, etc. you want to sync by checking the boxes next to them.
- You can also check “Entire library” to sync everything in your iTunes library. Or create a new playlist with your favorite songs to sync just that playlist.
- Check the box next to “Automatically sync when this iPhone is connected” if you want iTunes to sync each time you connect your device.
- Click the “Apply” button in the bottom right to start syncing your selected media from your computer to your device.
- The sync may take some time depending on how much media you are transferring. Let it complete.
- When done, you will see your synced playlists, artists, albums, etc. now available on your iPhone, iPad or iPod Touch for offline listening or viewing!
Now you can listen to your synced music, watch synced movies or TV shows, listen to podcasts and more on your device anytime. Just open the appropriate app on your device to access the synced content.
Syncing Playlists to Your Device
To sync specific playlists from your iTunes library to your device:
- In iTunes, click Music in the top left media drop-down menu.
- Select the playlists you want to sync by checking the box next to them in your library.
- Be sure the “Sync Music” checkbox is checked at the top.
- Click Apply to sync your selected playlists to your device.
Syncing Movies and TV Shows
To transfer movies and TV shows you’ve purchased or rented from iTunes to your device:
- Click Movies or TV Shows from the iTunes media drop-down menu.
- Select the movies/shows you want to sync by checking boxes next to them.
- Check the box next to “Sync” at the top right to enable syncing.
- Click Apply to transfer the selected videos to your device.
Syncing Photos
To sync photos from your Mac to your iPhone or iPad:
- Open Photos on your Mac. Select the albums or photos you wish to sync.
- In iTunes, click Photos near the top right. Select “Sync photos from” and choose Photos from the drop-down menu.
- Check the albums/photos you want to sync.
- Enable Sync Photos near the top.
- Click Apply to sync your chosen photos from Photos on your Mac to your device.
How to Sync Your Apple Library on Windows PC
Here is how to sync content from your Apple library to a Windows PC using iTunes:
- Connect your iPhone, iPad or iPod Touch to your PC using the USB cable.
- Open iTunes if it doesn’t open automatically.
- Select the media you want to sync (Music, Movies, etc) from the drop-down menu in the upper left.
- Check boxes next to items in your library you want to transfer to your device.
- Enable the Sync checkbox near the top right of the iTunes window.
- Click the Sync or Apply button to start syncing selected content to your device.
- Wait for the sync to fully complete before disconnecting your device.
- Now enjoy your synced movies, music, photos, etc. on your device!
The process to sync specific playlists, albums, movies, and photos is the same as on Mac. Select the content you want to transfer in your iTunes library and sync. All your chosen media will be copied onto your device so you can enjoy it anywhere.
Troubleshooting iTunes Syncing Issues
If you encounter issues getting iTunes to sync properly with your device, here are some troubleshooting tips:
- Make sure you have the latest version of iTunes installed.
- Try a different USB cable if sync isn’t working. Bad cables cause a lot of sync issues.
- On your device, disable syncing for any apps under Settings that may interfere with media syncing.
- Force restart your device and restart your computer if issues persist.
- Check that you don’t have iTunes open in two places if you have the app open on multiple devices.
- Make sure you have enough free space on your device for the media you are syncing.
If you continue to have syncing problems after trying these steps, you may need to restore your device software and sync again from scratch. Contact Apple support online or at an Apple store if you require further troubleshooting assistance.
Syncing Your Library Over Wi-Fi
Once you’ve synced your Apple library to your device initially using the USB method, you may wish to enable Wi-Fi syncing. This allows you to sync new content to your device wirelessly without cables.
To setup Wi-Fi syncing:
- Connect your device to your computer via USB as usual.
- In iTunes, click the device icon near the top left.
- Click Summary on the left sidebar.
- Check the box next to “Sync with this iPhone over Wi-Fi”.
- Click Apply to enable Wi-Fi sync for this device.
Now whenever your computer and device are on the same Wi-Fi network, your Apple library will automatically stay synced. New photos, music, videos, and more will be transferred wirelessly.
On your iPhone, iPad or iPod Touch, you can view Wi-Fi sync status and temporarily disable Wi-Fi syncing under Settings > General > iTunes Wi-Fi Sync.
Some tips for Wi-Fi syncing:
- Your device and computer need to be connected to the same Wi-Fi network.
- Wi-Fi syncing only works between your primary synced device and computer.
- Your computer must have iTunes open to allow Wi-Fi syncing.
- Syncing large amounts of content like movies can be slower over Wi-Fi.
Overall, Wi-Fi syncing provides an easy and cable-free way to keep your Apple device library continuously updated. Give it a try after doing an initial sync via USB cable.
Using iCloud to Sync Your Apple Library
Another great way to sync content from your Apple library across devices is using iCloud. With iCloud, you can easily access your photos, music, movies, documents and more on your iPhone, iPad, iPod, Mac, PC, and even online.
To setup iCloud library syncing:
- Make sure you’re signed into your iCloud account on all devices you want to sync.
- On your iOS device, go to Settings > [your name] and enable iCloud Drive.
- Similarly enable iCloud Photo Library under Photos.
- On your Mac or Windows PC, sign into iCloud and enable iCloud Drive and Photo Library in System Preferences or the iCloud Control Panel.
- Your content will now stay up to date across all devices!
With an iCloud subscription you get ample storage space to keep your media backed up. You can access your synced photos, videos, documents, notes, contacts, calendars, and more on any device logged into your iCloud account.
Some key perks of using iCloud include:
- No cables or wires required to sync library content
- Access synced content on iPhone, iPad, Mac, PC, iCloud.com, etc
- Photos and videos stay in sync across devices
- Playlists and music stay updated on all devices automatically
- Documents accessible on all devices logged into your iCloud
- Media is securely backed up by Apple and available if you lose a device
While iTunes syncing works great for large media like movies and TV shows, iCloud is ideal for everyday syncing of documents, photos, contacts, mail, notes and more across your Apple devices. The two methods can complement each other as part of an overall sync strategy.
Summary
Syncing your Apple library to all your devices is easy with the right tools and methods. To recap how to sync your Apple media:
- Use iTunes on a Mac or Windows PC to sync large media files like movies, music, podcasts, audiobooks and playlists to your iOS devices and iPods via USB cable. Wi-Fi sync can also keep your device updated wirelessly once initial sync is complete.
- Enable iCloud on all your Apple devices to seamlessly keep your photos, documents, contacts, notes and other content synced and backed up.
- Use iTunes primarily for large media files, iCloud for everyday items you access frequently across devices.
- Always make sure to keep iTunes up to date and troubleshoot any potential sync issues like bad cables, low device storage space, etc.
Keeping your Apple library in sync across iPhone, iPad, iPod, Mac and PC gives you media freedom and convenience. Use the tips in this guide to sync your Apple content and enjoy your music, movies, photos and more anywhere you go!