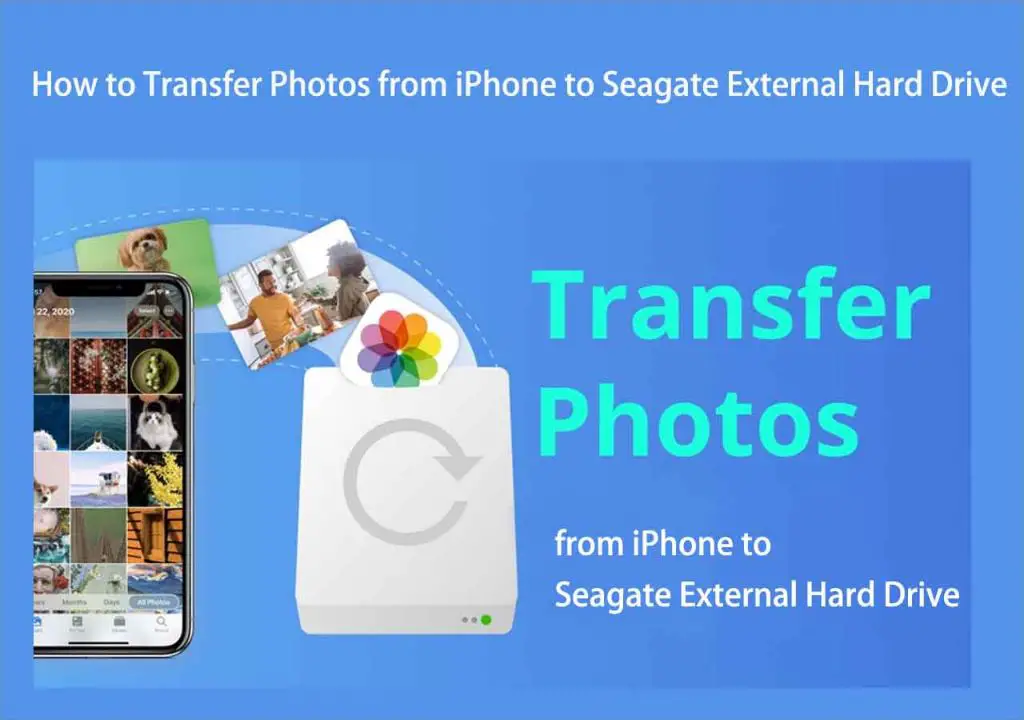
What You’ll Need
To transfer photos from your phone to a Seagate external hard drive, you will need the following:
- Smartphone with photos you want to transfer
- Seagate external hard drive
- Charging cable for your phone
- USB cable to connect your phone to the hard drive
Make sure your phone is adequately charged or plugged into a charger so that it doesn’t lose power during the transfer process. You’ll also want to make sure your Seagate external hard drive is connected to a power source if it needs one to operate.
Connect Your Hard Drive
To use your Seagate external hard drive, you first need to connect it to a power source and your computer. Here’s how:
Plug your Seagate external hard drive into a wall outlet or power strip using the included power cable. This will provide consistent power to run the drive.
Next, use the included USB cable to connect the hard drive to your computer. Plug one end of the cable into the external drive, and plug the other end into an open USB port on your computer.
Once connected via USB, you may need to format your Seagate external hard drive before you can store files on it. Formatting prepares the hard drive to save files by creating a file system. To format your drive on a Windows PC, right-click the external drive in File Explorer and select “Format”. On a Mac, open Disk Utility and select your external drive, then click “Erase” to format it.
After formatting, your external hard drive will be ready to transfer photos and files. The USB connection provides fast data transfer speeds between the drive and your computer.
Locate Photos on Your Phone
The first step is to open the Photos app on your phone and review the albums and images you want to transfer to the external hard drive. According to a recent survey, the average smartphone contains around 3,000 photos stored from the camera app, messaging, screenshots and downloads https://pix11.com/news/local-news/phone-photo-libraries-mostly-contain-selfies-and-pets-survey-finds/. Another source indicates the average user has about 2,000 photos just on their smartphone https://www.lightstalking.com/photo-statistics/.
Make note of which albums and specific photos you want to transfer so you can easily access them when connected to the external hard drive. This will make selecting and copying your chosen photos quicker and simpler.
Connect Your Phone to the Hard Drive
To transfer photos from your phone to the external hard drive, you’ll need to connect the two devices. The easiest way is to use a USB cable to connect your phone directly to the hard drive. Most Android phones and iPhones come with a USB cord that can plug into the external drive.
Once connected, your computer may display an AutoPlay prompt asking what you want to do. Select the option to open or view files. Your phone may also display a notification asking you to allow access to your photos. You’ll want to select Allow so the hard drive can access and transfer the images.
With your phone connected to the external hard drive via USB cable, you’re ready to locate the photos on your phone and select the ones you want to transfer over.
Select Photos to Transfer
On your phone, open the Photos or Gallery app and enter selection mode to choose the photos you want to transfer to your external hard drive.
To select all photos on an iPhone, swipe left across the bottom row of thumbnails while in selection mode, without lifting your finger, to highlight everything (Source 1). For Android devices, slide your finger up or down while in selection mode to auto-scroll and continue selecting more photos (Source 2).
You can also choose individual photos by tapping on each one to select it. If you want to transfer full albums or folders, tap on the album/folder to highlight all the photos within it.
Once you’ve selected the photos to transfer, you can proceed to copying them over to the external hard drive.
Copy Photos to the Hard Drive
With photos selected on your phone, choose the Copy or Export option to transfer them. According to one Quora post, the average smartphone photo ranges from 2 to 5 megabytes in size [1]. Your phone will then begin copying the photos over to the connected hard drive. This process may take awhile depending on the number and file size of photos you are transferring. One photography forum discussion notes JPEG files from smartphones are typically around 3-9MB each [2]. Be patient and let the transfer fully complete.
Disconnect Your Phone
Once the photo transfer is complete, it’s important to safely disconnect your phone from the external hard drive. Improperly disconnecting the devices can lead to data corruption or loss.
If you’re using a computer, the safest way is to use the “Safely Remove Hardware” option. In Windows, you’ll see an icon in the system tray that lets you safely remove the hard drive. Click on it, select the drive, and wait for the confirmation that it’s safe to remove. Then unplug the USB cable connecting the phone and hard drive.1
On a smartphone, simply unplug the USB cable to disconnect it after the transfer completes. Just be sure the copy process has fully finished before pulling out the cable.
Disconnecting properly ensures no data is at risk of being lost or corrupted during the transfer process.
Locate Transferred Photos
On the hard drive, navigate to the folder for your phone. According to PCWorld, photos and videos from a phone’s camera app are often saved in a folder called DCIM or Camera by default.
The transferred photos may be in new subfolders organized by date. As mentioned on Reddit, photos from separate transfer sessions could be saved in separate dated folders for organization. Navigate through the date subfolders to find all of your transferred photos from your phone.
Organize & Manage Photos
Once your photos are transferred to the external hard drive, you can organize and manage them for easy searching and access. The hard drive interface likely allows you to create new folders to categorize photos by date, event, people, etc (source). Adding descriptive folder names like “Family Vacation 2022” makes finding photos quick and simple.
You may also be able to add keywords or tags to photos on the hard drive, providing another way to sort and search (source). For example, tagging photos with the people, places, or events makes it easy to pull up all pictures from a specific trip or person.
For more advanced organization, you can use photo managing software like Google Photos or Adobe Lightroom. These programs allow color-coding, geo-tagging, facial recognition, and more (source). Taking the time to organize and tag photos on your external hard drive now makes them easy to find when you need them again.
Back Up Photos Regularly
It’s important to back up your phone photos regularly to prevent losing them if your phone is damaged, lost, or stolen. Experts recommend backing up your phone’s camera roll to an external hard drive or cloud storage every few weeks or months1.
Hard drives can fail over time, so replace your storage drive every 3-5 years. Choose an external SSD or HDD from a reliable brand like Seagate, WD, or Samsung2. Store the drive in a secure, climate-controlled location to maximize its lifespan.
Backing up regularly prevents losing precious photos and memories if your phone or hard drive fails unexpectedly. Set reminders to back up your phone on a consistent schedule.