SD cards have become a popular portable storage device, providing a convenient way to store and transfer data like photos, videos, documents, and more. However, some SD cards come with write protection enabled by default to prevent accidental deletion or overwriting of data. While write protection can be useful, it becomes a hindrance if you need to add or edit files on the card. Fortunately, reversing SD card write protection is relatively straightforward once you understand the different methods used.
What Does a Protected SD Card Mean?
A protected or write-protected SD card has a slide switch on the side in the ‘lock’ position, indicating that writing data to the card is disabled. This prevents any new data from being saved and existing data from being erased or overwritten. The lock switch mechanism is a physical barrier that covers the write-enable notch on the SD card.
With the lock switch on, you can still read or view content already saved on the SD card. But any attempt to modify, delete, format, or add new files will be blocked. Most devices like cameras, phones, and computers will detect a locked SD card and show an error message indicating the write protection.
Why Would You Want to Unprotect an SD Card?
The main reasons for unlocking an SD card are:
- To save new photos, videos, files to the SD card from your device
- To delete unwanted content already on the SD card
- To format or reformat the SD card to erase everything and start fresh
- To edit existing files like photos or documents on the SD card
- To be able to modify or move files/folders around on the card
In summary, disabling write protection gives you full read/write access to use the SD card as needed.
How to Unlock SD Card Using Slide Tab
If your SD card has a physical slide switch for write protection, unlocking it is very simple:
- Locate the lock switch on the side of the SD card. It should have a picture of a padlock on it.
- Gently slide the lock switch away from the padlock symbol and towards the opposite end to disable protection.
- The card is now unlocked and ready for reading/writing data.
Be sure the lock switch is fully slid away from the padlock icon. Sometimes it may seem like it’s unlocked but isn’t quite all the way. Double check by attempting to add a file to the SD card.
Using Diskpart to Remove SD Card Write Protection
Diskpart is a command line utility built into Windows that allows configuring disks and volumes. We can use it to override software write protection on an SD card by clearing the read-only attribute:
- Insert the write protected SD card into your computer.
- Search for “diskpart” in the Windows start menu and launch the app.
- At the DISKPART prompt, type “list disk” and note down the disk number of your SD card.
- Type “select disk x” where x is the disk number from the previous step.
- Now type “attributes disk clear readonly” to remove the read-only flag.
- Finally, type “exit” to close diskpart.
Your SD card should no longer be write protected now. Be sure to backup any important data first, as this process will allow modifying all contents of the disk.
Using Registry Editor to Override Write Protection
Sometimes SD card write protection is enabled at the software driver level instead of physically. This can happen if the card is remounted as read-only. In such cases, we can edit the Windows registry to override the write protection.
Warning: Editing the registry incorrectly can cause serious issues, so backup before making any changes.
- Connect the write protected SD card to your PC.
- Launch Registry Editor by typing “regedit” into the Windows start menu.
- Navigate to HKEY_LOCAL_MACHINE\SYSTEM\CurrentControlSet\Control\StorageDevicePolicies
- Look for a key named “WriteProtect” with value 1. This enables read-only mode.
- Double click on the WriteProtect key and change the 1 value to 0.
- Restart your computer for the change to take effect.
Now the registry no longer forces read-only mode on the SD card. You should be able to add, edit, and delete files as normal.
Using Diskpart to Clear SD Card Read-Only Bit
In some cases, an SD card becomes permanently read-only by having the READ_ONLY bit set in its partition attributes. We can again utilize diskpart to reset this bit and get rid of stubborn write protection:
- Insert the write protected SD card into your PC.
- Launch diskpart as admin by typing “diskpart” in the start menu.
- Type “list disk” to identify your SD card disk number.
- Type “select disk x” where x is your SD card disk number.
- Type “list partition” to list all partitions on this disk.
- Note the partition number of your SD card.
- Type “select partition x” where x is the partition number.
- Type “set id=xxxx-xxxx” using the same partition ID value displayed previously.
- Finally, type “exit” to close diskpart.
This will clear the read-only attribute and give you access to add, modify or delete data on the SD card again.
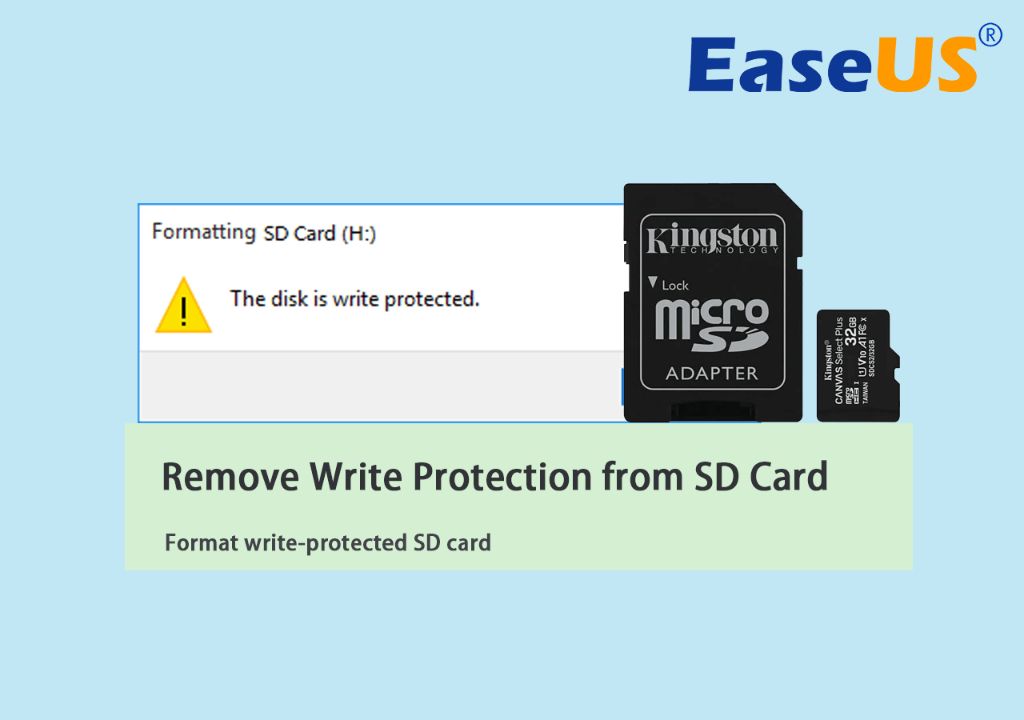
Formatting the SD Card to Remove Write Protection
If all else fails, formatting the SD card will definitely reset any software write protection mechanisms. Of course, this will erase all data on the card:
- Copy any important files and folders off the SD card to backup.
- Insert card into your computer or device’s card reader.
- Using File Explorer on Windows or Finder on Mac, right click on the card name and select “Format”.
- Choose FAT32 or exFAT file system.
- Check the Quick Format box to format quickly.
- Click Start to begin formatting, this will take 1-2 minutes.
After formatting, your SD card will be reset to factory state without any write protection.
Using SD Card Formatting Software
Instead of using Windows built-in formatting, you can also use SD card formatter tools like:
- SD Memory Card Formatter for Windows – https://www.sdcard.org/downloads/formatter/
- SD Formatter for Mac – https://www.sdcard.org/downloads/formatter/sd-memory-card-formatter-for-mac-download/
- GUIFormat – http://www.ridgecrop.demon.co.uk/index.htm?guiformat.htm
These tools work in a similar way by fully erasing and reformatting the SD card to remove any software write protection.
Using dd or Diskpart to Overwrite SD Card Headers
In rare cases, the SD card headers may get corrupted leading to permanent read-only state. This can happen if the card was forcefully mounted and then ejected on Linux without properly unmounting first. The headers contain flag bits that signal whether the card is read-only or read/write. To fix this, we need to overwrite the partition table headers using terminal commands like dd or diskpart’s clean utility. Warning: This will completely erase your SD card, so backup data first!
On Linux or Mac:
- Open terminal and run
sudo fdisk -lto identify your SD card device name (e.g. /dev/sdb) - Run
sudo dd if=/dev/zero of=/dev/sdb bs=1M count=10to overwrite headers - Re-create a new partition table and reformat filesystem on the SD card to use again
On Windows:
- Open diskpart from admin command prompt
- Run
list diskto find your SD card disk number - Select the disk with
select disk xwhere x is the disk number - Run
cleancommand to overwrite headers - Exit diskpart and reformat SD card to use again
Locking an SD Card After Use
Once you are done using your SD card it’s a good idea to lock it again for write protection if your card has a physical switch. Or you can set the read-only attribute from your operating system:
On Windows:
- Go to File Explorer and right click on your SD drive
- Select Properties > General > Attributes
- Check the Read-only box and click OK
On Mac:
- Get info on the SD card volume in Finder (Cmd + I)
- Check the Locked checkbox
- Click Files > Get Info on root folder
- Check Read only checkbox
On Linux:
- Unmount SD card partition (e.g. umount /dev/sdb1)
- Mount partition as read-only (e.g. mount -o ro /dev/sdb1 /mnt)
Conclusion
Write protecting an SD card prevents accidental data loss but can be problematic if you need to modify its contents. Thankfully several methods exist to remove or disable write protection:
- Slide physical lock switch on SD cards
- Use diskpart to reset read-only attribute
- Edit registry on Windows to override
- Reset READ_ONLY bit using diskpart
- Quick format the SD card
- Overwrite partition headers using dd or diskpart’s clean
Remember to always backup important data first before making changes. And once your work is complete, consider locking the SD card again for safety.