There are several scenarios where one may need to wipe a password-locked MacBook. Common reasons include:
- Selling or gifting the device – With a MacBook password-locked, a new owner will not be able to access the contents.
- Recycling the MacBook – Before recycling, you’ll want to securely erase all data.
- Fixing software issues – A clean wipe can help resolve bugs, crashes or performance problems.
- Removing malware or viruses – Wiping the device is an assured way to eliminate infections.
- Starting fresh – Some opt to wipe their MacBook to have a clean slate before reloading apps and data.
Fortunately, there are methods to erase a locked MacBook by booting in recovery mode. We’ll walk through the steps to securely wipe the contents so you can recycle, sell or restart your MacBook.
Back Up Important Data
The first and most crucial step before wiping your locked MacBook is to back up your important data. Data loss is irreversible, so you’ll want to ensure all your files, photos, documents, and other critical information is safely stored before proceeding.
Apple recommends backing up your Mac using Time Machine or iCloud. Time Machine allows you to back up your entire Mac system to an external hard drive or AirPort Time Capsule [1]. With iCloud, you can store your photos, emails, documents, and more in the cloud. Enable iCloud Backup in System Preferences to automatically back up your data [2].
You may also want to manually backup critical files by copying them to an external hard drive or cloud storage. Make a list of all the apps and data you want to preserve before wiping your MacBook. Double check that your data is fully backed up and accessible before proceeding to the next step.
Disable Find My Mac
Before wiping your MacBook, you’ll need to turn off Find My Mac activation lock. This is Apple’s anti-theft feature that prevents anyone else from erasing and reactivating your MacBook if it’s ever lost or stolen.
To disable Find My Mac:
- Go to System Preferences > Apple ID and select “Manage”.
- Sign in with your Apple ID and password.
- Under the Devices section, find your locked MacBook and click “Remove from Account”.
- Confirm again that you want to remove it.
Once removed from your account, Find My Mac will be disabled and Activation Lock will no longer prevent you from wiping your MacBook [1]. You can now proceed with erasing and reformatting the drive.
Create a Bootable Installer
To wipe a locked MacBook, you will need to create a bootable USB installer drive for macOS. This will allow you to boot the Mac into recovery mode and erase the hard drive. Here are the steps for making a bootable macOS USB installer drive:
1. Download the macOS installer from the App Store on a separate Mac. The version should match the version currently installed on the locked MacBook.
2. Insert a 16GB or larger USB drive into the Mac. Make sure there is nothing important on the drive, as it will be erased.
3. Launch Terminal and use the createinstallmedia command to create the bootable installer by targeting the installer package and destination drive. An example command is:
sudo /Applications/Install\ macOS\ Big\ Sur.app/Contents/Resources/createinstallmedia --volume /Volumes/MyVolume
4. After the bootable installer drive is created, eject it and insert it into the locked MacBook.
For step-by-step instructions with screenshots, refer to this guide: https://www.extracatchy.net/create-bootable-usb-drive-macos-sierra-unibeast/
Boot From the USB
Once you have created the bootable USB drive, you can boot your Mac from it by following these steps:
1. Connect the bootable USB drive to your Mac.[1]
2. Restart your Mac and immediately press and hold the Option key after you hear the startup sound.[2]
3. Select the USB drive volume from the Startup Manager screen that appears.
4. Your Mac will boot from the USB drive into the macOS installer instead of the normal startup disk.
5. Follow the on-screen prompts to erase your Mac’s hard drive and reinstall macOS from the USB installer drive.
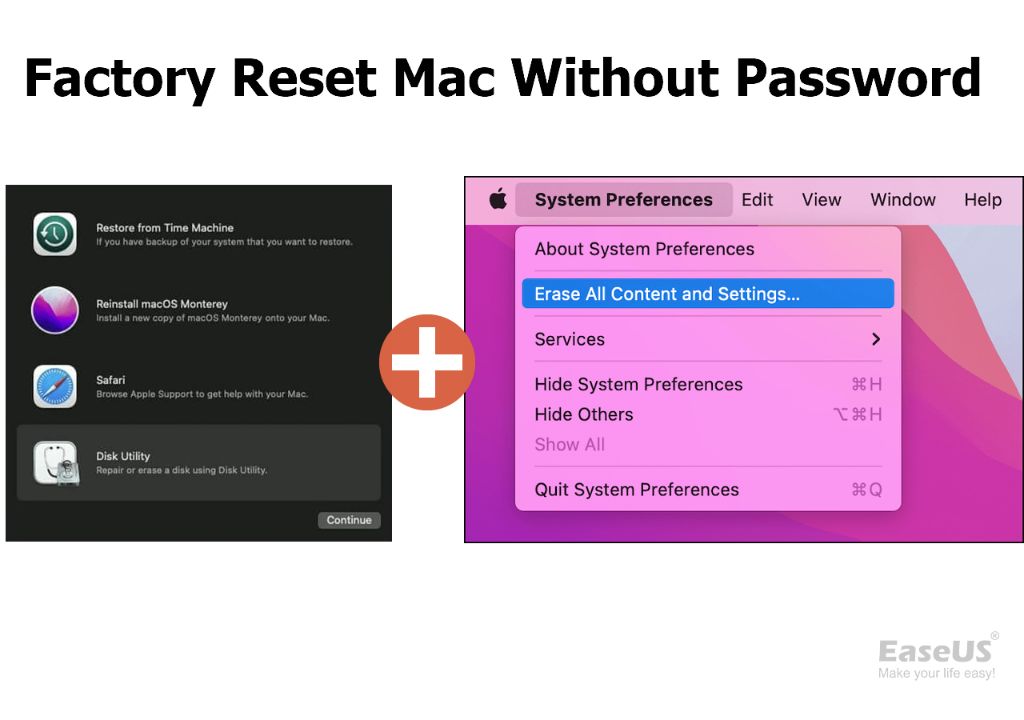
Erase the Hard Drive
The next step is to completely erase the contents of the MacBook’s hard drive using Disk Utility. Disk Utility allows you to securely overwrite the existing data by erasing the drive and reformatting it.
To erase the hard drive:
- Open Disk Utility from the Utilities window in Recovery mode.
- Select the Macintosh HD drive in the sidebar.
- Click the Erase button at the top.
- Choose a name for the erased volume.
- Select “Mac OS Extended (Journaled)” as the format.
- Choose “GUID Partition Map” for the scheme.
- Click Erase to permanently delete all data on the drive [1].
Erasing the hard drive completely wipes all data and prepares it to be reformatted with the new version of macOS. This process may take some time depending on the size of the drive.
Reinstall macOS
The next step is to reinstall macOS onto the erased drive. This will install a clean version of your desired macOS without any leftover data or settings from the previous installation. You can download the latest macOS installer from the Mac App Store.
To do a clean install:
- Boot from the USB installer you created earlier
- Follow the onscreen prompts to begin installation of the desired macOS version
- Select the erased drive when prompted to choose a destination
- Continue following the installation prompts until the process completes
Clean installing macOS ensures you start fresh without any leftover cruft from the previous OS and data. This is especially important if you are installing on a locked MacBook to get it functioning again (
Restore Data
After reinstalling macOS, you’ll want to restore your personal data and files. The easiest way to do this is from a backup you made before wiping your MacBook.
To restore data from a Time Machine backup:
- Open Finder and navigate to Applications > Time Machine.
- Select “Enter Time Machine.”
- Navigate to your backed up files and folders and select “Restore” to copy them back to your Mac.
If you used another backup service like iCloud or a third-party tool, follow their instructions to restore files from that backup. Be sure to only restore personal data like documents, photos, music, etc. and not system files or applications.
After your files are restored, you may need to reconfigure some application settings that did not save to your backup. Reinstall any applications you need from the App Store or other sources.
Re-enable Security Features
After erasing and reinstalling macOS, you’ll want to re-enable some of the security features that were disabled during the process:
Turn Find My Mac back on to help locate and protect your Mac if it gets lost or stolen. You can enable Find My Mac in System Preferences under your Apple ID account. See Apple’s support guide for instructions.
Reset your firmware password if you had one set previously. The firmware password prevents unauthorized users from changing startup settings or booting from external media. To reset it, boot into macOS Recovery, open the Terminal app and enter the firmwarepasswd -delete command. See Apple’s support page for details.
Re-enable FileVault disk encryption if you had it turned on before. FileVault encrypts all data on your startup drive for added security. You can turn it back on in System Preferences under Security & Privacy. Refer to Apple’s FileVault guide for help.
Check that any other security settings like firewall protection are also turned back on as needed. With your security features re-enabled, your Mac is once again protected.
Conclusion
In summary, wiping a locked MacBook involves backing up your data, disabling Find My Mac, creating a bootable installer, booting from the USB, erasing the hard drive, reinstalling macOS, and then restoring your data. You’ll also want to re-enable any security features like FileVault afterwards. The steps outlined in this guide should allow you to completely erase and reset your MacBook to a fresh state.
For additional help troubleshooting or alternatives, consult Apple’s support page on erasing your Mac and resetting to factory settings. You can also find tips on using Disk Utility specifically to erase the drive. Just be certain to back up any important data you want to keep before proceeding.