There are a few key reasons why someone may want to wipe their Mac hard drive clean and start over. The most common reasons include:
– Selling or giving away the Mac – To protect personal data before the computer changes hands, it’s essential to fully erase the hard drive.
– Performance issues – Over time, clutter and outdated files can slow a Mac down. Wiping the drive provides a “clean slate” and often improves performance.
– Prior to an operating system upgrade – Some major macOS updates work best with a fresh install rather than an upgrade. Wiping the drive allows for a seamless install of the new OS.
– Removing malware or viruses – If security software cannot fully remove malware, a full drive wipe may be the only way to ensure it’s erased.
Before wiping a hard drive, it’s absolutely vital to back up all important files, photos, documents and data. The erase process will permanently delete everything on the drive. However, with a proper backup, important data can be safely restored after reinstalling macOS and apps.
Back Up Important Data
Before wiping your Mac’s hard drive, it is crucial to back up your important data. According to TechTarget, “A backup policy sets forth the importance of data and system backups, defines the ground rules for planning, executing and validating backups …” (https://www.techtarget.com/searchdatabackup/tip/The-importance-of-backup-policies). Backing up your data ensures you don’t permanently lose personal files, documents, photos, and other irreplaceable information.
There are two main options for backing up your Mac data: cloud backup and local backup. Popular cloud backup services like iCloud, OneDrive, and Dropbox allow you to continuously sync files and folders to their online servers. This protects your data if your hard drive fails or your Mac is lost or stolen. For more sensitive data, local backups to an external hard drive or Time Machine are more secure options that keep your data in your possession.
Before wiping your Mac, take the time to fully back up your user account files, applications, system settings, and other data you want to preserve. Confirm the backups were successful before proceeding with erasing the hard drive.
Sign Out of iCloud
Before wiping your Mac, it’s important to sign out of iCloud to stop any files or data from syncing. This prevents issues down the road if any of your data remains on Apple’s servers. According to sources, “You need to sign out of your Apple ID and turn Find My Phone off before resetting. If you want a full reset, use the steps in the article below.” [1]
Signing out of iCloud also deactivates the activation lock on your Mac. The activation lock prevents anyone else from using your Mac without your Apple ID and password. If you erase your Mac without signing out, the new owner may not be able to activate and use the Mac properly. As experts explain, “once you “Erase all content and settings” your iPhone is basically back to factory settings and the new owner will not be able to sync …” [2]
So before wiping the hard drive, go into System Preferences > Apple ID and click “Sign Out.” This severs the connection between your Mac and iCloud account. You can then securely erase the Mac without any data or settings lingering.
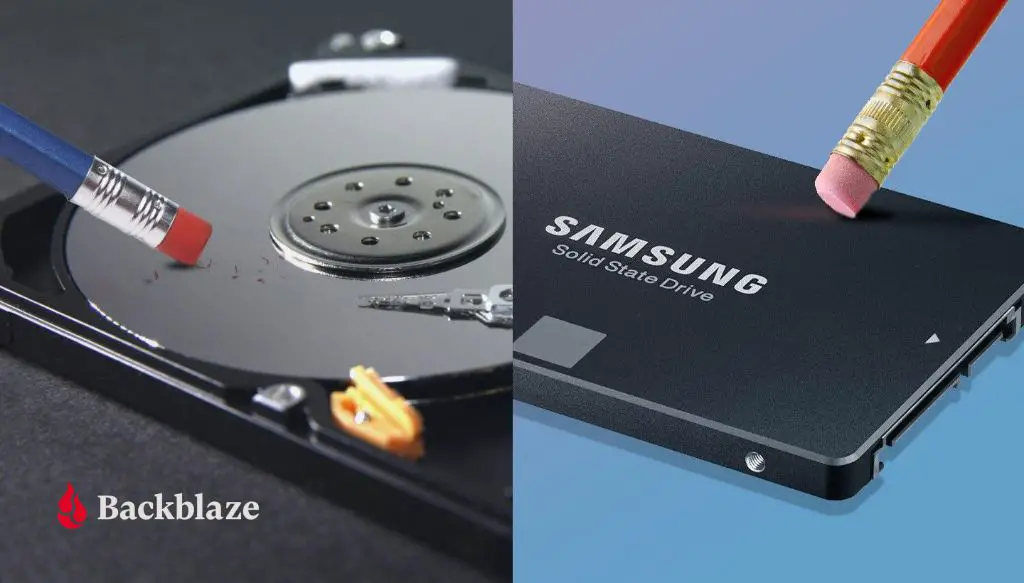
Erase the Hard Drive
To securely erase the hard drive, you will need to boot into macOS Recovery and use the Disk Utility application. macOS Recovery allows you to repair, restore, or erase your Mac when you can’t start up from your normal startup disk. Follow these steps:
- Restart your Mac and immediately press and hold Command + R keys to boot into macOS Recovery.
- Once booted into macOS Recovery, select Disk Utility from the Utilities window.
- In Disk Utility, select your startup disk from the sidebar.
- Click the Erase button at the top of the window.
- Choose a format for erasing the disk. “APFS” is recommended for SSDs and recent versions of macOS. Older versions may require “Mac OS Extended (Journaled).”
- You can also choose between a standard erase which is faster, or a more secure erase which overwrites data making it unrecoverable (source).
- Click Erase to confirm and wait for the process to complete.
This will completely erase the startup disk, removing all existing files, applications, and the installed operating system. Once erased, you can proceed with reinstalling macOS.
Reinstall macOS
The next step is to reinstall the latest version of macOS on your wiped hard drive. To do this, you’ll need to first download the macOS installer from the App Store. Go to the App Store application and search for “macOS” to find the latest version. Download the installer file which will allow you to reinstall macOS (source).
With the installer downloaded, you’ll need to create macOS installation media on an external drive like a USB flash drive. To create the installation media, connect the USB drive and launch the Installer file. Follow the onscreen steps to create the installation media (source).
Now you can boot from the USB installer drive and walk through the process of reinstalling macOS. You’ll be guided through steps like selecting your language, choosing the disk to install on, and agreeing to license terms. The installation typically takes around 20-30 minutes depending on your Mac. Be patient and let the process complete without interruption. Once done, your Mac will reboot into the freshly installed OS.
Restore From Backup
After erasing your Mac’s hard drive, you’ll need to restore your files and settings from a backup. There are two main options for restoring backups on a Mac – using iCloud or a local Time Machine backup.
To restore from an iCloud backup, you’ll need to be signed into iCloud with the account you previously backed up. When setting up your blank Mac, make sure to sign into iCloud using the same Apple ID. Once signed in, your Mac will automatically pull your iCloud backup and restore your files, photos, contacts, calendars and more. An iCloud restore can take anywhere from a few minutes to a few hours depending on your backup size and internet speed [1].
For a more comprehensive restore, you can use a local Time Machine backup. Time Machine is included with macOS and allows you to back up your entire Mac to an external hard drive or network storage location. Once you’ve erased your Mac, you can restore from a Time Machine backup during the macOS setup process. Simply connect your Time Machine backup drive and select “Restore from Time Machine backup” during setup. The process will migrate your data, files, apps and system settings back onto your Mac. A full Time Machine restore can take anywhere from a few hours to a day depending on the size of your backup and the speed of your drives [2]. Be patient and let the process complete fully to ensure everything is transferred over.
Regardless of your backup method, make sure your important files, documents, photos and other data are fully restored onto your fresh Mac install before customizing the system further.
Reinstall Apps
After getting macOS setup again, it’s time to reinstall your apps. The easiest way is to head to the App Store and download all your purchased apps again. Just open the App Store app and go to the Purchases tab to find apps you’ve downloaded previously. Click the cloud icon next to each one to download it again.
For third party apps not available on the App Store, you’ll need to go to each developer’s website and download the latest version. Make sure to grab apps like Adobe Creative Cloud, Google Chrome, Slack, Spotify, Zoom, and any others you relied on. Some apps may need you to re-enter your license key or login details.
Finally, don’t forget to customize your apps’ settings and preferences to get them just the way you like. Go through each app’s preferences to set up keyboard shortcuts, default file locations, appearance options, and any customizations you want to keep things consistent.
Customize the Mac
Personalizing your Mac’s look and settings can make your computing experience more enjoyable. With some tweaks, you can get more efficiency out of your trackpad and mouse. To customize trackpad and mouse settings, open System Preferences and click Trackpad or Mouse. Here you can adjust the tracking speed, enable tap to click, and more (Source).
You can also change up your Mac’s wallpaper for a fresh look. Go to System Preferences > Desktop & Screen Saver to pick from Apple’s default wallpapers or choose one of your own photos. Dragging images directly onto the desktop background also works.
The Dock along the bottom of the screen can be organized to your liking. Right click the Dock and select Dock Preferences to adjust the size, position, and whether to automatically hide and show it. Dragging apps around the Dock will reorder them (Source). Keeping frequently used apps on the Dock can save you time.
Security Best Practices
There are several key security measures Mac users should take to protect their data and privacy, according to Apple’s Password security recommendations.
First, enable a firmware password. This prevents unauthorized users from starting up from a disk other than your startup disk, and it adds an extra layer of security for your Mac. According to Apple, a firmware password prevents users from changing startup security settings when starting up from macOS Recovery or an external drive.
Next, use FileVault encryption to encrypt the contents of your entire drive. FileVault protects your data even if your Mac is lost or stolen. When FileVault is enabled, macOS requires a password to decrypt the information on your startup disk.
Finally, use a dedicated password manager app to generate and store strong, unique passwords. A password manager generates complex passwords for each account, remembers them for you, and syncs between devices. This is far more secure than reusing the same passwords across accounts. Apple recommends using a password manager app to create and store strong passwords.
Conclusion
To recap, wiping your Mac’s hard drive and starting fresh is a multi-step process. It involves backing up your important data, signing out of iCloud, completely erasing the hard drive, reinstalling macOS from Recovery Mode, restoring your data from the backup, reinstalling apps, customizing the Mac to your preferences again, and implementing good security practices. While it may seem daunting, by methodically following each step you can completely reset your Mac.
Wiping your hard drive allows you to remove any clutter and start over with a clean slate. This can help improve your Mac’s performance, especially if the old files and software were slowing things down. It also allows you to reevaluate if there are files and apps you no longer need. Just be sure to properly back up any important documents, photos, music, and other data before erasing the hard drive, so you don’t lose anything valuable. With some time and patience, you can wipe your Mac and restore it to like-new condition.
