Wiping your Mac clean and restoring it to factory settings using Disk Utility is a simple process that can be done in just a few steps. A clean install erases all of the data, apps, and settings on your Mac’s startup drive and reinstalls the latest version of macOS. This can help improve performance, fix software issues, and remove any malware or viruses. Here’s a step-by-step guide on how to wipe a Mac using Disk Utility.
When Should You Wipe Your Mac?
There are a few instances when completely wiping your Mac and performing a clean install of the operating system is recommended:
- You’re selling or giving away your Mac – Wiping it protects your personal information
- Your Mac is acting sluggish – A clean install can potentially improve performance
- You suspect your Mac has malware – Wiping it will remove any malware or viruses
- You want to start fresh – Wiping the Mac will erase all apps, settings and files
Back up any important files and data you want to keep before wiping your Mac, as the process will erase everything on the startup drive. Deauthorize any linked iTunes accounts as well.
How to Wipe a Mac in Recovery Mode
Here are the steps to erase your Mac and reinstall macOS using the Recovery HD partition:
- Restart your Mac and immediately press and hold Command + R after you hear the startup chime. This will boot your Mac into Recovery mode.
- When the macOS Utilities window appears, select Disk Utility from the options.
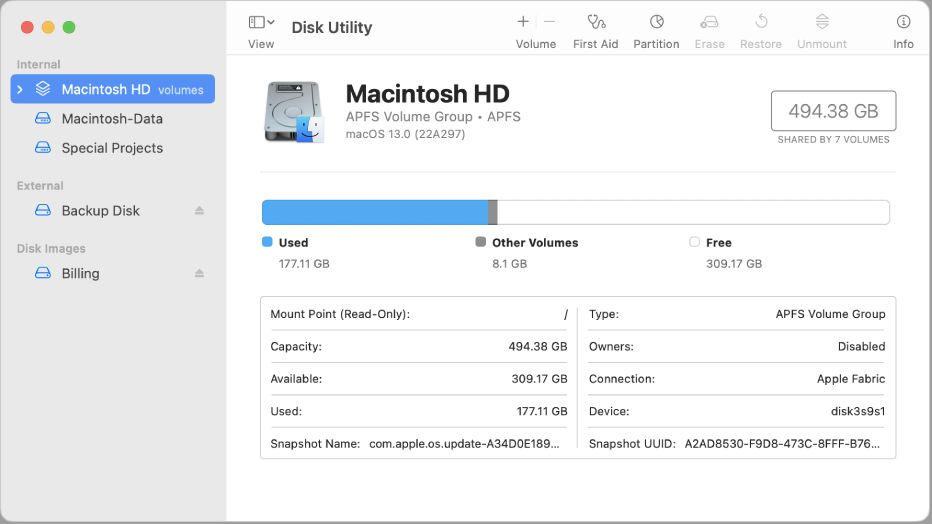
- In Disk Utility, select your startup drive from the left sidebar. This is usually named Macintosh HD. The process will erase and reinstall macOS on this drive.
- Click the Erase button near the top of the Disk Utility window. Make sure the correct drive is selected.
- Enter a name for the drive, typically Macintosh HD. Use the Mac OS Extended (Journaled) format.
- Click Erase again to confirm you want to wipe the drive. This process may take several minutes depending on your drive size.
- When done, quit Disk Utility. You will be returned to the macOS Utilities window.
- Finally, click Reinstall macOS and follow the onscreen prompts to install the latest version of macOS clean.
Your Mac will reboot several times during the reinstallation process. Be patient and let the process complete. Once finished, you’ll be welcomed with the setup assistant to customize your blank Mac.
How to Wipe a Mac from the Internet Recovery Mode
If your Mac’s Recovery HD partition is damaged or unavailable, you can still wipe the startup drive and reinstall macOS over the internet. Follow these steps for internet recovery:
- Restart your Mac and hold Option + Command + R during startup to boot into internet recovery mode.
- After progress bars load, use Disk Utility to select and erase your startup drive.
- Quit Disk Utility when finished wiping the drive.
- Instead of Macintosh HD, select Reinstall macOS to reinstall the Mac operating system over the internet connection.
- Follow the onscreen prompts to install the latest macOS version clean on your wiped drive.
Internet recovery can take longer than using the local Recovery HD partition. But it achieves the same end result – completely wiping your Mac and allowing you to reinstall macOS with a clean slate.
Using a Mac Erase Tool
Third-party erasing tools for Mac can also fully wipe your hard drive and reinstall macOS. Some popular options include:
- Stellar Data Eraser – Wipes drives securely with multiple pass options.
- CleanMyMac X – Mac cleaning software with an erase tool included.
- Paragon Hard Disk Manager – Drive management tool to wipe volumes.
- Carbon Copy Cloner – Can fully erase volumes before cloning content.
These tools offer advanced features beyond Apple’s built-in Disk Utility for erasing the Mac. This includes more secure erase methods and options to wipe free disk space of any remnants. Use these tools the same way you would Disk Utility – erase the startup volume, then reinstall macOS.
How to Securely Wipe a Hard Drive
When selling or disposing of an old Mac, you’ll want to make sure personal files and data are completely erased beforehand. Simply deleting files or reformatting doesn’t fully remove the data. Here are a couple methods to securely wipe a Mac’s hard drive:
Use Disk Utility’s Secure Erase Option
- Boot to Recovery Mode or Internet Recovery Mode.
- Launch Disk Utility and select the hard drive volume to wipe.
- Click the Erase button.
- Choose Security Options and move the slider to select between a 1-pass, 3-pass, or 7-pass secure erase.
- Click Erase to wipe the drive. This may take hours depending on drive size.
Use a Third-Party Secure Erase Tool
As mentioned above, tools like Stellar Data Eraser provide multiple secure erase options like DoD 5220 and Gutmann methods. These overwrite all data sectors repeatedly, ensuring secure deletion.
How to Erase an External Drive on Mac
The steps to securely erase an external USB drive or hard drive using Disk Utility are the same:
- Connect the external drive you want to erase to your Mac.
- Launch Disk Utility.
- Select the external drive in the left sidebar.
- Click Erase and choose a secure erase option if desired.
- Give the erased external drive a name and click Erase to wipe it.
Third-party tools also work great for erasing any connected external drives. Just make sure to choose the correct drive before starting the erase process.
How to Erase Deleted Files on Mac
When files are deleted on your Mac, the data isn’t completely erased from the hard drive. Parts still exist in the free space on the volume until being written over. To fully wipe deleted files on Mac:
- Use Disk Utility’s Erase Free Space option to overwrite the volume’s free space.
- Or use a secure delete tool like Permanent Eraser that can target and wipe previously deleted files.
This will help erase any lingering traces of deleted files containing personal or sensitive data on a Mac.
How to Erase Specific Files or Folders on Mac
To securely erase specific files, folders, or individual applications on a Mac:
- Drag the files to the Trash.
- Open the Trash folder and right click on the files or folders.
- Select the Finder menu > Secure Empty Trash option.
This overwrites the data before fully deleting those specific files as an alternative to wiping the entire drive.
Frequently Asked Questions
Is Wiping a Mac Necessary Before Selling?
Yes, you should securely wipe your Mac before selling or giving it to someone else. This deletes all personal files, accounts, and settings stored on the system and protects your private data.
Does Reformatting a Hard Drive Erase Everything?
No, a simple reformat or repartition of a drive does not securely erase all data. Sensitive information still exists in the free space. Use Disk Utility’s secure erase options or a third party tool to fully wipe a hard drive.
Is Disk Utility Secure Enough to Erase a Mac?
Disk Utility’s default Erase process does a simple reformat only. But enabling security options to perform a multi-pass erase provides sufficient secure deletion for most needs.
How Long Does It Take to Wipe a Hard Drive?
It depends on the erase method used, drive size, and computer speed. A simple erase can take under a minute. A secure multi-pass erase can take hours on large, multi-terabyte hard drives.
Can You Recover Data After Erasing a Hard Drive?
It’s very difficult to recover data from a drive after a thorough, multi-pass secure erase. But single pass methods may allow recovery of some data fragments. The more overwrite passes, the less chance of recovery.
Conclusion
With the steps above, you can fully erase and reinstall macOS on your Mac using the built-in Disk Utility application. For maximum security when wiping sensitive data, use the secure erase options in Disk Utility or a third-party tool. Be sure to back up any important files first, as the erase process deletes everything. Wiping your Mac gives you a clean slate and fresh install of the operating system.