Quick Overview
There are a few different ways to wipe or format a micro SD card on a Mac. The easiest option is to use the Disk Utility application that comes pre-installed on all Macs. You can also use Terminal to format the SD card if you’re comfortable using command line tools. Additionally, third-party SD card formatting apps are available like SD Memory Card Formatter. The method you choose depends on your comfort level and needs. Generally, Disk Utility or SD Card Formatter will be the easiest for most users.
Using Disk Utility to Wipe an SD Card
Disk Utility allows you to quickly erase and reformat SD cards and other storage devices on Mac. Here are the steps:
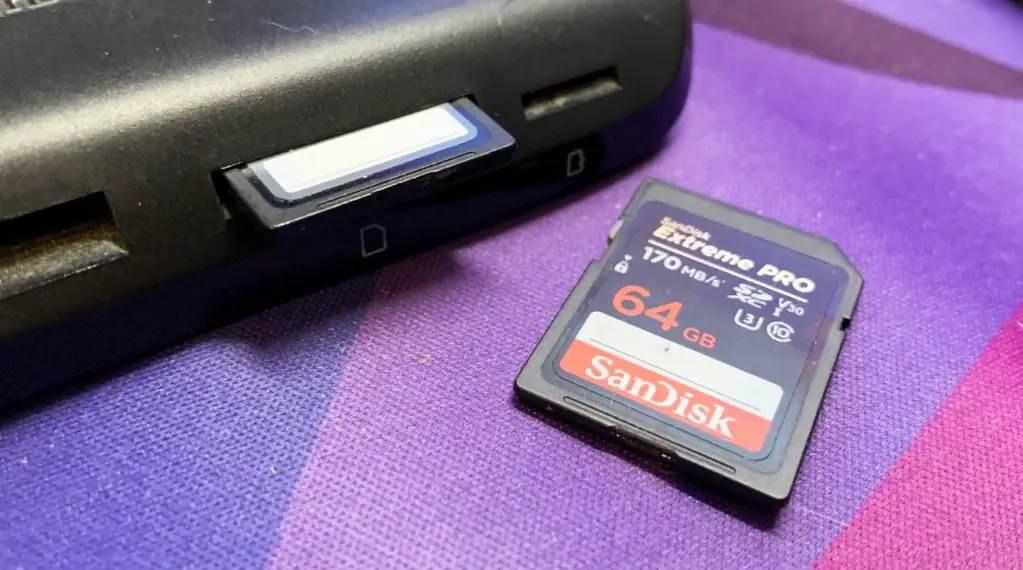
- Connect your micro SD card to your Mac using a card reader or adapter.
- Open Disk Utility (located in Applications > Utilities).
- In the left sidebar, select your SD card.
- Click the Erase button at the top.
- Give your SD card a name.
- Choose a format – FAT32 or exFAT are most compatible formats for SD cards.
- Click Erase to wipe and format the card.
That’s all there is to it! Disk Utility will quickly format the card to be empty and ready to use.
Some things to keep in mind when using Disk Utility:
– Make sure you select the correct drive so you don’t accidentally erase your computer’s main hard drive.
– Choosing FAT32 format will allow the SD card to be read by most devices, while exFAT supports cards larger than 32GB.
– You can also choose to add encryption and set partitioning schemes. In most cases the default quick erase is all that is needed.
– Erasing the SD card will delete all existing files so be sure to backup anything important first!
Using Terminal to Format an SD Card
For those comfortable using the command line, you can also format a micro SD card using Terminal on your Mac. Here are the steps:
- Connect the SD card to your Mac.
- Open Terminal (located in Applications > Utilities).
- Type
diskutil listand press Return to view available drives. - Identify the disk name for your SD card (for example /dev/disk2).
- Type
diskutil eraseDisk FAT32 MBRFormat SDname /dev/disk2replacing “SDname” with the desired name for your SD card. - Press Return and confirm the erase process.
This will format the SD card as FAT32. You can also substitute exFAT instead if needed.
Some things to note when using Terminal:
– Make sure to identify the correct disk number for your SD card to avoid erasing your computer’s main drive.
– You can view disk names and formats by running diskutil list before and after.
– The format process can take several minutes to complete.
– All existing data on the SD card will be deleted so be sure to backup first.
Using Third-Party SD Card Formatter Apps
There are also third-party formatter tools available if you need advanced options for wiping SD cards.
SD Memory Card Formatter is a free app designed specifically for SD cards. Benefits include:
– Compatible with all SD card types.
– Supports quick and full format options.
– Ability to format cards larger than 32GB as FAT32.
– Securely erases data making it unrecoverable.
To use, download and install SD Card Formatter for Mac from the official website. Insert your micro SD card, select the correct drive, choose format options, and click Format to wipe the card.
Other paid third-party SD card formatter apps are also available on the Mac App Store such as MiniTool and iBoysoft. They provide features like batch formatting multiple cards. Paid tools may be worth it for power users but are unnecessary for most people.
Important Tips When Wiping an SD Card
Here are some important tips to keep in mind when wiping and formatting a micro SD card on your Mac:
– Always eject and unmount the SD card before removing it from your Mac. This prevents data loss or corruption.
– Be extremely careful to select the correct SD card drive when erasing to avoid deleting important computer files.
– Backup any files or data you want to keep before formatting the SD card. The wipe process erases everything.
– Avoid very cheap or counterfeit SD cards which can be prone to errors and performance issues. Go with a reputable brand.
– Low-level format tools can wipe SD cards thoroughly but take much longer than a quick erase format.
– FAT32 formatting is compatible with most devices but limits cards to 32GB. Use exFAT instead for larger SD cards.
– Formatting the card regularly helps prevent corruption and performance issues from developing over time with prolonged use.
Reasons to Wipe an SD Card
There are a few common reasons you may want to wipe and reformat your micro SD card on a Mac:
– **Preparing a New SD Card:** Brand new SD cards out of the box will be unformatted. Formatting prepares them for first use in your devices.
– **Removing Data:** Before selling or giving away an old SD card, you’ll want to completely wipe everything. Formatting erases all data.
– **Troubleshooting Issues:** A corrupted, unresponsive, or glitchy SD card can often be fixed by reformatting. This provides a clean slate.
– **Different File System:** You may need to reformat your SD card to change the file system if you want to use it with different devices or operating systems.
– **Slow Performance:** If your SD card is showing slower read/write speeds, reformatting can help restore its original performance by clearing any fragmentation.
– **Unable to Format in Camera:** Cameras sometimes have issues formatting SD cards. Wiping it on your Mac first can resolve this.
No matter your reason for wiping an SD card, using Disk Utility or a dedicated SD card formatter app provides a quick and easy way to do it on Mac. Just be absolutely sure you’ve backed up anything important on the card first!
Frequently Asked Questions
Why is my Mac not detecting my SD card?
If your Mac isn’t recognizing your SD card, try these troubleshooting steps:
– Check connections – Remove and reinsert the card reader and USB connections.
– Try a different USB port or reader.
– Inspect the SD card for damage or debris in the slot.
– Use Disk Utility to see if the SD card shows up.
– Restart your Mac in case the card wasn’t mounted properly.
– Update your Mac in case a software issue is preventing detection.
– Try your SD card on a different device to see if the issue is with the card.
How can I recover data after formatting an SD card?
Recovering lost data after formatting an SD card can be difficult but here are some options:
– Stop using the SD card immediately to prevent overwriting data.
– Try file recovery software like Stellar Data Recovery to scan and restore deleted files.
– Bring the SD card to a data recovery specialist for extraction of data, but costs will apply.
– On Macs, apps like Disk Drill can recover some recently deleted files from Trash before it’s fully erased.
– Always backup your SD cards before formatting to prevent permanent data loss.
What is the difference between FAT32, exFAT, and other file systems?
FAT32 and exFAT are the two main file system options for SD cards:
– FAT32 – compatible with all devices but can’t store files over 4GB. Limited to 32GB card size.
– exFAT – newer system that supports cards over 32GB. Allows larger file sizes.
– APFS – optimized for SSD/flash memory but not compatible with many cameras. Macs default to this.
– NTFS – Windows default file system. Read-only on Mac unless you install software.
– HFS+ – legacy Mac file system no longer used. Not compatible with other devices.
For SD cards, FAT32 or exFAT are recommended. exFAT is best for large capacity cards and files over 4GB.
Is there a way to recover photos after formatting a memory card?
There are a few options to try recovering deleted photos from a formatted memory card:
– A formatted card is not overwritten immediately so recovery software can retrieve recently deleted files.
– Stop using the card right away and use professional data recovery services.
– Some cameras keep protected backups of the last photos taken – check your model.
– If you uploaded photos to iCloud or another cloud service, you may be able to restore them.
– On a Mac, apps like PhotoRescue may find deleted image files thought to be lost forever.
– In the future, be sure to regularly backup all your memory cards for safe keeping.
Conclusion
Formatting a micro SD card on your Mac using Disk Utility, Terminal, or a third-party app is a quick and straightforward process. Just be absolutely certain you are selecting the correct drive to avoid erasing important data. Remember to always properly eject and unmount your card before removal as well.
With a little care, wiping and reformatting your SD card when needed helps it stay in top working order for reliably storing and transferring files, photos, videos, and other data. Just be sure to maintain backups of any important content before formatting the card, as the process erases everything.