Selling an old Mac computer can be a great way to earn some extra cash or pass it along to someone who needs it. However, before selling or giving away a used Mac, it’s essential to fully erase and reset it to factory settings to protect your personal information. A complete wipe will clean the hard drive and reset the device to its original state. Here are step-by-step instructions on how to fully erase all data on your Mac before selling it.
Why Do You Need to Wipe a Mac Before Selling?
There are a few important reasons why you should fully wipe your Mac before selling or giving it away:
- Protect personal data – There may be sensitive files, documents, photos or browser history saved on the hard drive that you don’t want the next owner to access.
- Remove installed software – Wiping the Mac will uninstall any licensed software you don’t want to pass along.
- Eliminate passwords and settings – Resetting to factory defaults will erase all user accounts, passwords, and custom settings.
- Fix software issues – A clean wipe can resolve any performance issues, bugs or corrupted files.
- Install latest OS – The new owner will start with a fresh installation of the newest macOS version.
Taking the time to fully erase your Mac gives both you and the new owner peace of mind.
How to Back Up Your Mac Before Wiping It
Before wiping your Mac, it’s a good idea to back up any important files you want to keep. Here are some options for backing up your data:
- Time Machine – Use Time Machine to backup everything to an external hard drive.
- Cloud storage – Sync files to iCloud or services like Dropbox.
- External drive – Manually copy files to a USB flash drive or external hard drive.
- Data migration tool – Use a tool like Apple’s Migration Assistant to transfer files to another Mac.
Once your personal files are safely backed up, you can feel comfortable erasing the entire Mac and know you won’t lose anything important.
How to Wipe a Mac Without Disk Utility
There are a couple options for securely erasing a Mac without using the built-in Disk Utility tool.
Method 1: Use Third-Party Wiping Software
Specialized Mac cleaner apps provide advanced disk erasure features beyond what Disk Utility offers. Some top options include:
- CleanMyMac X – Provides secure overwrite algorithms to deeply erase data.
- AppCleaner – Allows securely deleting specific files or apps.
- EraseIt – Wipes free disk space to scrub leftover data fragments.
Third-party wipe tools give you more control over how the erase process is handled.
Method 2: Reinstall macOS
You can also wipe a Mac by erasing the disk and doing a fresh install of the operating system:
- Boot into Recovery Mode by holding Command + R on restart.
- Select Disk Utility from the options.
- Choose your startup disk and click “Erase” to format it.
- Quit Disk Utility and reinstall macOS.
This will completely replace the original OS with a brand new installation.
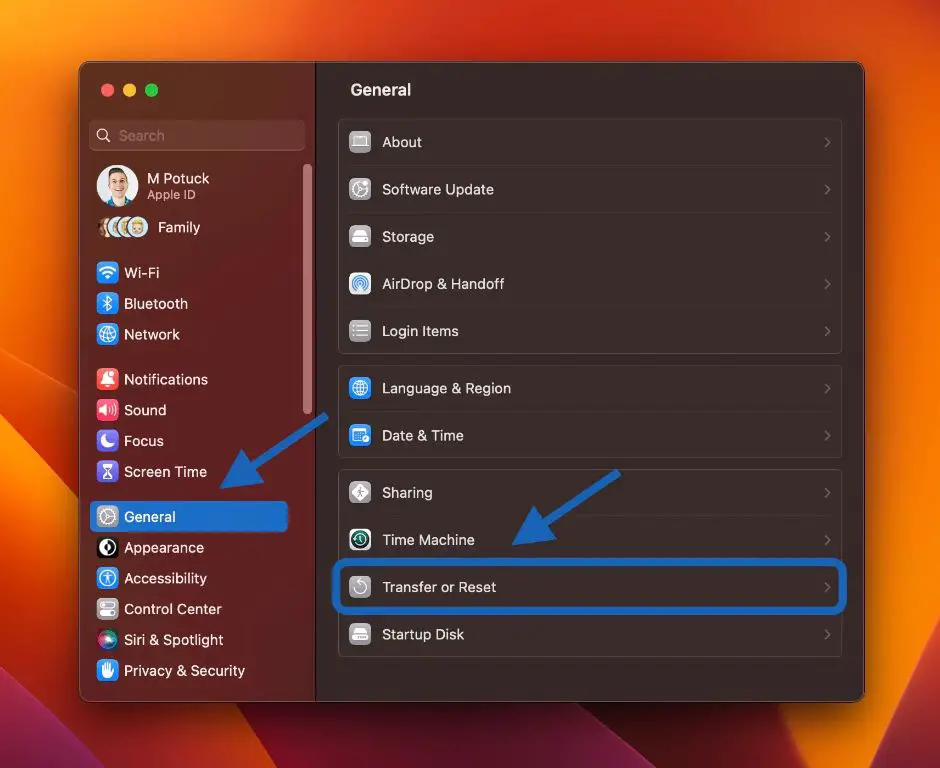
How to Securely Wipe a Mac with Disk Utility
The most thorough way to erase a Mac is by using the built-in Disk Utility application. Here is the step-by-step process:
- Backup your data – Make sure anything important is backed up before starting.
- Restart in Recovery Mode – Turn your Mac off completely, then turn it back on and immediately hold down Command + R until you see the Recovery screen.
- Open Disk Utility – Select Disk Utility from the Recovery Mode options.
- Select the startup disk – Choose your Mac’s main internal hard drive from the left side panel in Disk Utility.
- Erase the disk – Click the Erase button at the top of the Disk Utility window. Give it a name if desired.
- Choose a format – It’s best to use Mac OS Extended (Journaled).
- Select a scheme – Use GUID Partition Map for most Macs.
- Choose an erase option – Most secure is a 3-pass erase, but a 1-pass is usually sufficient.
- Begin the wipe process – Click Erase at the bottom to start the disk wipe.
- Exit Disk Utility – Once complete, close Disk Utility.
- Reinstall macOS – Follow the prompts to reinstall a fresh copy of macOS.
Using Disk Utility’s erase feature is the most thorough way to wipe a Mac back to factory settings. The multi-pass options ensure every bit of existing data is completely overwritten.
How to Wipe a Mac SSD vs HDD
There are some differences to consider when wiping data from a solid state drive (SSD) compared to a traditional hard disk drive (HDD):
Wiping an SSD
- Faster performance – SSD wipes will be much quicker, usually under a minute.
- Trim support – Newer SSDs support the TRIM command to auto-erase deleted blocks.
- Less recoverable – SSDs make data recovery more difficult after a wipe.
Wiping an HDD
- Slower – HDD wipes take much longer due to slower write speeds.
- More recoverable – Data remnants may remain on an HDD even after a wipe.
- Pass options – Multi-pass wipes are more effective on traditional HDDs.
Overall, wiping an SSD is a quicker and potentially more secure process. But Disk Utility recommends using a 3-pass erase on both HDDs and SSDs for maximum protection.
Should You Do a 3-Pass Wipe on a Mac?
Disk Utility gives you different options for the number of passes when erasing a disk. Here’s an overview of the pros and cons of each:
| Pass Level | Pros | Cons |
|---|---|---|
| 1-pass wipe | – Very fast – Sufficient for SSDs |
– Data may be recoverable |
| 2-pass wipe | – Fairly fast – Added security |
– Not NSA-level protection |
| 3-pass wipe | – Extremely secure – Meets government standards |
– Very slow for HDDs |
While a 1-pass wipe may be enough, using Disk Utility’s most secure 3-pass option provides maximum assurance that no data can ever be recovered. This level meets US Department of Defense standards for data destruction. However, it can add hours to the wiping process on traditional hard drives.
Should You Wipe Unused Space on a Mac?
When deleting files on your Mac, the remaining unused space on the hard drive may still contain traces of that data. Here are the pros and cons of wiping free space:
Reasons to Wipe Unused Disk Space
- Eliminates fragmented data from old deleted files
- Removes temporary files and caches
- Cleans malware or bloatware that was removed
- Frees up additional disk space after wiping
Reasons Not to Wipe Unused Space
- Can be a very lengthy process on large drives
- May impact a backup drive by erasing older versions
- Not necessary for quick everyday use
For a Mac you are keeping and actively using, unused space wiping isn’t essential. But it can provide added security when selling or giving away your Mac to be sure no old data remnants exist.
How Long Does It Take to Wipe a MacBook Pro?
The amount of time it takes to completely wipe and reinstall macOS on a MacBook Pro depends on a few factors:
- Drive type – SSDs can wipe in under 5 minutes, while HDDs may take over an hour.
- Drive capacity – Larger drives with more capacity will naturally take longer.
- Erase passes – A 3-pass wipe triples the erase time versus a single pass.
- macOS reinstall – Up to 1 hour is usually needed for a fresh OS installation.
On an average MacBook Pro with a 500GB SSD, expect the entire process to take around 30-60 minutes. Very large multi-terabyte HDDs could stretch to 2+ hours with a 3-pass wipe.
Can You Recover Data After Wiping a Mac?
If proper disk erasure steps were followed, it becomes very difficult to recover data from a wiped Mac. Here are some considerations:
- With an SSD, data is largely unrecoverable after one wipe pass.
- On an HDD, fragments of data may remain recoverable after 1-2 passes.
- A 3-pass wipe of an HDD makes recovery essentially impossible.
- Wiping free space makes data unrecoverable from that area.
- More advanced forensic recovery methods may pull some data remnants.
While 100% data recovery from a wiped Mac is unlikely, a 3-pass HDD wipe gives the most data protection.
How to Securely Wipe External Devices
It’s also important to fully wipe any external devices that are being sold or given away with the Mac. Here are tips for wiping external devices:
External hard drives
Use Disk Utility’s erase feature with a 3-pass wipe, the same as with the internal drive.
USB flash drives
Use a third-party app like EraseIt to write zeros across the entire flash drive.
SD cards
On Macs with built-in SD readers, use Disk Utility’s erase feature. Or insert into a camera and use the camera’s formatting tools for a full card wipe.
Backup drives
Wipe Time Machine backup drives in Finder by right-clicking and selecting “Format” > “Mac OS Extended (Journaled).”
Following these steps for peripherals ensures no personal information remains accessible on them either.
Other Tips When Selling a Mac
Aside from securely erasing the Mac, here are some other tips to keep in mind when preparing to sell your Apple computer:
- Remove or wipe other connected devices like iPhones, iPods, or Apple Watches
- Unpair any Bluetooth devices linked to the Mac
- Sign out of iCloud and App Store accounts
- Turn off Find My Mac activation lock
- Reset SMC and NVRAM/PRAM
- Remove the Apple ID from Message and FaceTime apps
Taking these steps, along with fully wiping the disk, will get your Mac ready for the new owner to use.
Conclusion
Preparing a Mac for sale requires carefully wiping all personal data. The most secure approach is to use Disk Utility’s multi-pass disk erase feature along with reinstalling a fresh OS. For optimal protection, also wipe external devices and peripherals. Following these best practices allows you to safely sell your Mac without worrying about sensitive information falling into the wrong hands.