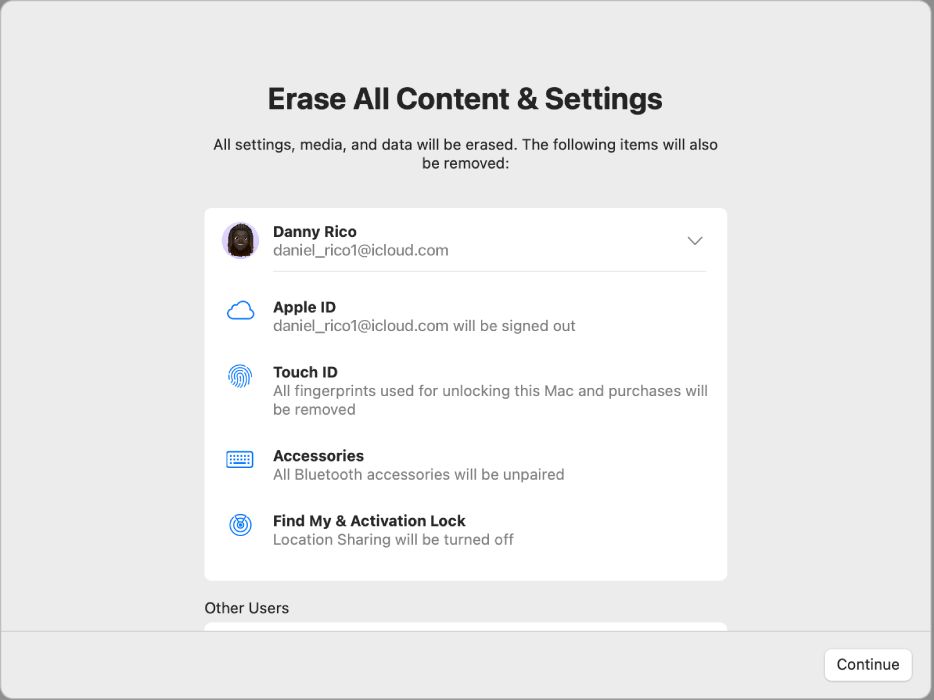
Erasing a Mac resets it to factory default settings and removes all user data, apps, and settings. This can be useful if you are selling or giving away your Mac, experiencing performance issues, or want to start fresh with a clean install. The standard way to erase a Mac is to use the Erase Assistant in macOS Recovery, but this is not supported on some older Macs.
Without Erase Assistant, you’ll need to manually erase the disk and reinstall macOS to factory reset the Mac. This complete removal of data helps ensure no personal or sensitive information remains before passing your Mac to a new owner. It also eliminates any problematic software or files that may be slowing system performance. With a blank slate, you can set up the Mac like new again or troubleshoot any persistent issues not resolved by an erase.
Back Up Your Data
Before erasing your Mac, it is crucial to back up your files, photos, music, documents and other important data. An erase will permanently delete everything on your Mac’s hard drive, so a backup is the only way to preserve your data and restore it later.
According to Apple Support, “Backing up your Mac is simple, important and recommended for everyone” (source). Use Time Machine or an external hard drive to create a full system backup before erasing.
Backing up to iCloud is another option, as it stores copies of your files and folders in the cloud. You can also manually drag files you want to keep onto an external drive or upload them to cloud storage like Dropbox.
The key is to not erase your Mac until you have all your important data copied and saved elsewhere. Otherwise, the erase process will permanently destroy files you may want to keep. So be sure to run a full backup first.
Boot Into Recovery Mode
To start your Mac in recovery mode, you need to use a special key combination during startup. On an Intel-based Mac, hold down Command + R as it powers on to boot into macOS Recovery over the internet [1]. This will allow you to reinstall the version of macOS that originally came with your Mac. You can also use Option-Command-R or Shift-Option-Command-R to start up from macOS Recovery over the internet while downloading the latest compatible version [2].
For Macs with Apple silicon like the M1, press and hold the power button after shutting down to enter recovery mode [3]. Keep holding the power button until you see the startup options, then select your preferred recovery mode.
Erase the Disk
To erase the disk, you’ll need to use the Disk Utility application that comes pre-installed on all Macs. Disk Utility allows you to erase, format, and manage disks and volumes on your Mac. Here are the steps to erase your disk using Disk Utility:
1. Restart your Mac and immediately press and hold the Command + R keys to boot into Recovery Mode. You’ll see the Recovery screen.
2. Click on Disk Utility in the Utilities window.[1]
3. In the sidebar, select the disk you want to erase, usually named “Macintosh HD.”
4. Click the Erase button in the toolbar.
5. Choose a format – it’s recommended to use APFS. Give your erased volume a name.
6. Click Erase to confirm. This process will completely erase and reformat the entire disk.
Using Disk Utility is the most thorough way to erase your Mac’s disk. It overwrites all existing data making it unrecoverable. This is the recommended method before selling, giving away or recycling your Mac.[2]
Reinstall macOS
After erasing the disk on your Mac, you will need to reinstall the macOS operating system before you can use your computer again. There are a couple different options for reinstalling macOS after an erase:
You can reinstall macOS directly from macOS Recovery. To do this, restart your Mac and hold down the Command + R keys at startup to enter Recovery Mode. Then select the option to reinstall macOS and follow the onscreen instructions. For more details, see Apple’s guide on erasing and reinstalling macOS.
Alternatively, you can create a bootable macOS installer on an external drive and use that to install macOS after erasing your Mac. This gives you more flexibility if macOS Recovery is not working properly. You will need a USB flash drive or external hard drive with at least 12GB of available storage. Instructions for creating a bootable installer can be found on Apple’s support page.
Once you have a bootable installer ready, you can boot from it after erasing, and use it to install a fresh copy of macOS. This is helpful if you want to downgrade to an older version of macOS or need to reinstall on multiple Macs.
Restore Data
After erasing your Mac and reinstalling macOS, you’ll want to restore your apps, files, and settings from a backup. The easiest way to do this is to use Time Machine, Apple’s built-in backup software.
According to Apple Support, you can restore your Mac from a Time Machine backup using Migration Assistant after reinstalling macOS. Migration Assistant will transfer your personal files, apps, settings, and more from the Time Machine backup to your newly erased Mac.
To use Migration Assistant to restore from Time Machine after erasing your Mac:
- First, reinstall macOS after erasing your disk.
- Launch Migration Assistant (located in /Applications/Utilities).
- Click “Restore from Time Machine backup” and select the Time Machine backup you want to restore from.
- Migration Assistant will transfer the data from the backup to your erased Mac.
This will help get your Mac’s apps, files, and settings back up and running quickly after erasing the disk.
Alternatives to Erasing
Instead of fully erasing your Mac, there are some other options to consider that may better suit your needs:
Reset NVRAM – NVRAM (non-volatile random-access memory) stores certain settings like display resolution and startup disk selection. You can reset the NVRAM to default settings which may fix some system issues without needing to erase the Mac. To reset the NVRAM, restart your Mac and hold down Command + Option + P + R until you hear the startup chime again.
Erase Free Space – Instead of erasing the entire drive, you can use a tool like CleanMyMac X to erase just the free space on the drive. This will remove any deleted files and free up space without affecting your installed apps and data.
Reinstall macOS – You can reinstall the macOS without erasing the drive, which keeps your files and settings in place. To do this, boot to Recovery Mode and select Reinstall macOS from the utilities window.
Reset SMC – The SMC (System Management Controller) controls power and hardware functions like fans and lights. Resetting it can resolve certain hardware issues and may be a solution if part of your system isn’t responding properly.
Troubleshooting
If the erase process fails or encounters errors, there are a few things you can try:
First, restart your Mac and try erasing again. Sometimes a simple restart can resolve intermittent issues.
If that doesn’t work, boot back into Recovery Mode and open Disk Utility. Select the disk and click First Aid to check for and repair any disk errors. Then try erasing again.
For persistent failures, you may need to reinstall macOS completely. Boot into Recovery Mode, access Terminal from the Utilities menu, and type diskutil apfs eraseVolume disk0s2 (replacing disk0s2 with your actual disk identifier) to force erase the volume.
As a last resort, you can erase the disk using single-user mode: Boot into single-user mode, run /sbin/fsck -fy to file system check, then mount -uw / to mount the file system as read/write. Finally, run rm -rf /* to securely erase everything. Reboot normally and reinstall macOS.
If you still cannot erase the disk, it’s possible there is a hardware issue with the disk drive itself that requires professional diagnosis and repair.
Security After Erase
After erasing your Mac’s disk, it’s crucial to ensure your data has been fully removed and can’t be recovered. According to Backblaze, simply deleting files or reformatting the disk does not permanently erase data. However, the disk utility Erase process on modern versions of macOS performs a secure erase by writing zeros to the disk multiple times, ensuring data previously stored can’t be recovered.
For maximum security, you can also enable FileVault encryption on your Mac to encrypt all the data on your startup disk. Encrypted data is rendered inaccessible as soon as you decrypt the disk after erasing it. According to Apple’s support article, Erase and reformat a storage device in Disk Utility on Mac, you should choose a high security erase option like the 35-Pass Erase to thoroughly overwrite old data if your Mac is running an older version of macOS.
Conclusion
Erasing a Mac without the Erase Assistant can be accomplished in just a few steps. The process starts by backing up important data to an external hard drive or cloud storage. After backing up data, boot into Recovery Mode by holding Command + R while restarting. In Recovery Mode, open Disk Utility and select the drive to erase. Choose a format like APFS and click Erase. This will wipe the drive completely. The next step is to reinstall macOS and restore data from the backup.
While erasing the Mac’s drive is effective for fixing problems or wiping your data before selling, there are alternatives. You can reset NVRAM to fix boot issues or reinstall macOS using installation media to refresh the system. Erasing should only be done if absolutely necessary. Remember to enable encryption like FileVault afterward and make sure your data is backed up regularly.
