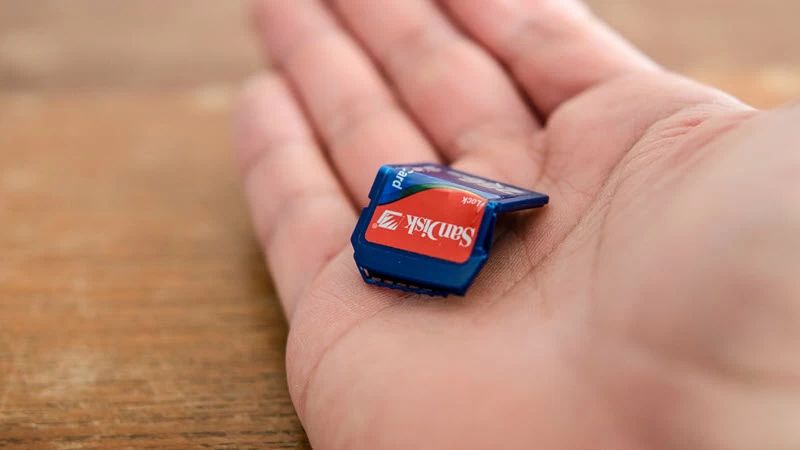
Having a damaged SD card slot can be very frustrating. SD cards have become such a ubiquitous part of our tech devices that not being able to access the data on them can cause major issues. Fortunately, there are several methods you can try to fix a damaged SD card slot at home before taking your device into a repair shop.
What causes an SD card slot to become damaged?
There are a few common causes of physical damage to an SD card slot:
- Repeated insertion and removal of SD cards can loosen the connector inside the slot over time.
- Forcing an SD card into the slot the wrong way can damage the delicate pins.
- Built up pocket lint and dust can get lodged in the slot.
- Liquid damage from spills can short circuit the connections.
- Physically dropping or bending the device can damage the SD card reader.
Software issues can also sometimes mimic a hardware problem with the SD card slot. Corrupted drivers, an outdated operating system, or software bugs can all sometimes cause SD card read/write issues that seem like a physical defect.
First steps to try
Before attempting to repair the SD card slot itself, there are a few basic troubleshooting steps you should try first:
- Check for debris in the slot with canned air – Blast out any dust or lint buildup in the SD card slot using short bursts of compressed air. Debris on the contacts can prevent a proper connection.
- Inspect the SD card reader pins – Look at the pins inside the SD card slot for any signs of damage or corrosion. If the pins are bent or broken, this can cause issues reading cards.
- Try a different SD card – Insert a fresh SD card that you know works properly in other devices. If it still isn’t recognized, the issue is likely with the slot.
- Update device drivers – Make sure your device has the latest drivers and OS updates installed, as software issues can sometimes masquerade as hardware failures.
- Clean the SD card contacts – Use a soft pencil eraser to gently rub the gold contacts on your SD card. Re-seat the card firmly in the slot after cleaning.
If you’ve tried all of the above steps and your device still fails to read SD cards, it’s likely you’ll need to move on to some DIY physical repair methods.
DIY physical repairs
Method 1: Carefully clean the SD card slot
If debris still seems to be an issue after using compressed air, you may need to carefully clean the SD card slot contacts manually:
- Use a toothpick moistened with rubbing alcohol to gently rub the contacts inside the SD card slot. This can dislodge any stubborn debris lodged in the reader.
- Take a cotton swab moistened with alcohol and repeat the cleaning process. Make sure no cotton fibers are left behind in the slot.
- Use a dry toothpick to carefully scrape along the length of each SD card reader pin, ensuring they are clear of corrosion and grime buildup.
- Finish by blasting the slot again with compressed air to clear out any debris loosened by cleaning.
This meticulous cleaning of the internal slot can help restore a solid connection between the SD card and reader pins. Be very careful not to bend or damage the pins in the process.
Method 2: Adjust the SD card slot pins
If cleaning alone doesn’t seem to help, it’s possible one or more of the reader pins is slightly bent. Carefully adjusting bent pins can help re-establish connectivity:
- Use a magnifying glass to closely inspect each individual pin inside the SD card slot.
- Look for any pins that appear obviously bent out of alignment relative to the rest.
- Using the tip of a thin knife or a needle, very gently bend any crooked pins back into proper position.
- The pins are extremely fragile, so use great care and minimal force when adjusting.
- Double check your adjustments with a magnifying glass to make sure connectivity is restored.
With the pins properly realigned, inserting an SD card should once again make clean contact.
Method 3: Use conductive tape
If there are damaged or broken reader pins that cannot be adjusted back into place, you can sometimes get a connection using conductive tape:
- Use a multimeter to determine which individual pins are no longer functioning.
- Apply a small piece of aluminum or copper tape directly over the top of the non-working pin.
- The conductive tape essentially creates a new pin surface for the SD card to connect to.
- The tape workaround isn’t pretty, but it can re-establish enough conductivity for SD card reading.
Depending on how many pins are damaged, you may only get read-only capability, slower speeds, or occasional glitching.
Method 4: Wiggle the SD card
If no pins appear broken or bent, but the device intermittently fails to read SD cards, this trick may help:
- Insert an SD card that fits snugly in the slot. It shouldn’t wiggle up and down freely once inserted.
- Press gently on the edge of the SD card furthest inside the device to apply pressure inward.
- Wiggle the outer edge of the card up and down slightly while maintaining inward pressure.
- The goal is to “scrape” the contacts and scrape away any oxidized film buildup.
- Try multiple read attempts with the card as you wiggle it up and down.
With luck, the wiggling motion will break through any degraded connections just enough to get a consistent reading. This trick works best for surface-level oxidation rather than physical pin damage.
Method 5: Use moisture control packets
For devices that experience intermittent reading issues, using desiccant packets can help by reducing moisture buildup:
- Obtain several new desiccant moisture absorber packets. These are often included with products prone to moisture damage.
- Place one packet directly inside the device’s battery compartment if removable. This will keep air flow moving through the SD card slot.
- Stick additional packets to the interior surface around the SD card slot using double-sided tape.
- Replacing the packets monthly will continuously reduce humidity inside the device.
Lowering moisture exposure can help reduce oxidation and debris buildup that may be affecting SD card connectivity. Just a few small desiccant packets can make a noticeable difference over time.
Method 6: Cover pins with tape when not in use
To prevent future issues after getting your SD card slot working again, you can cover the pins when no card is inserted:
- Use electrical or Kapton tape to create a small cover piece that sticks fully over the SD card reader pins.
- The tape cover should remain in place whenever an SD card is not inserted.
- This will prevent dust buildup on the pins while the slot is empty.
- Be sure to remove the tape cover prior to inserting an SD card.
Keeping the pins protected from dust and moisture exposure can help maximize the repaired slot’s lifespan.
When to seek repairs
If you’ve tried all of the above DIY fixes for an SD card slot to no avail, the last resort may be taking the device to a professional repair shop. A technician has specialized tools and experience working with SD card slots and can perform fixes like:
- Replacing damaged pins
- Resoldering loose pin joints
- Bypassing broken traces on a circuit board
- Replacing the SD card reader module itself
Seeking professional repairs makes the most sense for expensive cameras, laptops, or devices still under warranty. But for lower value devices that are several years old, the repair costs may exceed the value of the item.
Preventing future SD slot damage
To avoid needing future fixes, be mindful of how you handle SD cards and the device slot itself:
- Avoid forcing cards into the slot upside down – Always double check the orientation before inserting.
- Never try to retrieve a stuck card – If a card gets jammed partway into the slot, don’t keep pushing it in or try to pry it out. Get professional help removing it properly.
- Store devices safely – Don’t toss gadgets with an SD slot loosely into backpacks or pockets. Use a case or padded compartment.
- Keep the slot clean – Use compressed air to routinely clean out dust. Store the device in a clean, dry environment.
- Eject cards properly before removing – Always eject through the software interface first instead of just yanking cards out.
Avoiding physical damage and moisture exposure will give your SD card slot the best chance of working smoothly for years before needing repair.
Conclusion
Getting an SD card slot working again may take some patience and creativity. But with careful cleaning, pin adjustments, moisture control, and taping quick fixes, you can often get devices reading cards again without professional help. And remember to always handle the delicate slot and cards with extra care to prevent issues from occurring in the first place.