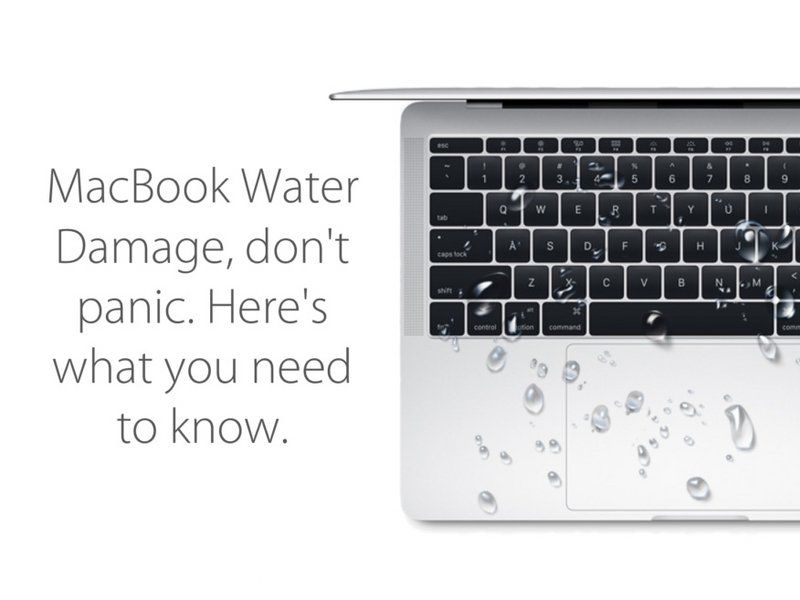
What to Do Immediately After Liquid Spillage
If you’ve accidentally spilled liquid onto your MacBook Pro, it’s important to act quickly in order to potentially save your laptop from permanent damage. Here are the steps you should take immediately after a liquid spill:
1. Power Off the MacBook
Press and hold the power button for a few seconds to force your MacBook Pro to power down. This will help prevent any short circuits from occurring while there is still liquid inside.
2. Disconnect Cables and Accessories
Unplug all cables, devices and accessories connected to your MacBook Pro, including the power adapter. You don’t want to risk damaging any connected devices while cleaning up the spill.
3. Drain Excess Liquid
Hold your MacBook upside down over a towel or sink to help drain out as much liquid as possible from ports, crevices and openings. Try to remove any liquid pooling under the keyboard keys as well.
4. Absorb Remaining Liquid
Use a dry microfiber cloth or paper towels to absorb any remaining liquid on the surface and in openings. Be gentle when wiping near any connectors or ports.
5. Allow Drying Time
Resist the urge to power on your MacBook right away. Liquid takes time to fully evaporate, so leave your MacBook powered off and open for at least 24-48 hours to allow complete drying. Place it in a dry, ventilated area during this time.
Assessing the Damage
Once your MacBook has had time to fully dry, the next step is assessing the extent of any damage caused by the liquid spill. Here’s what you need to look out for:
Keyboard Issues
Keys that are unresponsive, sticky or inconsistently working could indicate liquid reached the keyboard mechanism underneath. The keyboard may need to be cleaned or replaced.
Trackpad/Mouse Problems
If the cursor is jumpy or the trackpad is unresponsive, liquid may have damaged the trackpad hardware. Try an external mouse to isolate the issue.
Display Problems
Look for issues like flickering screens, distorted images or dark spots indicating that liquid seeped behind the display panel. This requires professional repair or replacement.
Powering Issues
If your MacBook won’t turn on or randomly powers off, liquid may have reached internal components like the logic board or power circuits.
Corrosion
Check for visible corrosion around ports, connectors and vents as this can develop over time after liquid exposure and damage metal components.
Electronics Testing
Use a multimeter to check for shorts, continuity or abnormal resistances across electronic components that can indicate water damage.
Drying Out the Internals
If you suspect liquid has infiltrated deeper inside your MacBook, then it’s important to thoroughly dry out the internal components before restarting your laptop. Here are some tips for drying the internals:
Remove Components
Open up the MacBook case and carefully remove components like the battery, hard drive, RAM and logic board. This will allow better access for drying.
Dry Removable Parts
Use compressed air to blow residual moisture out of removable components. Let parts sit for 24 hours in a dry environment. Place paper towel down to absorb moisture.
Clean Reachable Areas
Use cotton swabs and isopropyl alcohol to gently clean corrosion from reachable internal sockets, crevices, circuit boards and connectors. Let alcohol fully evaporate before reassembly.
Absorb Remaining Moisture
Place your MacBook’s open housing in front of a fan for several hours to help circulate air and dry out any lingering moisture inside. Be patient and allow sufficient drying time.
Inspect Carefully
Closely inspect for any remaining moisture, corrosion or shortages before powering on your MacBook again. Extended drying and cleaning may be required if issues still exist.
Cleaning the Various Parts
Once the internals have been thoroughly dried out, individual MacBook parts can be properly cleaned to restore functionality and appearance. Here are some cleaning tips:
Keyboard
– Use compressed air between keys to dislodge moisture/debris.
– Cotton swabs with isopropyl alcohol can clean grime around keys.
– If keys still stick, replacement may be required.
Trackpad
– Wipe down with a soft microfiber cloth.
– If not working, detach, clean contacts with alcohol and reattach firmly.
Display
– Clean the outer screen surface using a lint-free cloth.
– Check for internal moisture/corrosion if display issues continue.
Ports
– Use compressed air to remove moisture from ports.
– Clean contacts with cotton swab and isopropyl alcohol.
Vents
– Carefully clean vents using cotton swabs and alcohol to remove grime.
– Ensure vents are fully dry before reassembly.
Logic Board
– Use 90%+ isopropyl alcohol and toothbrush to gently scrub corrosion.
– Remove CMOS battery and clean contacts if machine won’t power on.
Powering Up and Testing
The final step is testing your MacBook Pro to make sure it powers on and functions properly after cleaning. Take it slow and follow these tips:
Reassemble Components
Carefully reinstall any hardware components that were removed back into their proper locations. Inspect closely for any remaining moisture issues.
Use External Monitor/Keyboard/Mouse
Initially reconnect external accessories to test instead of the built-in keyboard, trackpad and display. This isolates any issues.
Power On
Plug in the power adapter and press the power button. Let the machine boot up completely.
Check Displays
If using an external display, check that video output is normal without flickering/distortion once booted up. Then verify built-in display also works properly.
Test Hardware
Methodically test keyboard keys, trackpad, speakers, ports, battery charge level, webcam, wireless chip, etc. Make sure everything is functioning as expected.
Check System
Log in and run diagnostics. Verify no error messages or odd behaviors to ensure logic board damage doesn’t exist. Fully back up data before proceeding.
Monitor Performance
Use your MacBook Pro carefully over the next few days to spot any potential issues popping up from liquid damage. Contact Apple Support if problems develop.
When to Take Your MacBook to the Apple Store
If you are unable to resolve issues on your liquid damaged MacBook Pro using the cleaning tips in this article, then your best option is to take your laptop to the Apple Store or an Authorized Service Provider. Here are some signs it’s time for professional repair:
| Issue | Repair Required |
|---|---|
| No power when pressing power button | Logic board repair |
| Distorted/flickering display | Screen replacement |
| Non-functioning keys despite cleaning | New keyboard |
| Corroded/damaged ports | I/O board replacement |
| Short circuit detected | Motherboard replacement |
Apple has specialized diagnostic tools and internal repair guides to properly ascertain and address any liquid spill damage. An Apple Genius can provide an accurate repair quote and advise you on next steps. In severe cases, liquid damage may be irreparable.
Conclusion
Spilling liquid onto your MacBook Pro can be stressful, but taking prompt action and following the careful cleaning methods covered in this guide will give your laptop the best chance of being revived. Allowing sufficient drying time is key before powering on water damaged electronics again. For any lingering issues that you can’t resolve on your own, seek professional Apple repair to determine if your MacBook can be fixed or may need hardware replacements due to liquid damage.