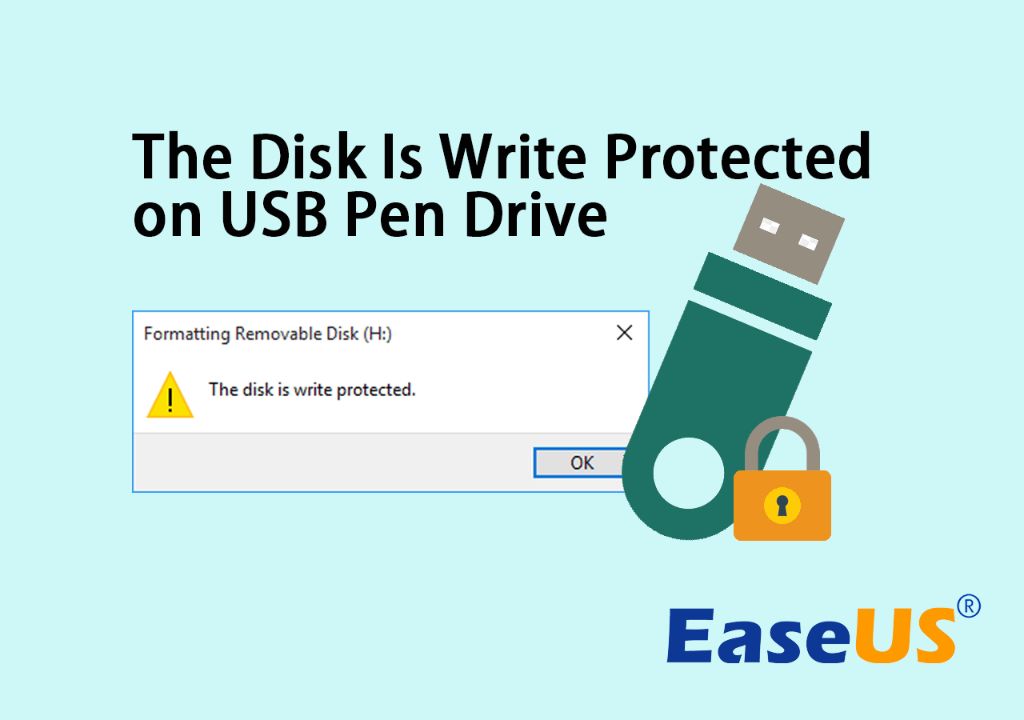
Formatting a USB drive that is write-protected in Windows 10 can be a frustrating experience. When you insert the USB drive, Windows may give you an error saying the drive is write-protected and cannot be formatted. This means the drive has some type of protection enabled that prevents formatting or writing data to it.
There are a few different reasons a USB drive may be write-protected. The most common reasons are:
- The USB drive has a physical write-protect switch set to the lock position.
- The USB drive is corrupted and Windows cannot properly access it.
- The drive is partitioned with software write-protection enabled.
- The USB drive is infected with malware that locks the drive.
The steps to format a write-protected USB drive will vary slightly depending on the specific reason it is write-protected. Here are the main methods you can try to remove write-protection and successfully format the drive in Windows 10.
Check for a Physical Write-Protect Switch
Many USB thumb drives and SD cards have a physical lock switch on the housing. This switch allows you to toggle write-protection on and off. If the switch is slid to the lock position, the drive will be treated as read-only.
To check for a write-protect switch:
- Physically inspect the USB drive housing and look for a small slider switch.
- Make sure the switch is slid to the unlocked position. This is usually slid up towards the end with the USB connector.
- If it was in the locked position, slide it to the unlocked position and try formatting the drive again.
If your drive does not have a physical write-protect switch, it must be write-protected through software or corruption. You will need to try other methods to remove the write-protection.
Use Diskpart to Remove Write-Protection
Diskpart is a command line disk partitioning utility built into Windows. You can use it to override software write-protection by assigning a new drive letter.
To use Diskpart to format a write-protected drive:
- Connect the write-protected USB drive to your computer.
- Open the Start menu and type “diskpart”. Select the Diskpart app to open it.
- In the diskpart prompt, type “list disk” and press Enter. This will show your connected drives.
- Type “select disk x” where x is the number of your USB drive from the list. Press Enter.
- Type “attributes disk clear readonly” and press Enter. This will remove read-only status.
- Type “assign” and press Enter. This will give the drive a new letter.
- Close diskpart by typing “exit” and pressing Enter.
- You can now format the USB drive normally from Windows Explorer.
Using diskpart to assign a new drive letter essentially resets the drive, overriding any software write-protection.
Use Disk Management to Format
Disk Management is another utility built into Windows that you can use to format a write-protected drive.
To use Disk Management:
- Open the Start menu and search for “Create and format hard disk partitions”. Click on it.
- In Disk Management, locate your USB drive. It may show as being read-only or offline.
- Right click on the drive partition and select “Delete Volume”. This will delete the partition.
- Right click on the unallocated space where the partition was and select “New Simple Volume”.
- Follow the prompts to initialize a new volume formatted for USB use. Name it and assign a drive letter.
- The USB drive should now format successfully as a healthy volume.
Like diskpart, this process essentially resets the disk to a fresh state, which clears any software write-protection.
Use Command Prompt to Format
The command prompt provides access to formatting utilities built into Windows, including the format and clean commands.
To use the command prompt to format a protected USB drive:
- Open the Start menu and search for “Command Prompt”. Right click it and select “Run as Administrator”.
- In the command prompt, type “diskpart” and press Enter to open Diskpart.
- Type “list disk”, then “select disk x” where x is your USB disk number.
- Type “clean” and press Enter. This will completely erase the drive.
- Type “create partition primary” to create a new primary partition.
- Type “format fs=fat32 quick” to quick format the partition to FAT32.
- Type “assign” and press Enter to give the drive a new letter.
- Type “exit” twice to close Diskpart and the command prompt.
- Your USB drive can now be formatted without write-protection.
The clean command performs a complete erase of the disk, ensuring any locking partitions or software are removed.
Check for and Remove Malware
In some cases, write-protection on a USB drive is caused by malware that infects the drive. Worms like Usbferry and Autorun infect USB drives and modify them to be treated as read-only.
If other methods have not worked, it is a good idea to check for malware and try cleaning the drive.
To check and clean malware from a drive:
- Scan the USB drive with your installed antivirus software or apps like Malwarebytes.
- If malware is found, quarantine or clean it off the drive.
- You can also temporarily disable your antivirus and run tools like Rkill and Process Explorer to check for malicious processes running on the drive.
- If you have any partitions on the drive that cannot be accessed, delete them with a bootable USB tool like GParted.
- When cleaned, reformat the entire drive before using again.
Removing malware fully can allow you to regain access to the drive and format it. Be very careful when analyzing malware though, as you do not want to infect your system.
Use Third-Party Format Tools
If the drive shows as read-only or write-protected in the Windows interface, you can try formatting it with third-party tools.
Some tools like HP USB Disk Storage Format Tool are designed for formatting stubborn USB drives. You can also use bootable tools to format from outside the Windows environment.
To format a protected drive with third-party tools:
- Download HP USB Disk Storage Format Tool or UNetbootin.
- Run HP Format Tool and select your USB drive to fully format.
- You can also make a bootable USB drive with UNetBootin and boot into GParted to format.
- Bootable tools like Hiren’s and UBCD also contain USB formatting tools.
- Use a tool like Hard Disk Sentinel to do a full erase of the drive.
- With protection removed, reboot into Windows and format it.
External formatting tools help rewrite the entire drive, ensuring a clean slate without software locks.
Update or Roll Back USB Drivers
Problems with your Windows USB drivers can sometimes cause write-protection or access issues. Updating or rolling back the drivers may resolve it.
To update USB drivers:
- Open Device Manager in Windows.
- Expand the USB controllers section.
- Right click on the USB driver and select Update driver.
- Restart your computer and try accessing the USB drive again.
If updating does not work, try rolling back the driver:
- In Device Manager, right click the USB driver and select Properties.
- Go to the Driver tab and click Roll Back Driver.
- Restart your PC and see if the drive is now writable.
Updating or rolling back USB drivers can clear any software issues preventing write-access.
Disable UASP Drivers
The USB Attached SCSI Protocol (UASP) enables faster USB speeds. However, some drives may not be compatible with UASP, causing corruption issues.
Disabling UASP may resolve this:
- Open regedit and go to HKEY_LOCAL_MACHINE\SYSTEM\CurrentControlSet\Services\USBStor
- Create a new DWORD called Start and set the value to 4 to disable UASP.
- Reboot the computer and reconnect the USB drive.
With UASP disabled, the drive may be accessible again without write-protection.
Remove USB Drive Partition
If your USB drive has multiple partitions, especially with an unknown partition at the start, it may cause write issues. Deleting all partitions can remove software write-protection.
To delete all partitions on a USB drive:
- Open Command Prompt as Administrator.
- Type diskpart to open Diskpart.
- Type list disk to identify your USB disk number.
- Type select disk x (replace x with your disk number).
- Type clean to completely wipe all partitions and data.
- Type create partition primary to create a new primary partition.
- Type format fs=fat32 quick to format this partition.
- Type assign to give the drive a letter.
- Type exit to close Diskpart.
With all partitions removed, the disk should format successfully without restrictions.
Check for Bad Sectors
Excessive bad sectors can lead to corruption that makes a USB appear write-protected. Scanning for bad sectors can identify this issue.
To check for bad sectors:
- Open an elevated Command Prompt.
- Type chkdsk x: /f (use your USB drive letter for x:)
- This scans drive and fixes recoverable errors.
- You can also use tools like HDTune to scan for physical bad sectors.
- If corruption is found, reformat the entire drive to wipe it.
Repairing or wiping drives with bad sectors can remove false write-protection.
Low-Level Format Tool
Low-level formatting completely erases and rewrites the physical drive sectors. This can fix corruption issues causing write-protection.
To low-level format a USB drive:
- Back up any data first, as this erases everything.
- Download HDD Low Level Format Tool (free for home use).
- Select your USB drive and click Low Level Format.
- Wait for the process to finish writing sectors.
- The drive will now be blank and writable.
- Reformat in Windows Explorer to use again.
This process removes any remnants of corruption at the sector level.
Fix Registry Permissions
If registry permissions get corrupted, it can sometimes show disks and USB drives as read-only. Resetting permissions may resolve it.
To reset registry permissions:
- Open regedit and navigate to HKEY_LOCAL_MACHINE\SYSTEM.
- Right click System and select Permissions.
- Click Advanced and then the Owner tab.
- Change the owner to Administrators or your user account.
- Apply and ok the changes, then reboot.
This resets permissions on the core system keys that could be blocking access to disks.
Format from a Different Computer
If you cannot format the USB drive due to restrictions on your current Windows system, try formatting it from another computer.
To format using another PC:
- Insert the USB drive into a different Windows PC.
- Open Windows Explorer and right-click on the drive.
- Select Format to wipe and reformat the disk.
- Choose NTFS or FAT32 file system.
- Give the drive a new name and click Start.
- The drive should now be clean and writable again.
A fresh OS session helps eliminate any locks caused by the original computer’s system or apps.
Conclusion
Write-protection errors can prevent accessing or formatting a USB drive in Windows 10. This is often caused by physical lock switches, drive corruption, partitioning issues, or malware infecting the disk.
Starting with a physical inspection, you can work through different methods to try clearing software write-protection. Utilizing diskpart, command prompts, USB driver updates, and USB formatting tools helps reset the drive to a fresh state.
For severely corrupted disks, you may need to wipe partitions, fix bad sectors, or even completely low-level format the drive. Formatting from a different computer can also help isolate any system-specific restrictions.
With the right steps, you can remove read-only protections and regain full access to format and utilize your USB drive in Windows 10.