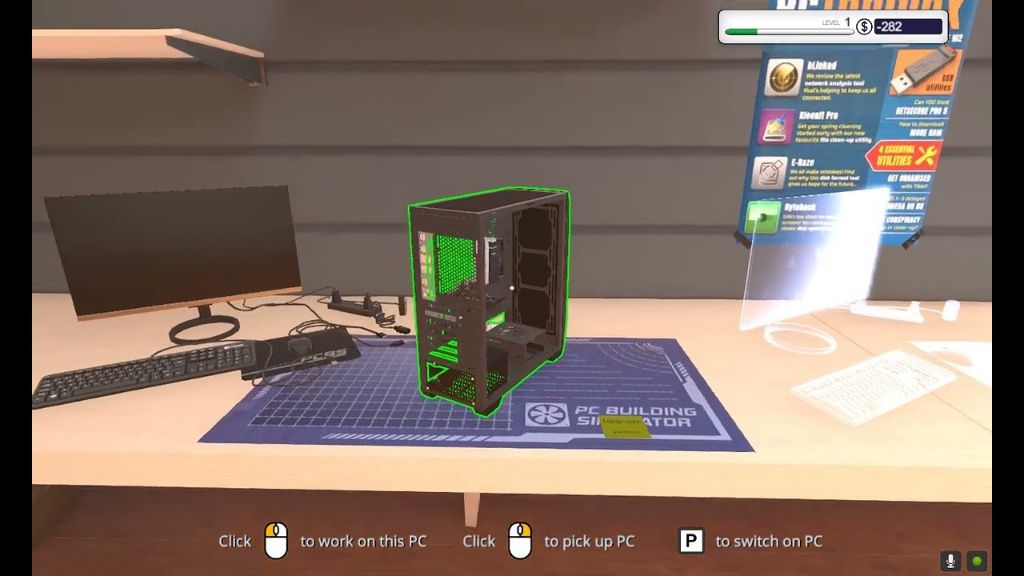
PC Building Simulator is a game developed by The Irregular Corporation that allows players to build, customize, and repair PCs. According to the PC Building Simulator Steam page, the game has enjoyed viral success with over 650,000+ downloads of its pre-alpha demo. The goal of PC Building Simulator is to simulate the experience of building and upgrading PCs in a realistic but accessible way.
In PC Building Simulator, players take on the role of a small neighborhood PC repair shop owner tasked with building, upgrading, and repairing PCs for customers. The game features detailed component modeling and compatibility to mimic real-world PC building. Players can learn how to assemble PCs from scratch, install operating systems like Windows and Linux, overclock and tune components, and troubleshoot various hardware issues.
Overall, PC Building Simulator aims to provide an authentic PC building simulation that teaches players about computer components and building PCs in an engaging career mode. At the same time, the game offers creative freedom in its Free Build mode to experiment with dream PC builds.
Obtaining OS in Career Mode
In PC Building Simulator’s Career Mode, the operating system (OS) must be purchased before it can be installed on customer computers. Unlike Free Build Mode, the OS options are not available for free in Career Mode 1.
When starting out in Career Mode, the workshop will have no OS licenses. As the business grows and more computers are built for customers, you will need to purchase OS licenses in order to install the OS on those computers. The OS can be purchased from the Parts & Software menu in the workshop by selecting the Operating Systems tab. From there, you can browse the available OS options and pricing. Typically, a single OS license costs around $100-150 depending on the OS selected.
Purchasing the OS is an essential part of progressing through the Career Mode and being able to fulfill customer orders. Without buying at least one OS license, the player would not be able to fully build and deliver computers to customers in Career Mode. So obtaining the OS via purchase is a mandatory step in this game mode.
Purchasing OS
In Career Mode, operating systems can be purchased from the in-game PC store under the Software tab. The store offers a selection of both Windows and Linux operating systems to choose from.
For Windows, options range from Windows 7 Home Premium to Windows 10 Pro. There are also several Linux distributions available, including Ubuntu, Linux Mint, and Manjaro. Prices range from free for basic Linux versions up to around $100-150 for the latest Windows 10 Pro license.
When purchasing an OS, pay attention to the system requirements. More advanced operating systems like Windows 10 will require a more powerful PC build than older versions like Windows 7. Make sure to match the OS to the hardware capabilities of the computer you are building.
OS licenses are purchased with the in-game currency earned from completing client jobs. Saving up to purchase a premium OS license can be a worthwhile upgrade for top-tier builds.
OS Options
In PC Building Simulator, there are a few different operating system options available to install, depending on the mode you are playing in:
In Career Mode, the available OS options include:
- Windows XP
- Windows 7
- Windows 10
According to discussions on the Steam Community forums, Windows XP seems to be the preferred choice for many players in Career Mode due to nostalgia and familiarity (source). However, Windows 10 is also a popular option as it is the newest OS available.
In Free Build Mode, you have access to more operating systems, including:
- Various versions of Windows (XP, 7, 8, 10)
- Some Linux distributions
This allows for more customization and flexibility when building PCs in Free Build Mode (source). The availability of Linux distributions is a nice addition for builders who prefer open source OS options.
OS Requirements
The minimum system requirements vary depending on the operating system you choose to install. Windows generally requires more system resources than Linux-based operating systems.
For Windows 10 or 11, the minimum requirements are:
- Processor: 1 GHz or faster
- RAM: 1 GB for 32-bit or 2 GB for 64-bit
- Storage: 16 GB for 32-bit OS or 20 GB for 64-bit
- Graphics card: DirectX 9 or later with WDDM driver
For Ubuntu Linux, the minimum requirements are lower:
- Processor: 2 GHz dual-core
- RAM: 4 GB
- Storage: 25 GB
- Graphics card: 512 MB VRAM
Some key advantages of Linux are that it generally uses system resources more efficiently than Windows and has lower minimum requirements. However, Windows offers better compatibility with commercial software and games.[1]
Installing OS
After purchasing an OS, you will need to install it on the PC you are building. This involves a few simple steps:
First, make sure the USB flash drive you want to use to install the OS is plugged into your PC. Boot up the PC and enter the BIOS menu. Under boot options, choose to boot from the USB drive. Save changes and exit BIOS.
Your PC will now boot from the USB instead of the hard drive. Follow the on-screen prompts to begin the OS installation. You will be asked to choose your language, time/date formats, keyboard layout, etc.
Next you will need to select which drive to install the OS on. Choose your main hard drive or solid state drive. The installer will automatically create the necessary partitions on the drive.
The files will then begin copying over. This may take some time depending on your system specs. Once completed, you will be prompted to reboot. Remove the USB drive and reboot the PC.
After rebooting, the OS should launch and you will go through some additional setup like creating a user account. Once that’s done, you will be at the desktop and your new OS is installed!
Activating OS
After installing the Windows OS, it needs to be activated using a valid product key before you can use it long term. According to Microsoft’s support article (Activate Windows), you have several options for activating Windows:
- Enter a valid 25-character product key during or after installation.
- Link your Microsoft account to digitally activate Windows if you upgraded from an authorized version of Windows 7 or 8.
- Use existing Active Directory-based activation if your machine is joined to an organization’s domain.
Without a proper activation, Windows will operate in a restricted mode and will eventually notify you that you need to activate. Acquiring a legitimate product key is required to fully activate Windows and access all features indefinitely.
Testing OS
After installing and activating the OS, it’s important to verify that the installation was successful before using the PC. There are a couple ways to check the OS version to confirm it matches what was installed:
On Windows, you can open the Command Prompt by pressing Windows Key + R, typing “cmd”, and pressing Ctrl + Shift + Enter. Then type “ver” and hit Enter to view OS version information like the installation date. Check OS Installation Dates on Windows.
Alternatively, you can check Settings > System > About to see the Windows edition, version number, OS build, and more details. Comparing this to your purchase/download info verifies you have the correct OS.
You can also confirm successful activation by going to Settings > Update & Security > Activation. It should show your copy of Windows is activated. If you see any errors or problems, you may need to reinstall or contact support.
After verifying OS details, run general tests like creating new users, opening programs, changing settings, etc. If everything seems to be working normally, the OS is successfully installed and activated.
Obtaining OS in Free Build Mode
In Free Build mode, operating systems can be obtained for free without any additional purchase. This allows players to experiment with different OS options without restrictions.
According to the PC Building Simulator Wiki, Free Build mode is a sandbox mode where players can build PCs freely using all available parts and software. Unlike Career mode, there are no jobs or objectives – the focus is on creativity and customization.
Because Free Build is meant for experimentation, all operating systems are available without cost. To install an OS in Free Build mode, simply go to the Tools and Software menu and select the desired OS. It can then be installed onto the PC like any other software.
This makes it easy for players to try out different operating systems and set ups without needing to earn money to purchase them. Players have full access to operating systems like Windows, macOS, Linux, and more in Free Build.
Conclusion
In summary, there are a couple different ways to obtain an operating system in PC Building Simulator depending on if you are in Career or Free Build mode.
In Career mode, you need to purchase an OS from the shop to install on customer PCs. OmegaOS is the main fictional OS in the game, but you can also buy options like Windows. Make sure to pick an OS that meets the needs and requirements of that particular computer build.
In Free Build mode, you have unlimited cash and inventory, so you can install any OS for free. This allows you to experiment with different OS setups and builds without cost constraints.
Installing the OS involves mounting it virtually, activating it, and then testing to make sure it boots up properly. Following all the steps carefully allows you to get the selected OS running smoothly.
Overall, obtaining and installing an operating system is an essential part of the PC building process in this game. Understanding the different options and methods provides the knowledge to build customized PCs for customers or yourself.
