Quick Answers
There are a few quick ways to remove write protection from a disc:
– Use a small piece of tape to cover the write-protect notch on the side of the disc. This will trick the computer into thinking the disc is writable.
– If the disc has a slidable tab that covers the notch, simply slide it to expose the notch.
– Some software programs like iTunes have an option to ignore write protection. Enable this setting to write to the disc.
– On Windows, go to Device Manager, find the optical drive, and uncheck the ‘Read-only’ box under Policies.
– On Macs, open Terminal and enter the command ‘drutil tray eject’ to temporarily remove write protection.
What is Write Protection?
Write protection is a feature that prevents files on a disc from being modified, deleted, or new files added. It protects the data from accidental changes or erasure.
There are a few ways that discs can be write-protected:
Software-based
Some CD/DVD burning software allows you to add write protection when creating discs. This sets a software flag that tells the computer to treat the disc as read-only.
Physical notch
Most blank CDs and DVDs have a small notch on the side of the disc. If this is uncovered, the disc is writable. If the notch is covered with a piece of tape or slidable tab, the disc is write-protected.
File permissions
On some computers, the files on a CD/DVD may be marked read-only in the file system permissions. This prevents any changes to the files, though new files could still be added in unused space.
Media type
CD-ROMs and DVD-ROMs are manufactured read-only. Their reflective layer is stamped into the plastic, so no additional data can be written. Audio CDs also cannot be written to.
Flash drives
Some flash drives have a physical read-only switch on the casing. Sliding this exposes contacts that tell the computer the drive is read-only.
Why Enable Writing?
There are a few main reasons you may want to remove write protection from a disc:
– To add, edit, or erase files on a writable CD/DVD
– To re-use a disc by erasing content and burning new files
– To be able to install software from a CD/DVD
– To save files onto the disc as a backup
– To create a music mix CD by burning songs in your desired order
– To customize a disc by burning photos, videos, or other personal files
In general, unlocking write access lets you use the full capabilities of an otherwise read-only medium. Just be careful not to accidentally overwrite important files!
Covering the Physical Notch
On factory-made CD-Rs, DVD-Rs, and other writable media, a plastic notch or tab prevents accidental writing. Covering this tricks the computer into enabling writes.
Materials Needed
– The write-protected disc
– Narrow strip of electrical or office tape
Instructions
1. Locate the small notch or sliding tab along the outer edge of the disc. This is usually opposite the labeled side.
2. Cut a piece of tape roughly 0.5 inches (1.5 cm) long. Narrow tape works best.
3. Align the tape over the notch or tab and gently press to adhere. Make sure the tape is centered and covers the notch completely.
4. Load the disc in your computer’s optical drive and attempt to write files. The disc should now be writable.
5. When finished, carefully remove the tape to re-enable write protection. Be sure no tape residue is left on the disc.
Example
*Applying a small piece of tape over the notch disables write protection.*
This simple physical method works on many writable CDs and DVDs. Just be sure the disc actually has a notch that controls writing.
Sliding the Tab on a Disc
On some writable discs, instead of an open notch, there is a plastic tab that slides to cover the notch. Simply use your fingertip to slide it away from the notch to unlock writing.
Instructions
1. Examine the outer edge of the disc for a rectangular plastic tab. This sometimes blends in seamlessly with the disc edge.
2. Use your fingertip or carefully use a small flat tool like a butter knife to gently slide the tab away from the labeled side, exposing the notch underneath.
3. Insert the disc in your drive and attempt to write files. It should now be unlocked.
4. When finished, slide the tab back over the notch to re-enable protection. Make sure it is aligned squarely.
Example
*Sliding the outer tab exposes the notch and allows writing to the disc.*
This method is convenient since there’s no tape to remove afterwards. Just slide the tab over when you need to write protect the disc again.
Using Software to Ignore Protection
Many CD/DVD burning programs allow you to ignore write protection and force the drive to write to a disc. This works even if the physical notch is covered.
iTunes Example
iTunes has an option to ignore protection for burning music compilation CDs.
To enable this on Windows:
1. Open your iTunes preferences from the Edit menu.
2. Click the General tab.
3. Check the box for “Disable disk write protection.”
4. Insert your write-protected disc.
5. You can now burn music files to it by creating a playlist and choosing Burn Playlist to Disc.
On Mac, the process is similar:
1. Go to iTunes > Preferences
2. Click General and check Ignore protected discs.
3. Insert the write-protected disc and burn audio files to it normally.
After burning, eject the disc and the write protection will be re-enabled. This makes iTunes a handy method for burning music CDs.
Other Programs
Many disc burning suites like Roxio Creator and Nero Burning ROM have options to ignore or disable write protection too. Check your software’s settings if available. This gives you an easy workaround without using tape or sliding tabs.
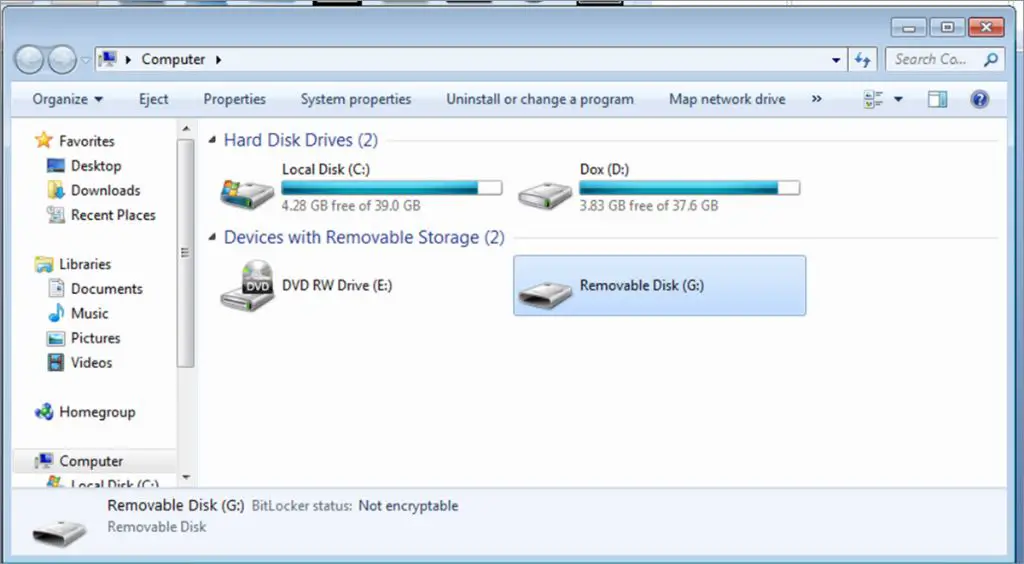
Disabling Protection in Windows
You can globally disable write protection for a drive in Windows. This keeps the drive writable even with protected discs.
Instructions
1. Open Device Manager (right-click Start and choose it)
2. Expand the Disc drives category
3. Right-click on your optical disc drive and select Properties
4. Go to the Policies tab
5. Uncheck the box next to “Read only”
6. Click OK to save the change
Now the drive will ignore write protection on all discs. Remember to re-enable read only when desired.
This method is useful if you frequently need to burn discs. Just leave the policy disabled full-time.
The drutil Command on Mac
MacOS has a built-in command to temporarily disable hardware write protection:
`drutil tray eject`
This ejects the disc tray, allowing you to remove the write-protected disc briefly. When you re-insert it, the protection will be disabled until you eject it again.
To use this command:
1. Open Terminal (in Applications > Utilities)
2. Carefully enter `drutil tray eject` and press Return
3. Once the tray pops out, remove the disc
4. Make note of which side was facing up
5. Insert the disc again in the same orientation
6. You can now write to the disc in Finder, iTunes, etc
7. When finished, eject the disc normally to re-enable protection
The disc must be physically ejected and re-inserted to work. This makes it a quick way to temporary unlock writing without using tape each time.
Creating a Windows Batch File
You can automate disabling write protection in Windows using a simple batch file.
Create a text file on your desktop called `unlock.bat` and add this line:
“`
reg add HKLM\SYSTEM\CurrentControlSet\Control\StorageDevicePolicies /v WriteProtect /t REG_DWORD /d 0 /f
“`
Double-click to run it. This will set the global write protection policy to off.
To re-enable protection, make a file called `lock.bat` with:
“`
reg add HKLM\SYSTEM\CurrentControlSet\Control\StorageDevicePolicies /v WriteProtect /t REG_DWORD /d 1 /f
“`
Now you have quick shortcuts to toggle write access for all discs!
Using Registry Editor Manually
The above batch files modify the registry to disable write protection. You can also do this manually:
1. Type `regedit` in the Start menu to open Registry Editor
2. Navigate to `HKEY_LOCAL_MACHINE\SYSTEM\CurrentControlSet\Control\StorageDevicePolicies`
3. Double click the key named `WriteProtect`
4. Change the 1 to a 0 to disable protection, or vice versa to re-enable it
5. Click OK and close Registry Editor
This method gives you direct access to the write protection policy key if you prefer not to use a batch file.
Checking a Disc’s File Table
You can also remove write protection by editing the file table on the disc itself. This changes the file permissions from read-only to writable.
Using IsoBuster
IsoBuster is a popular disc editing tool for Windows and Mac. To make files writable:
1. Insert the disc and open IsoBuster
2. Find your disc in the left pane and navigate to the file table
3. Right-click on the read-only files and select “Make Writable”
4. Click Yes on the warning dialogs
5. Eject and re-insert the disc, files should now be writable
Remember to reapply read-only permissions when finished writing. This gives precise control over file access.
Using a Hex Editor
You can manually edit the file table with a hex editor like HxD. This is more complex but doable for advanced users. Study the ISO 9660 format specifications for details.
In general, look for byte 15 hex AF41 in each file table entry. Change AF41 to EF41 to remove read-only. Change back when done.
Using LibreOffice
LibreOffice has an option to override write protection when opening files on read-only media like CDs.
1. Insert the write-protected disc
2. Go to Edit > Preferences > Load/Save > General
3. Check “Allow read-only documents to be modified”
4. Click OK and open files from the disc
5. You can now edit and save the files
The changes will only be saved locally or to another location, not to the read-only disc. But this gives you a convenient workaround in LibreOffice.
Trying a File Copy Instead
If you just need to access files on a write-protected disc, try copying them elsewhere first.
For example:
1. Insert the disc and open File Explorer in Windows or Finder on Mac
2. Navigate to the files and copy them
3. Paste the copies to a folder on your hard drive
4. You can now edit, delete, or rearrange the copies without altering the original disc
This sidesteps the need to remove write protection. Just remember to work only with the file copies, not the read-only originals.
Conclusion
Here are some final tips for removing write protection from discs:
– Try covering the physical notch with tape first, as it’s the fastest method.
– Use software settings like iTunes or disc burning tools if available.
– Editing the registry or file table works but is more complex.
– Simply copy files to work with them if you don’t need to alter the original disc.
– Some media like CD-ROMs and DVD-ROMs can never have their protection removed.
– Be careful when enabling writing to avoid accidentally overwriting valued files.
– Reapply write protection when finished writing to avoid further changes.
With physical discs becoming less common, write protection is less of an issue today. But understanding these methods still helps access old CDs and DVDs. Just be careful and back up any discs before attempting to modify them.
| Method | Difficulty | Permanent? |
|---|---|---|
| Tape over notch | Easy | No |
| Slide tab | Easy | No |
| Software setting | Easy | No |
| Registry edit | Intermediate | Yes |
| File table edit | Advanced | Yes |
| File copy | Easy | No |
*Comparison of methods for removing disc write protection*