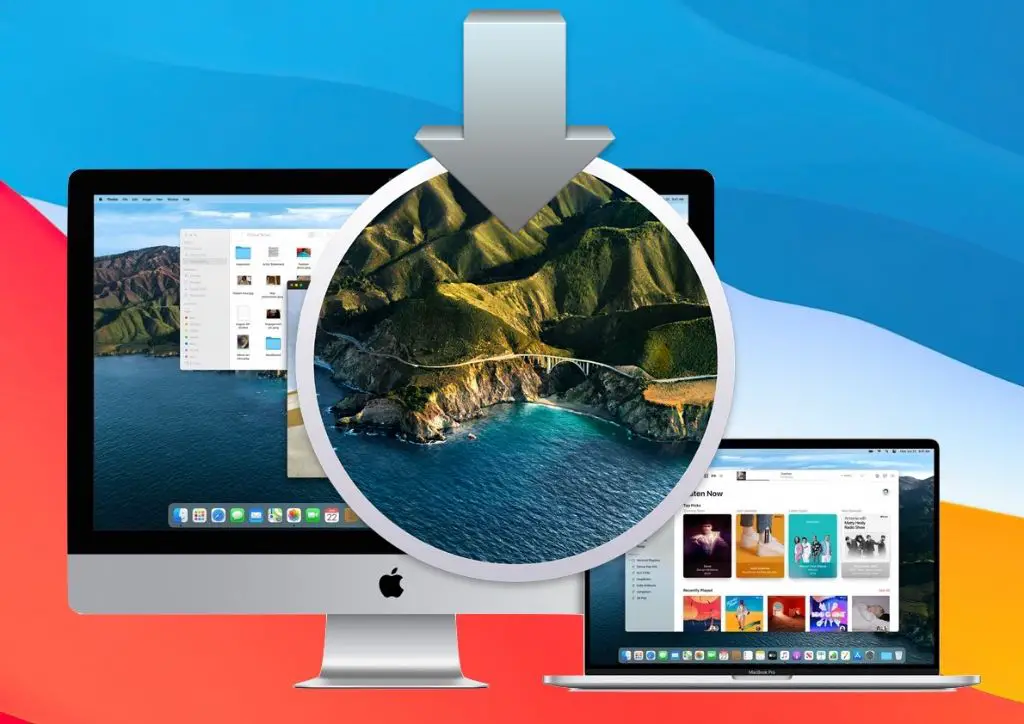
macOS Big Sur is version 11 of the Apple macOS operating system. macOS Big Sur was released on November 12, 2020, a major update that introduces a redesigned user interface and significant under-the-hood changes. Big Sur brings transitions to Apple silicon – allowing it to run natively on ARM-based Apple processors (Source).
Installing macOS Big Sur can take anywhere from under an hour to several hours depending on your Mac, your installation method, and other factors. The installation involves downloading the Big Sur installer, preparing your Mac, going through the actual install process, and finishing any post-install steps. Performing a clean install rather than an upgrade install can also impact the total time. This guide will walk through what’s involved in the Big Sur installation process and provide general time estimates.
Preparing for Installation
Before installing macOS Big Sur, it is important to take some preparatory steps to ensure a smooth process. The first step is to back up your Mac. This will save all your files, settings, and applications in case anything goes wrong during the installation. You should backup to an external hard drive or cloud storage. Next, you’ll want to check that your Mac is compatible with Big Sur. Apple provides a list of Mac models that are able to run the latest operating system. If your Mac is not compatible, you won’t be able to install Big Sur.
Finally, check that you have sufficient storage space available. Installing macOS Big Sur requires a minimum of 35.5GB of available storage. You can free up storage space by deleting unused files and apps to make room for the large Big Sur installer file. It’s also recommended to disable certain startup and background apps during installation. Following these preparatory steps will help ensure your Big Sur install goes smoothly.
Downloading the Installer
There are two main ways to download the macOS Big Sur installer. The first option is directly from the App Store. To do this, open the App Store app on your Mac and search for “macOS Big Sur”. The download size from the App Store is around 12GB.
The second option is to download the installer onto an external drive from another Mac that already has the installer downloaded. This allows you to avoid having to download the large file over the internet. To do this, first download the installer on a Mac that already has macOS Big Sur. Then locate the installer file at /Applications/Install macOS Big Sur.app. Finally, copy the installer over to an external drive to transfer it to the Mac you want to upgrade. The installer file is around 12GB.
So in summary, no matter which method you use, plan for the macOS Big Sur installer to be around 12GB to download before installation. Downloading directly from the App Store may be more convenient, while using an external drive saves internet bandwidth if you have another Mac available. Just make sure you have around 12GB of free space for the download.[1]
Installation Time
The time it takes to install macOS Big Sur can vary quite a bit depending on factors like your internet connection speed and Mac model. In general, the installation process takes between 45 minutes and 3 hours on most Macs [1]. For some, it may be quicker while others have reported installs taking 5 hours or longer [2].
Users with fast internet connections of 100Mbps or higher will experience faster download and installation times. Those with slower connections may have to wait longer for the 6+GB installer file to download before installation can begin. The speed of your Mac’s drive and processors will also impact the installation process itself.
The Installation Process
Here is a step-by-step walkthrough of what to expect during the macOS Big Sur installation process:
1. After double clicking the macOS installer application, you will be presented with the Software License Agreement. Read through the license terms and agree to continue.
2. Choose the disk where you want to install macOS Big Sur. This is typically your main startup disk. The installer will check for minimum requirements and compatibility.
3. The installation will then begin by downloading necessary components. This may take a while depending on your internet connection speed.
4. Once downloaded, the actual installation process will start. This involves copying files, updating firmware, configuring settings, etc. Your Mac may restart and show progress bars during this stage.
5. After installation is complete, you will be prompted to set up the Mac. Follow the onscreen instructions to configure preferences and settings.
6. The setup assistant will guide you through steps like creating a user account, setting up iCloud, enabling location services, configuring privacy settings, and more.
7. Finally, you will arrive at the macOS Big Sur desktop. Some additional software components may still install in the background.
The entire installation and setup process typically takes between 30 minutes to an hour, depending on Mac model and specs. Have patience as the progress bars go through various stages.
After Installing
Once you have completed the installation process for macOS Big Sur, there are a few post-install steps you’ll need to take before your system is fully set up.
First, you’ll want to complete any initial setup prompts for things like location services, Siri, analytics data, and iCloud settings. This ensures key features of macOS are configured to your preferences (How to download and install macOS).
Next, you’ll want to restore your data from a Time Machine backup or migration tool. This will transfer your user accounts, documents, apps, settings, and other data to the new Big Sur install (OpenCore Legacy Patcher – Post-Installation). If you don’t have an existing backup, you may need to transfer data manually.
Finally, you’ll want to reinstall apps and tools that didn’t carry over during the initial setup process. Check that your commonly used apps, utilities, browser extensions, printers, and other peripherals are installed and functioning properly.
Completing these post-install steps ensures you have a smooth transition and functional system after upgrading to Big Sur. With your files, settings, and apps configured, you’ll be ready to start enjoying the latest macOS features.
Troubleshooting
Installing macOS Big Sur can sometimes run into issues that prevent the update from completing successfully. Here are some of the most common problems that users encounter, along with potential solutions.
Common Issues
Some of the most frequently reported issues when installing macOS Big Sur include:
- Not enough storage space – The Big Sur update requires up to 15GB of available storage space. If your Mac’s disk is nearly full, the installer may fail. Try freeing up disk space first.
- “Installation failed” error – Sometimes the installation process itself fails, preventing Big Sur from being applied. This is often fixed by restarting and trying the install again.
- Very slow download speed – Downloading the nearly 8GB installer file can take hours if your internet connection is slow. Use an Ethernet cable for faster speeds if possible.
- Stuck on verification – The installer can get stuck verifying the update package. Allow it time to complete, up to an hour or more.
Solutions
If you encounter installation problems with macOS Big Sur, try the following steps:
- Check for disk errors – Use Disk Utility’s First Aid to check for and repair disk errors.
- Free up disk space – Delete unused apps, files, iOS device backups, etc. to open up storage space.
- Use wired internet – Connect your Mac directly to a router via Ethernet cable for the fastest download speed.
- Try safe mode – Restart into safe mode and install. This disables certain software that may interfere.
- Reset NVRAM – Reset your Mac’s NVRAM to clear out any problematic settings.
- Do a clean install – Erase your disk first and do a clean install of Big Sur, rather than updating.
Following troubleshooting steps like these should help you successfully install macOS Big Sur in most cases. Be patient, as the process may take some time. If problems persist, it’s best to contact Apple support.
Clean Install vs Update
There are two main ways to install a new version of macOS – doing a clean install or an update. Both have their pros and cons.
A clean install involves completely erasing your current macOS installation and settings and installing the new version of macOS from scratch. The advantages of this method are that it clears out any accumulated clutter and bugs from past OS versions. It also gives you a fresh start with default settings tailored for the new OS. However, clean installs take longer, require fully backing up your data, and need you to reinstall apps and customize settings again.
Doing an update keeps your files, apps, and settings in place but installs the new macOS over your existing system. This is much faster but can potentially carry over outdated files or settings that slow down the new OS. Updates are easier and less disruptive than clean installs.
In terms of speed, clean installs generally take 1-2 hours while updates may only take 20-40 minutes. However, a clean install gives you a cleaner, smoother experience once done. If your Mac is running well, an update is fine, but for older Macs or those with performance issues, a clean install helps optimize the new system.
Some recommendations are to do clean installs for major macOS version jumps like Catalina to Big Sur but updates for incremental changes like Monterey to Ventura. However, clean installs provide the best performance boost if you have time for the whole process. Assess your specific needs and Mac’s condition to decide if an update or clean install fits best.
Sources:
https://www.easeus.com/mac-file-recovery/macos-update-vs-clean-install.html
https://forums.macrumors.com/threads/monterry-clean-install-or-upgrade.2319131/
Tips for Faster Install
There are a few things you can do to help speed up the installation process for macOS Big Sur:
Clean up your Mac before installing by deleting unused files and applications, emptying the trash, and optimizing your storage. Having more free space can help the installation go faster.
Make sure your Mac is updated and running the latest version before installing macOS Big Sur. You can check for updates in System Preferences > Software Update.
Disable any antivirus or security software temporarily during the install process. Third party software can sometimes interfere and slow things down.
Close all open apps before starting the installation. This allows your Mac to devote more resources to the update.
Connect your Mac to a power source so the battery doesn’t run out mid-install. The install may take longer if your Mac is running on battery power.
Use a wired Ethernet connection instead of WiFi if possible for a faster, more reliable download of the installer file.
Restart your Mac before installing the update as a restart clears out memory and frees up system resources.
Be patient and avoid interrupting the install process. Let the update complete without putting your Mac to sleep or shutting it down.
Conclusion
To summarize key points, the total time to install macOS Big Sur can vary based on specific factors like your Mac model, whether you do a clean install versus an update, your internet speed, and setup. While actual install time may only take 20-30 minutes, total time can range from 45 minutes to a couple hours when factoring in preparation and post install steps. The experience also depends on whether issues arise.
In closing, installing a major macOS update like Big Sur requires a time investment, but brings significant benefits. The process is relatively straightforward, especially if you properly back up your Mac and have good internet connectivity. While the upgrade takes a bit of time and patience, it’s worthwhile to gain the latest features, security enhancements, and continued support from Apple. With some planning and preparation, you can ensure Big Sur is installed smoothly and have your Mac running the newest macOS version without issues.