A Windows 7 repair disk is an important tool to have in case your Windows 7 installation becomes corrupted or unbootable. The repair disk allows you to boot into the Windows recovery environment and perform system recovery and repair operations.
One method of creating a Windows 7 repair disk is by burning the repair files to a DVD or USB drive. However, this requires having a DVD burner or spare USB drive available. An alternative approach is to create an ISO image file containing the repair files, which can then be burned to DVD or USB or even used directly for virtual machine recovery options.
In this guide, we will walk through the steps to create a Windows 7 repair disk ISO image file. We will cover:
- Downloading the Windows 7 repair disk files
- Creating an ISO image from the files
- Burning the ISO to DVD or USB
- Booting from the repair disk
Creating a Windows 7 repair ISO allows you to quickly generate a repair disk as needed. The ISO file can be reused multiple times for burning to DVDs or USB drives.
Requirements
To follow along with this guide, you will need:
- A Windows 7 installation disc or files
- An ISO file burner software (such as ImgBurn)
- A blank DVD or USB drive with at least 300 MB of space
The Windows 7 installation media provides the files needed to create the repair disk. If you don’t have installation media, you may be able to obtain the files from the Windows 7 recovery partition or recovery disks created by your PC manufacturer.
The ISO burner software allows creating an ISO file from the Windows 7 repair files. Finally, you need a DVD or USB drive to burn the ISO to in order to create the actual repair disk.
Download Windows 7 Recovery Disc Files
The first step is to obtain the Windows 7 repair disk files. If you have your Windows 7 installation media:
- Insert the Windows 7 installation disc into your computer.
- Open File Explorer and navigate to the sources folder on the disc.
- Copy the install.wim file from the sources folder to your local hard drive.
The install.wim file contains the recovery image needed for the repair disk. Copy it to a location like your Documents folder for easy access.
If you don’t have installation media, you may be able to recover the install.wim file from your computer’s recovery partition (if your manufacturer created one). Use recovery disk creation software to copy the file from the recovery partition to your hard drive.
Create ISO with ImgBurn
With the install.wim file available, you can now create the ISO image file. We’ll use the free ImgBurn software for this.
- Download and install ImgBurn from https://www.imgburn.com
- Open ImgBurn and select Create image file from disc
- Click the browse button next to the Source field and select the install.wim file you copied to your hard drive
- In the Destination field, specify a location and name for the ISO file (such as C:\repairdisk.iso)
- Ensure the disk format is set to Standard (ISO/UDF)
- Click the Build button to create the ISO image file
ImgBurn will now build an ISO image from the Windows 7 install.wim recovery file. This ISO file contains the data needed for the repair disk.
Burn ISO to DVD/USB
To complete the repair disk creation process, you need to burn the ISO file to DVD or copy it to a USB drive.
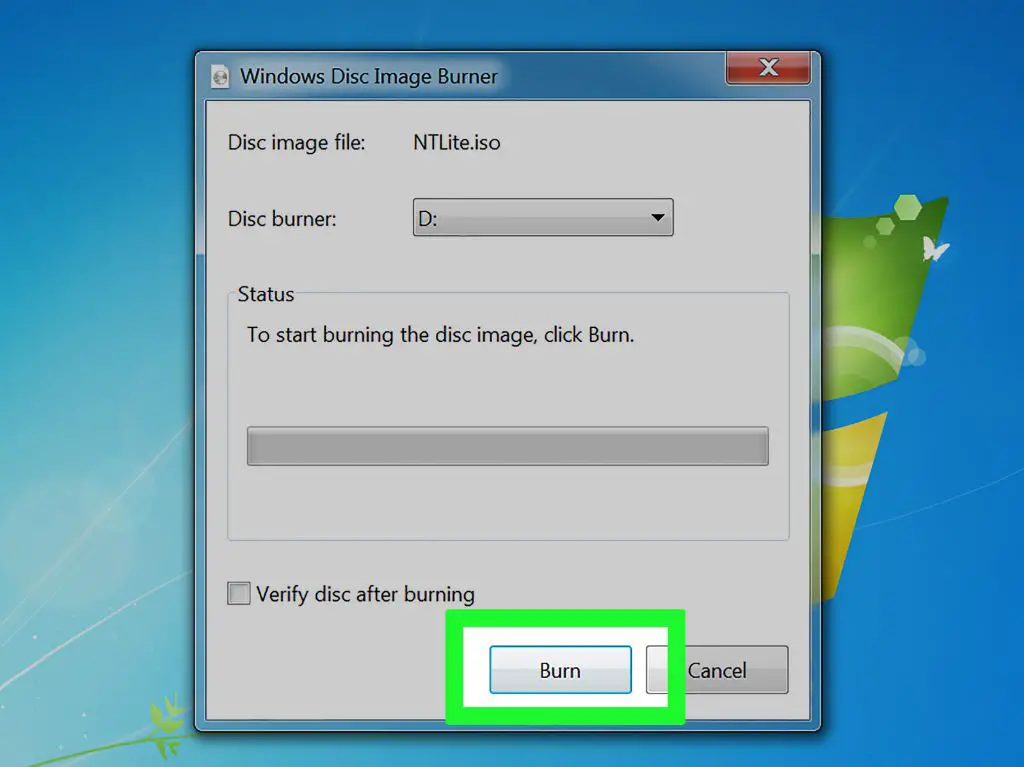
To burn to a DVD:
- Insert a blank DVD into your DVD burner
- Open ImgBurn and select Write image file to disc
- Select the ISO file you created
- Ensure the correct DVD drive is selected as the destination
- Click the Write button to burn the ISO to disc
For a bootable USB drive:
- Insert your USB drive into a free port
- Open ImgBurn and select Write image file to disc
- Select your ISO file
- Choose your USB drive as the destination
- Enable the “Make this disk bootable” option
- Click Write to copy the ISO to the USB drive
You now have a bootable Windows 7 repair disk either on DVD or USB drive.
Booting from the Repair Disk
To use your newly created repair disk:
- Insert the DVD or USB drive into your computer
- Restart your computer
- Select the DVD drive or USB drive to boot from
- The Windows Recovery Environment will load
- Choose your recovery or repair option to execute
Common repair options include:
- Startup Repair – Automatically fixes boot issues
- System Restore – Rolls back system files to an earlier point
- Windows Complete PC Restore – Completely reinstall Windows
- Windows Memory Diagnostic – Tests your RAM for errors
- Command Prompt – Advanced recovery options and fixes
The recovery environment provides several tools to help diagnose and repair issues with your Windows 7 installation.
Conclusion
Creating a Windows 7 repair disk using an ISO image provides a reliable recovery option if your system becomes unstable or unable to boot. The ISO can be reused as needed to create DVD or USB recovery media.
The main steps are:
- Extract install.wim from Windows 7 installation media
- Use ImgBurn to build ISO file from install.wim
- Burn ISO to DVD or USB drive
- Boot from DVD or USB to launch recovery environment
Keeping a Windows 7 repair disk on hand can save you time and frustration in case your Windows 7 installation fails. The disk allows diagnosing and repairing issues like corruption, boot problems, and system file damage.
Hopefully this guide has helped explain the process of building a Windows 7 repair ISO and using it to create a bootable recovery disk. Let us know if you have any other questions!
Frequently Asked Questions
What files do I need to create a Windows 7 repair disk?
You need the install.wim file from the Windows 7 installation media. This large WIM file contains the recovery image.
Can I just burn the install.wim file directly to DVD?
No, you need to create an ISO image file first. The ISO format encapsulates the WIM file into a bootable disk image.
My PC did not come with Windows 7 install media. Can I still create a repair disk?
If your manufacturer created a recovery partition, you may be able to extract the install.wim file from there using recovery disk software.
Do I have to use ImgBurn for the ISO creation?
No, you can use other ISO creator tools. ImgBurn is recommended because it’s free and easy to use.
How much space do I need for the repair disk?
The minimum is around 300 MB, so a blank DVD or small USB drive will have sufficient capacity.
Can I boot the repair disk ISO directly?
Potentially yes, if you attach the ISO as a virtual DVD drive in a virtual machine. But burning to physical media is the typical approach.
What if Startup Repair doesn’t fix my boot issue?
The recovery environment includes more advanced troubleshooting tools like System Restore, Windows Memory Diagnostic, and Command Prompt access.
Does the repair disk allow a full reinstall of Windows 7?
Yes, the Windows Complete PC Restore option will fully reinstall Windows 7 from the recovery image contained on the disk.
Can I create an ISO from the recovery partition instead of install media?
Yes, if you have recovery software that can correctly export the install.wim file from the recovery partition to your hard drive.