1. Back Up Your Data
It’s crucial to back up your data before erasing your Mac. This ensures you have a copy of all your files, settings, apps, and other important data in case anything goes wrong during the erase process.
There are a few recommended backup options:
- Use Time Machine to back up to an external hard drive or Time Capsule. Time Machine will save hourly backups for the past 24 hours, daily backups for the past month, and weekly backups for everything older than a month. See Apple’s support guide for instructions.
- Back up important files to cloud storage like iCloud or Dropbox. This provides an offsite backup in case your local backups fail.
- Manually copy important files to an external hard drive for a quick backup option.
Be sure your backup is complete and up-to-date before erasing your Mac. Storage space required will depend on how much data you need to back up.
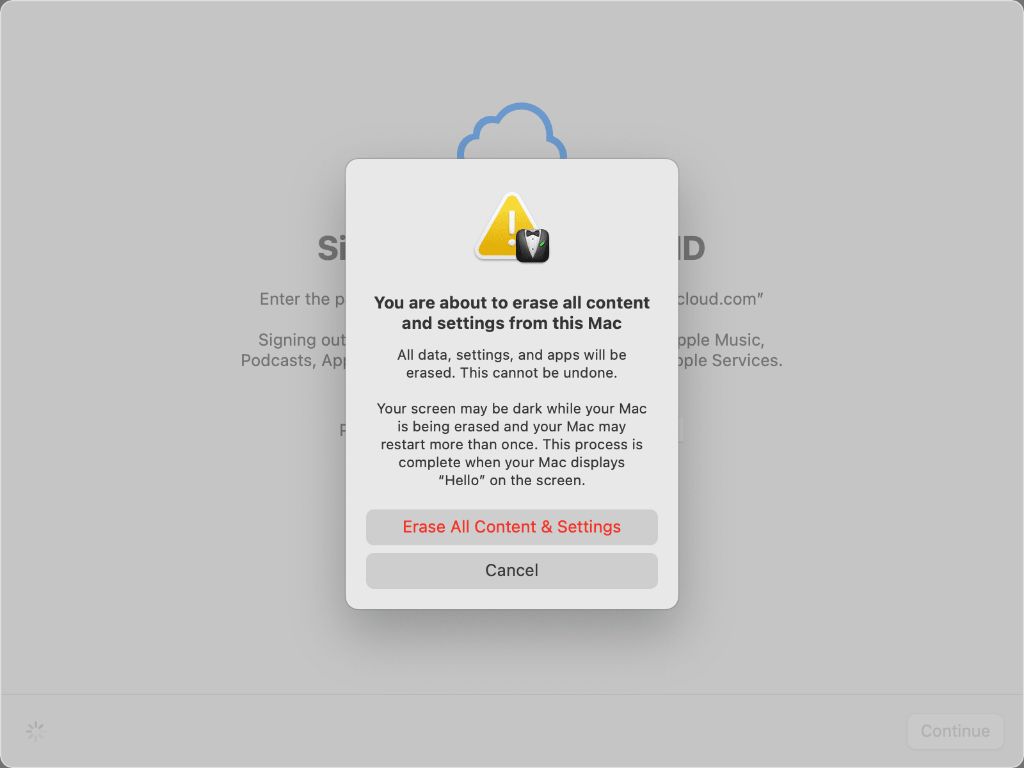
Sign Out of iCloud
Before erasing your Mac, it’s important to sign out of iCloud to avoid issues with your data syncing back after the erase. When signed into iCloud, your Mac syncs data such as photos, documents, contacts, calendars, and more with iCloud. If you erase your Mac without signing out, this data will automatically download again when you sign back in, defeating the purpose of the erase.
To properly sign out of iCloud before erasing your MacBook Pro running macOS Catalina:
- Click on the Apple menu and select System Preferences
- Click on your Apple ID at the top of the window
- Select “Overview” in the sidebar
- Click the “Sign Out” button
You’ll need to enter your Apple ID password to confirm signing out. Once signed out, your Mac will no longer sync data with iCloud, so you can safely erase the startup disk without worrying about old data coming back. Just remember to sign back into iCloud after reinstalling macOS or restoring from a backup.1
Erase the Startup Disk
To fully erase the startup disk on your Mac, you will need to use Disk Utility. Disk Utility allows you to completely wipe and reformat the disk. This will erase all data and installed apps.
To erase the startup disk on an Intel-based Mac running macOS Catalina:
1. Boot into Recovery Mode by restarting your Mac and holding down the Command + R keys.
2. Select Disk Utility from the macOS Utilities screen and click Continue.
3. Select your startup disk from the left side pane in Disk Utility.
4. Click the Erase button in the toolbar.
5. Choose a format like APFS or Mac OS Extended (Journaled).
6. Type a name for the disk.
7. Make sure the Scheme is set to GUID Partition Map.
8. Click Erase to confirm. This will fully erase and reformat the startup disk, removing all data.
(Source)
To erase the startup disk on an M1 Mac running macOS Catalina:
1. Turn on your Mac and continue holding the power button until you see the startup options window.
2. Click Options, then click Continue.
3. Select Disk Utility, then click Continue.
4. Select your startup disk, click Erase in the toolbar.
5. Choose a format like APFS.
6. Type a name for the disk.
7. Click Erase to confirm. This will fully erase and reformat the disk.
(Source)
Reinstall macOS
After erasing the startup disk, you’ll need to reinstall the macOS operating system. Download the latest macOS installer from the App Store (it’s a free download).
To reinstall macOS, follow these steps:
- Boot into macOS Recovery mode by restarting your Mac and holding down the Command and R keys.
- Select “Reinstall macOS” from the macOS Utilities window.
- Click “Continue” and follow the onscreen instructions to reinstall the latest macOS version that originally came with your Mac.
- The installation process will take some time to complete as macOS and all the default apps need to be reinstalled.
For detailed guidance, refer to Apple’s support article on how to reinstall macOS.
Restore Data from Backup
After erasing your Mac and reinstalling macOS, you’ll want to restore your personal data and settings from a backup. The easiest way is to restore from a Time Machine backup. Time Machine is the built-in backup tool in macOS that can back up your entire Mac, including your system files, applications, accounts, preferences, music, photos, documents and more [1].
To restore from Time Machine on macOS Catalina:
- Connect the external hard drive or Time Capsule with the Time Machine backup.
- Open the Time Machine app (located in Applications > Time Machine).
- Browse through your previous backups and select the files/folders you want to restore.
- Click Restore to copy those items back to your Mac.
You can also restore the entire Mac to a previous state if desired. Alternatively, you can restore data from an iCloud backup. Sign into iCloud after reinstalling macOS to access and download previous iCloud backups.
Restoring data and settings from a complete, up-to-date backup helps ensure your new Mac setup has your latest content and is customized just the way you like it.
Reset SMC
Resetting the System Management Controller (SMC) can help resolve issues that may occur after erasing your MacBook Pro (see this source). The SMC controls low-level functions like charging, thermal management, and keyboard backlighting. Resetting it essentially restores these functions to their default settings which can fix problems.
To reset the SMC on a MacBook Pro with the Apple M1 chip or later, simply shut down your Mac and wait a few seconds. Then turn it back on – this resets the SMC automatically. For earlier MacBook Pro models with Intel chips, you need to manually reset the SMC by pressing and holding the left Shift, Control, and Option keys plus the power button for 10 seconds (see instructions from Apple support). After resetting the SMC, let your Mac boot up normally.
Sign Back Into iCloud
If you use iCloud to sync settings and data across your Apple devices, you’ll want to sign back into your iCloud account after erasing your Mac. This will sync everything back down from iCloud and restore your contacts, calendars, photos, files and more that you had stored in iCloud.
To sign into iCloud on your erased Mac, go to System Preferences > Apple ID and click “Sign In.” Enter your Apple ID and password to sign in. If you run into issues signing in, check out this Apple support article for troubleshooting tips.
In some cases, you may need to sign out of iCloud on all devices before signing back in on your Mac. This Apple Discussions thread provides more details on that process if you can’t get signed back into iCloud.
Once signed back in, iCloud will automatically sync your data and settings back down to your erased MacBook Pro. This brings back your important iCloud information while keeping the fresh clean slate provided by the erase.
Reinstall Apps
After erasing your MacBook Pro, you will need to reinstall any apps you were using before. The easiest way is to redownload them from the App Store. According to Apple’s support guide, you can set your Mac to automatically download any apps you’ve purchased on other devices. Go to the App Store > Settings and enable “Automatically download apps purchased on other devices.” This will allow apps you’ve downloaded previously to be installed again without having to search for them.
If you have issues with apps not reinstalling properly, you may need to uninstall any remaining traces and reinstall fresh. According to discussions on Apple’s forums, some apps may require a full uninstall/reinstall after a system reset. To fully uninstall an app, you can delete associated files in the Applications folder or use a tool like AppCleaner. Then go to the App Store to redownload a clean version.
Adjust Settings
After erasing your Mac, you’ll need to adjust some key system preferences and settings. Here are some tips:
Go to System Preferences > General and set the appearance, accent colors, auto-hide dock, default web browser and other options to your liking [1].
In System Preferences > Desktop & Screen Saver, choose your preferred desktop picture, screensaver, and Night Shift settings [2].
Adjust settings for your trackpad, keyboard, sound, printers & scanners, sharing, and internet accounts in System Preferences.
Open individual apps like Safari, Mail, Messages, Calendar, Photos, Music, etc. to modify settings based on your personal preferences.
Use System Preferences > Users & Groups to recreate any user accounts that were deleted.
If needed, reset your login password in Users & Groups > Change Password.
Restore From Time Machine
If you have a Time Machine backup, you can fully restore your Mac’s data, operating system, apps, and settings from that backup after erasing your Mac. Here is a step-by-step guide to restoring your entire Mac from a Time Machine backup:
1. With your Mac turned off, connect the Time Machine backup drive to your Mac.
2. Turn on your Mac and immediately press and hold Command-R to boot into macOS Recovery mode.
3. Select “Restore From Time Machine Backup” and click Continue.
4. Select the Time Machine backup drive and the relevant backup date and time. Click Continue.
5. The setup assistant will appear. Follow the on-screen prompts to restore your Mac from the Time Machine backup. This will reinstall macOS and restore all of your apps, settings, and data from the selected backup.
6. Once the restore is complete, you can disconnect the Time Machine drive. Your Mac is now fully restored from your backup.
This will completely restore your Mac to the state captured in the Time Machine backup, including the operating system, apps, files, and system settings. It is an efficient way to completely erase your Mac and revert to a previous functional state after reinstalling macOS.
For more details, see Apple’s support article on how to reinstall macOS from Time Machine.
