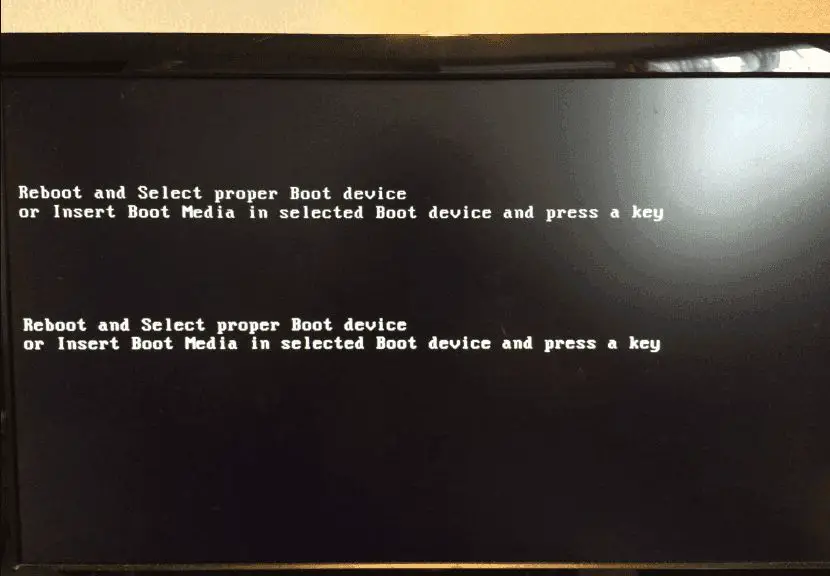
Seeing the “reboot and select proper boot device or insert boot media in selected boot device and press a key” error message when you turn on your Dell computer is frustrating. This error indicates that your computer cannot find a bootable operating system to start up. There are several potential causes for this error and a few troubleshooting steps you can take to try and fix it.
What Causes the “Reboot and Select Proper Boot Device” Error?
There are a few common causes of the “reboot and select proper boot device” error on Dell computers:
- Corrupt master boot record (MBR) – The MBR contains information about the partitions on your hard drive and code to boot the operating system. If it becomes corrupted, the computer won’t know where to look to boot the OS.
- Invalid boot order settings in BIOS – The BIOS boot order determines the order of devices the computer checks for a bootable OS. If the hard drive with the OS is not first in the boot order, you’ll get this error.
- Loose hard drive cable – If the data cable connecting the hard drive to the motherboard is loose, the computer may not detect the hard drive properly at boot.
- Old BIOS version – An outdated BIOS version may not detect new hardware properly and prevent booting.
- Damaged hard drive – If your hard drive is mechanically damaged or has corrupted sectors, it may prevent booting into the OS.
How to Fix the “Reboot and Select Proper Boot Device” Error
If you see this error on a Dell computer, there are a number of troubleshooting steps you can take to fix it:
Restart Your Computer
The first step is to simply restart your computer and see if the error persists. Sometimes a one-time glitch or minor software error can cause this issue. Restarting clears out any memory errors or software issues and resets all hardware. If a restart fixes it, you likely had a very minor software issue causing the error.
Check Cable Connections
Make sure all the cables are properly connected inside your computer if the error persists after a restart. Follow these steps:
- Shut down your computer fully and disconnect the power cable.
- Open up the computer case to access the inside.
- Check that the hard drive data and power cables are firmly inserted into the drive and motherboard.
- Reseat the cables by unplugging them and plugging them back in securely.
- Inspect the cables for any damage which could prevent proper data transfer.
- Close up the computer case and reconnect the power cable.
If a loose cable was the issue, your computer should now boot up properly when turned on again. Damaged cables will need to be replaced.
Check BIOS Boot Settings
The next thing to check is the boot order configured in your BIOS settings. Follow these steps to verify the BIOS boot order:
- Restart your Dell computer and press F2 when the Dell logo appears to enter the BIOS setup utility.
- Navigate to the “Boot” tab in the BIOS.
- Check that “Hard Drive” or the drive with your operating system installed is listed first in the boot order.
- If not, use the arrow keys to move it to the first position in the order.
- Press F10 to save changes and exit the BIOS.
This will set your primary hard drive as the first boot device so the computer checks it first when booting up.
Run Diagnostics on the Hard Drive
If you still get the error, it could point to a problem with your hard drive. Run Dell’s onboard diagnostics to check the health of your hard drive:
- Turn on or restart your Dell computer and press F12 when the Dell logo appears.
- Select “Diagnostics” from the boot menu.
- Choose “Run Tests” on the ePSA Pre-boot System Assessment screen.
- Run the Hard Drive tests.
If the tests detect any errors or issues with your hard drive, it likely needs to be repaired or replaced. Contact Dell support to further troubleshoot hard drive issues or have it serviced if under warranty.
Try System Restore from Recovery
Booting into Windows Recovery Environment will allow you to use System Restore to roll back your computer to an earlier restore point before the issue occurred, if possible. Here’s how to boot into recovery mode:
- Restart your Dell and press F8 as it boots up.
- Select “Repair Your Computer” from the Advanced Boot Options screen.
- Choose your language settings and click “Next.”
- Log in as an administrator account.
- Go to “System Restore” and choose a restore point before you had boot issues.
- Follow the prompts to restore your system.
After the restore completes, restart your computer normally and see if the boot error persists.
Reset BIOS to Default Settings
Resetting the BIOS back to factory default settings can help resolve hardware conflicts that may be preventing booting. Here’s how to reset BIOS on a Dell:
- Turn on or restart your Dell and press F2 to enter the BIOS setup utility.
- Navigate to the “BIOS Setup Utility” screen.
- Press Alt + F to reset BIOS to defaults.
- Press Y to confirm resetting BIOS.
- Press F10 to save changes and restart your Dell.
The computer will reboot and BIOS settings will be restored to default. This often resolves booting issues caused by incorrect BIOS settings.
Reseat the RAM
Loose or improperly seated RAM modules can sometimes cause boot errors. Follow these steps to reseat the RAM:
- Power off your Dell completely and unplug the power cable.
- Open up the computer case to access the RAM slots.
- Press down on the clasps at the ends of the RAM slots to release the modules.
- Gently pull the RAM modules out of their slots.
- Clean the RAM stick contacts and slots with compressed air.
- Reinsert the RAM sticks firmly into their designated slots until they click and lock into place.
- Close up the computer case and reconnect power.
Try booting again after reseating the RAM. If you have multiple RAM sticks, try booting with each stick individually to test if one is defective.
Update BIOS to Latest Version
An outdated BIOS version can sometimes cause compatibility issues resulting in boot problems. Updating to the latest BIOS version optimized for your Dell model will often fix boot issues:
- Go to Dell’s support site and search for your Dell model to find BIOS update files.
- Download the latest BIOS version for your model.
- Follow Dell’s instructions to run the BIOS update executable and install the updated BIOS.
- Restart your computer after the BIOS update completes.
This will upgrade your BIOS to the most up-to-date release with bug fixes and improved hardware support which often resolves boot errors.
Boot Into Safe Mode
Booting into Windows Safe Mode starts your computer with only the essential drivers and services. This allows you to troubleshoot problems caused by third party drivers or software. Follow these steps to boot into Safe Mode:
- Restart your Dell computer and press F8 as it starts up.
- Select “Safe Mode” from the Advanced Boot Options menu.
- Log into your account in Safe Mode.
- Try rebooting normally from within Safe Mode.
If your computer now boots normally, the issue was likely caused by problematic third party software, drivers, or settings that were disabled in Safe Mode.
Run SFC and DISM Disk Checks
System File Checker (SFC) scans Windows system files and Disk Image Servicing and Management (DISM) checks the Windows image for errors. Run these commands to check for corrupt system files or OS damage:
- Boot into Windows Safe Mode.
- Open an admin Command Prompt.
- Run sfc /scannow and press Enter.
- Wait for SFC scan to complete.
- Run DISM /Online /Cleanup-Image /RestoreHealth and press Enter.
- Wait for DISM scan to complete and restart your Dell.
SFC will repair corrupted Windows files and DISM will fix issues in the Windows image. If either finds errors, your boot issues may be resolved after restarting from the scans.
Clean Install Windows
If all else fails, doing a clean install of Windows will overwrite any corrupted files or OS issues causing boot problems:
- Back up any data you want to keep first.
- Boot from a Windows install USB or DVD.
- Follow the on-screen prompts to install Windows fresh.
- Choose custom install when prompted to clean install Windows.
- Format your Windows partition before installing.
After the clean install completes, your Dell will have a fresh Windows OS, removing any previous errors causing boot issues.
Conclusion
Following the troubleshooting steps outlined above should help you resolve the “reboot and select proper boot device” error on your Dell computer. Start by checking for loose cables, verifying BIOS settings, running Dell diagnostics, and trying System Restore. If the issue continues, resetting BIOS, reseating components, updating BIOS, and repairing Windows system files using Safe Mode may fix your booting problems. A clean install of Windows is the most definitive solution if all else fails. Back up important data and follow the steps above to get your Dell PC booting properly again.