Write protection is a feature available on some USB flash drives that prevents files from being modified, erased, or overwritten. It essentially makes the drive “read-only” and is useful for protecting important data from accidental changes or corruption.
The goal of formatting a write protected drive is to completely wipe it and restore it to a useable state. This allows you to reuse the drive and write new files to it after it has been write protected. Formatting bypasses the write protection and lets you repartition and reformat the drive.
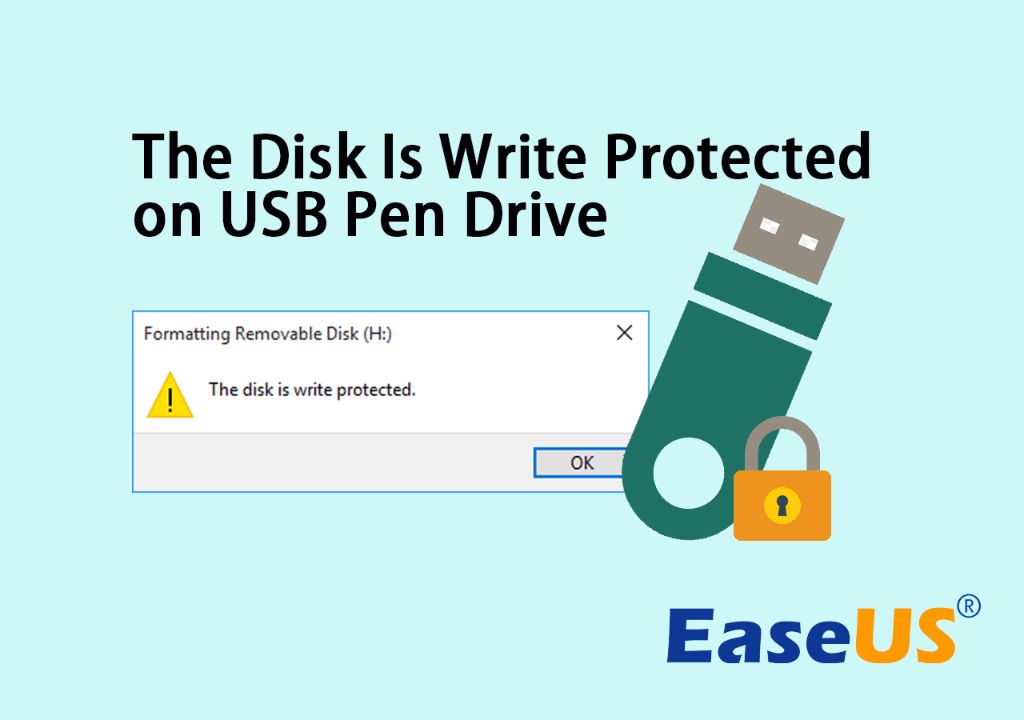
In this guide, we’ll walk through the steps to format a write protected USB flash drive on Windows 10. This will remove the existing data and partitioning so you can use the full capacity again.
Back Up Your Data
Before formatting your USB flash drive, it’s crucial to back up your data first. This ensures that you won’t lose any important files or data in the process. You should copy all of the data from the USB drive to another storage location like your computer’s hard drive or an external hard drive.
To back up your USB drive:
- Connect the USB drive to your computer.
- Open File Explorer and navigate to the USB drive.
- Select all files and folders on the USB drive by pressing Ctrl + A on your keyboard.
- Copy the selected files by pressing Ctrl + C on your keyboard.
- Navigate to the location you want to back up the files to, like Documents or an external drive.
- Paste the copied files by pressing Ctrl + V.
Once you’ve safely backed up all of the data, you can proceed with formatting the write-protected USB drive. Having a backup prevents permanent data loss.
Check and Disable Write Protection
The first step is to physically check your USB drive for a write protection switch or tab. This is a small slider or tab on the USB drive housing that slides between a “locked” and “unlocked” position. If your drive has write protection enabled, slide the switch to the unlocked position before continuing.
If your USB drive does not have a physical write protection switch, then write protection may be enabled in software. To disable software write protection in Windows, right click the USB drive in File Explorer and select Properties. Go to the Security tab and make sure “Read-only” is unchecked. Click Apply to save the changes.
With write protection disabled on your USB drive, you can now proceed to formatting the drive in Windows.
Use Diskpart in Command Prompt
You can use the diskpart command in Command Prompt to format the USB drive.
To do this:
- Open Command Prompt as administrator. To do this, type “Command Prompt” in the Windows search box, right-click on the Command Prompt app, and select Run as administrator.
- In Command Prompt, type “diskpart” and press Enter to open the diskpart utility.
- Type “list disk” and note down the disk number for your USB drive.
- Type “select disk x” where x is the disk number for your USB drive and press Enter.
- Type “clean” and press Enter to delete all partitions on the drive.
- Type “create partition primary” to create a new primary partition.
- Type “format fs=fat32 quick” to quickly format the drive with FAT32 file system.
- Type “assign” to assign a drive letter to the USB drive.
This will completely wipe and format the USB drive using diskpart commands. Be sure to backup any important data first.1
Use Windows 10 Format Tool
Windows 10 has a built-in formatting tool that can be used to format a USB flash drive. Here are the steps to use it:
Open File Explorer and locate the USB flash drive. You can find this under This PC on the left side of the File Explorer window.
Right click on the USB drive and select Format from the menu. This will open the format dialog box.
In the format dialog, you can choose the volume label, file system (FAT32 or NTFS), and other options for formatting the drive. Make sure to select Quick Format to format the drive faster.
Finally, click Start to begin the formatting process. This will erase all data on the USB drive and reformat it. Once completed, the USB drive will be empty and write protected status removed so you can add files again.
For more details, refer to this video guide: https://www.youtube.com/watch?v=aHuW3C8X_hg
Use Third-Party Formatting Tools
In addition to the built-in Windows tools, there are several third-party USB formatting utilities that you can use to format a write-protected drive:
Ridgecrop Consultants Format Utility – This free tool can format drives larger than 32GB with FAT32, which is not possible with Windows’ own formatter. It also works around many write protection issues.
HP USB Disk Storage Format Tool – HP provides this formatter that can low-level format devices and resolve many write protection problems. It works on pen drives from any manufacturer.
There are also paid third-party formatters like EaseUS Partition Master that offer features like SSD optimization and partition management.
The advantage of third-party tools is they provide more options and often work around write protection issues. The downside is you have to download and install extra software.
Re-enable Write Protection
If you want to re-enable write protection on the USB drive after formatting it, you can do so through the device’s physical write-protection switch if it has one. Simply slide or move the switch back to the locked or write-protected position according to your device’s design. This will prevent any further changes to the contents of the drive.
If your drive does not have a physical write-protection switch, you can re-enable software write-protection using the ‘attributes’ command in Command Prompt. Open Command Prompt as administrator and enter the following:
attributes g: +r
Replace g: with the correct drive letter for your USB drive. This will set the read-only attribute again, preventing any new files from being written to the drive.
Re-enabling write protection is useful for safeguarding the data on USB drives from being accidentally deleted or changed once you have transferred or formatted it with the final contents you need. It essentially makes your USB drive read-only, protecting its data from modification. Just remember to temporarily disable write protection if you need to add or erase files in the future.
Test the Drive
After formatting the USB drive, it’s important to test it to ensure the formatting was successful and the drive is fully functional. Here are the steps to test the drive:
-
Copy a small file such as a text document or image to the formatted USB drive.
-
Open the file directly from the USB drive to confirm you can access the contents.
-
Once you’ve confirmed the file can be opened, delete the test file.
-
Safely eject the USB drive by clicking the “Safely Remove Hardware” icon in the system tray and selecting Eject for your drive.
-
Physically disconnect the USB drive and reconnect it.
-
Open the drive and confirm there are no errors and you can access the contents as expected.
If you encounter any issues copying files to the drive, opening files, or ejecting the drive, there may still be an underlying issue that requires troubleshooting. However, if you can copy files and open them directly from the formatted drive without issues, then the formatting was likely successful.
Troubleshooting
If you run into errors while trying to format your USB drive, there are some troubleshooting steps you can try:
If you get an “Access Denied” error, make sure you are running Command Prompt or the formatting tool as Administrator. You may need elevated permissions to overwrite a write-protected drive. If that doesn’t work, try uninstalling any encryption software that may be preventing access to the full drive.
Try using a different USB port on your computer. Ports on the front of the PC case often do not supply enough power for proper formatting. Switch to a USB port directly on the motherboard if possible.
Connect the drive to a different computer. There could be an issue with that specific USB drive and your computer. Trying it on a different PC will help rule that out.
As a last resort, you can try formatting the drive on a Linux machine which may be able to bypass certain Windows restrictions. Tools like GParted work well for this purpose.
If none of those basic troubleshooting tips allow you to format the drive, the USB may be permanently damaged and need to be replaced.
Summary
In summary, here are the key steps to format a write-protected USB flash drive on Windows 10:
- Back up any important data from the USB drive.
- Check the drive for a physical write-protection switch and disable it if present.
- Use the Diskpart utility in Command Prompt to remove write protection.
- Format the drive using the Windows 10 formatting tool or a third party tool like Rufus.
- Re-enable write protection if desired by flipping the physical switch back on.
- Test the drive to ensure you can now add and remove files as expected.
Formatting a stubborn write-protected drive can be tricky. If you run into issues, try troubleshooting steps like using a different computer, USB port, or USB cable. There are also USB format utility tools that may help remove deep-seated write protection.
With the proper steps, you can successfully format most write-protected USB flash drives on Windows 10 and restore full read/write functionality.
