What is RAID 1?
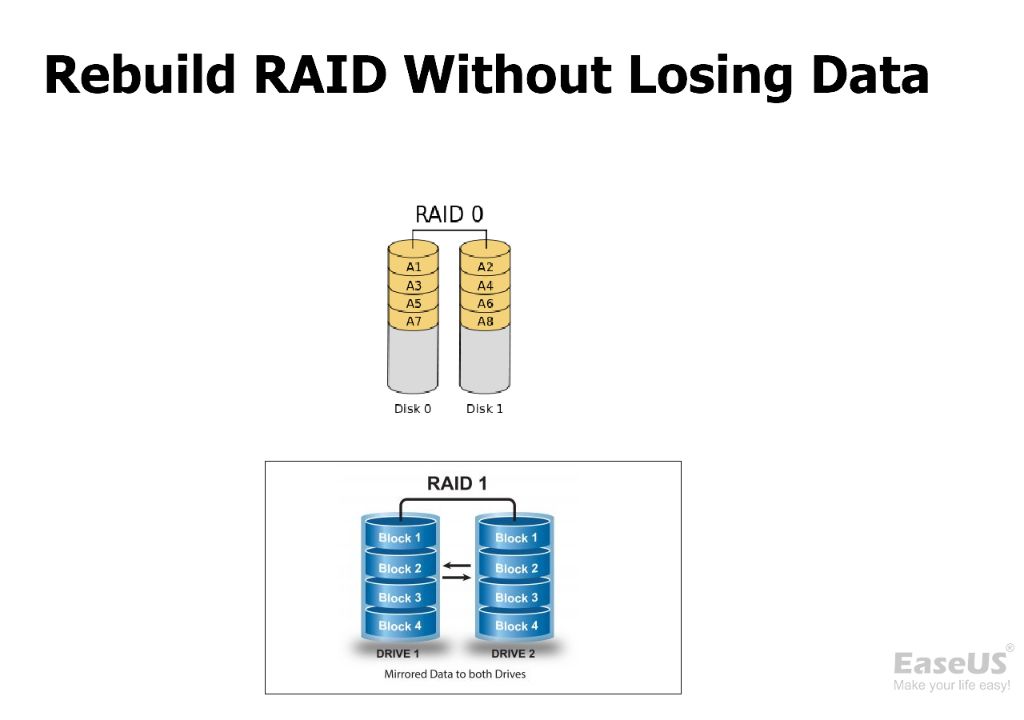
RAID 1, also known as disk mirroring, is a RAID configuration that provides redundancy by writing identical copies of data to two separate drives (Definition of RAID 1). This mirrored set creates an exact copy of the data for protection. If one drive fails, the system can instantly switch to the other drive without any loss of data or interruption in service.
RAID 1 offers high performance and complete data protection. By distributing reads and writes across multiple drives, RAID 1 provides fast real-time data access. The duplicate drives provide fault tolerance since all data remains accessible if one drive fails. However, RAID 1 requires at least two drives, doubling the cost compared to a single drive (Difference Between RAID 0 and RAID 1).
When to Rebuild RAID 1
There are a few common scenarios when you may need to rebuild a RAID 1 array:
If one drive fails – RAID 1 provides fault tolerance by mirroring data across two drives. If one drive fails or becomes corrupted, the RAID can continue operating using the remaining good drive. However, you’ll want to replace the failed drive and rebuild the RAID as soon as possible to restore full redundancy.
If relocating or replacing drives – You may want to rebuild a RAID 1 array when upgrading to larger capacity drives or moving the array to new hardware. Rebuilding is necessary to sync and mirror the data onto the new drive(s).
To increase storage capacity – A RAID 1 array can be rebuilt and expanded with larger drives to increase overall storage capacity. For example, you could replace two 2TB drives in RAID 1 with two 4TB drives and rebuild the array to make use of the extra space.
Back Up Your Data First
Before beginning the RAID 1 rebuild process, it is crucial to back up your data. Rebuilding a RAID 1 array involves major changes to your storage system that can result in data loss if something goes wrong.
There are two main types of backups to consider before a RAID rebuild:
-
File copies – Make copies of important files and store them on a separate storage device or cloud backup. This protects against data loss if the rebuild fails.
-
Disk images – Make a complete copy of your RAID 1 array to capture the entire system state. Imaging software creates a file that contains all data and can restore the exact disk configuration.
Backups provide an insurance policy against issues during the rebuild. Having a backup avoids downtime from data recovery. Test any backups before rebuilding to ensure they work correctly. With a valid backup, you can rebuild the RAID with confidence knowing your data is protected.
Check RAID Controller Settings
To ensure the RAID 1 array is still intact, you will need to enter the RAID configuration utility to verify the status. This is typically done by pressing a key during boot up to access the RAID configuration settings. The exact key to press varies by manufacturer but is often F2, F10 or Ctrl+I. Refer to your motherboard or RAID controller documentation for the proper key.
Once in the RAID configuration screen, look for the status of the RAID 1 array. It should show as still active but degraded, meaning one drive is missing. The remaining drive should display as fully functional and synchronized. This verifies that the RAID 1 is still in place, and you can now safely replace the failed drive without losing data.1
Remove Old Drive
Once you have backed up your data and checked the RAID controller settings, you can proceed to removing the old, failed drive from the RAID 1 array. This step involves physically locating the drive and disconnecting it.
First, you should power down the system fully before removing any drive. Turn off the computer and any external storage devices. This prevents any further drive access that could lead to data corruption.
Next, locate the physical drive slot for the failed drive. In a desktop PC, it will be connected to the motherboard or a PCIe RAID controller card. In an external enclosure, there will be a removable drive bay. Consult your hardware manual for details on accessing the drive bay.
Once located, remove the failed drive from the system. In a desktop, this usually involves unscrewing a bracket and connector cables. For an external drive, there is typically an eject mechanism. Remove the drive carefully without damaging connectors.
With the drive fully disconnected, you can now insert a replacement drive to rebuild the RAID 1 array.
Install Replacement Drive
When replacing a failed drive in a RAID 1 array, it’s important to use a compatible replacement drive. The new drive should match the old drive in terms of capacity, interface type (SATA, SAS, etc.), rotational speed (7200 RPM, 15000 RPM, etc.), and ideally the model number as well. Matching the specifications helps ensure maximum compatibility and performance.
Install the new drive in the exact same drive bay as the failed drive if possible. Most RAID controllers identify drives based on their physical slot or connector. Installing the new drive in the same bay allows the RAID controller to automatically detect it as a replacement and add it to the array.
Refer to the server or storage enclosure manuals for instructions on hot-swapping failed drives if needed. Exercise proper electrostatic discharge (ESD) precautions when handling drives to avoid damage.
Rebuild RAID 1
Once the new replacement drive is installed in the RAID 1 array, you will need to initiate the rebuild process using the RAID configuration utility. This will synchronize the data from the remaining healthy drive onto the new drive to recreate the mirror. Depending on the size of the RAID 1 array, this rebuild process can take several hours to complete.
To start the RAID 1 rebuild, access the configuration utility for the RAID controller, which may require rebooting into a special management interface or mode. Locate the management options for the degraded RAID 1 array and select the option to rebuild or synchronize the mirror. The controller will begin reading all data blocks from the source drive and writing them to the new drive to recreate the RAID 1 redundancy.
The rebuild progress can be monitored in the configuration utility. Do not interrupt the rebuild process once started, as this can cause data loss. It is normal for the system to run slower during rebuild as the process is input/output intensive. Allow sufficient time for the rebuild to fully complete before resuming normal operations. The RAID 1 array will show as fully synchronized once rebuilding is finished.
For Intel-based controllers, refer to this guide for the step-by-step rebuild process. Other hardware RAID manufacturers have similar rebuild procedures in their management utilities.
Verify Synchronization
Once the rebuild process is complete, it’s important to verify that the synchronization was successful. Here are some steps to check:
Use the RAID management utility to check the rebuild status and ensure it displays as completed. For example, in Windows you can check Disk Management or a hardware RAID controller’s management software [1]. The drives should show as normal and fully synchronized.
Spot check data on both drives to confirm they contain identical copies. Open random files from each drive independently to verify the data matches. Some users also run checksum utilities on both drives and compare the results to ensure the bytes match exactly [2].
If you encounter any errors or mismatches at this stage, the synchronization was unsuccessful. You may need to restart the rebuild process or troubleshoot the RAID controller or drives.
Restore From Backup
If the RAID 1 rebuild fails, you may need to restore your data from backups. Before starting the restore process, first test the integrity of your backup files to ensure they are not corrupted. One way to verify backup integrity is to spot check some files at random by opening them to ensure they contain the expected data and are not damaged.
Once you have confirmed your backup is valid, you can restore the files and data to your RAID 1 array. Be sure to restore the backups to a different location or drive first, rather than overwriting your existing RAID 1 data, in case the restore process encounters issues. After restoring the backups, you can then copy the restored data over to the RAID 1 array.
To restore from Windows backups, go to Settings > Update & Security > Backup and select “Restore files from a current backup” to access your system image backups. For third party backup tools, follow the software’s procedures to locate backups and restore data. Take care to restore backups to the correct drive letters/folders to avoid data loss.
Double check that all critical files and databases are present after restoring from backup. Spot check folders and sort files by date modified to ensure recent files are included. Once satisfied with the restored data, you can confirm the RAID 1 rebuild and move forward knowing you have a valid data backup.
Troubleshooting Tips
Sometimes issues can arise during the RAID 1 rebuild process that require troubleshooting. Here are some common problems and solutions:
Error Messages to Watch For
The RAID controller may show error messages like “Degraded array” or “Disk failure.” This indicates one drive has failed or been removed. The array needs to be rebuilt with a replacement drive before normal operation can continue.
Potential Hardware Issues
If the RAID 1 array is not synchronizing properly or showing errors, make sure both drives are properly connected and compatible with the RAID controller. Cabling issues, an incompatible replacement drive, or a failed controller can prevent a successful rebuild.
Loose cables, blown fuses, or a bad power supply can also cause problems. Check the physical hardware thoroughly.
When to Seek Professional Help
If drives repeatedly fail or the rebuild gets stuck, the issue may be beyond DIY troubleshooting. At that point, consult a professional data recovery service like SalvageData. They have advanced tools and clean room facilities to recover data from failed RAID arrays.
