Accidentally losing an important Excel file can be incredibly frustrating and cause major workflow disruptions. Excel files often contain critical data, analysis, and calculations that are not easily redone. Losing access to that information due to inadvertent actions like deleting the file, not saving changes before closing, file corruption, or system issues can negatively impact productivity and work quality.
Recovering a lost Excel file should be a top priority to avoid data loss and wasted time recreating work. The inability to access the data, visualizations, and formulas in an Excel workbook could delay projects, lead to inaccurate reporting, or cause missed deadlines. That’s why understanding ways to recover unsaved, deleted, or corrupted Excel files is an essential skill for any regular Excel user.
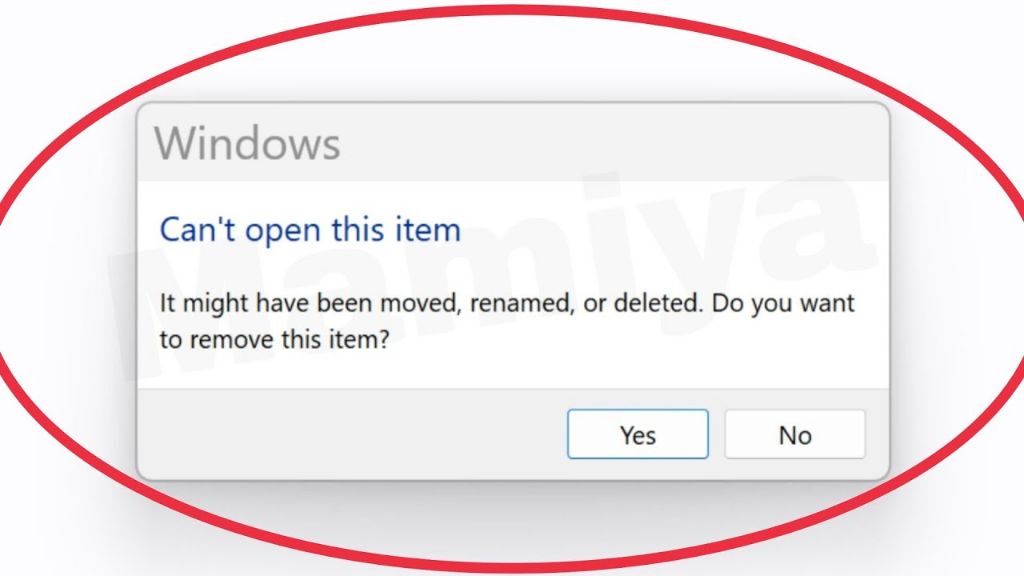
Check the Recycle Bin
The first place to check for a deleted Excel file is the Recycle Bin. When you delete a file in Windows, it is moved to the Recycle Bin unless you specifically choose to permanently delete it. To access the Recycle Bin, open File Explorer and click on the Recycle Bin icon, usually located on the desktop or taskbar. Here you can view recently deleted files and choose to restore them to their original location.
To recover a deleted Excel file from the Recycle Bin:
1. Open the Recycle Bin and check if your file is visible. The file name will likely be the original name with a random number appended.
2. Right click on the file and choose Restore. This will move the file back to the original folder location it was deleted from.
If you don’t see your file in the Recycle Bin, it’s likely it was permanently deleted or the Recycle Bin has been emptied. In that case, move on to the other recovery methods below.
Sources:
https://answers.microsoft.com/en-us/msoffice/forum/all/how-do-i-recover-deleted-excel-file/f77bf1a7-31c8-4f3e-9119-bd9ce7ad8d1b
Use AutoRecover
Excel has a built-in AutoRecover feature that automatically saves versions of your open workbooks at set time intervals. According to Microsoft, “The Auto-Recover feature saves copies of all open Excel files at a user-definable fixed interval. The files can be recovered if Excel closes unexpectedly.” [1]
To recover an unsaved Excel file using AutoRecover:
1. Open Excel and click File > Options > Save.
2. Under “Save workbooks”, check for a temporary file location. This is typically C:\Users\\[Username]\AppData\Roaming\Microsoft\Excel\ or a similar path.
3. Navigate to that location and search for your missing file name. The AutoRecovered files will have the original name plus a numerical suffix such as “Book1-Recovered1.xlsx”.
4. Open the AutoRecovered file version and save it with the original name.
5. You can now access the previous unsaved version. Note that you may need to reconcile changes between the AutoRecovered version and your last manual save.[2]
By default, AutoRecover saves every 10 minutes, but you can adjust this interval. Enable AutoRecover in your Excel preferences for an easy way to restore unsaved changes after an accidental closure or crash.
Restore from Backup
One of the best ways to recover lost or deleted Excel files is to restore them from a backup. It’s critical to regularly back up your Excel files to prevent permanent data loss in case of accidental deletion or corruption. As this Excel tutorials explains, backing up Excel files allows you to easily revert to an earlier version if needed.
To recover a lost Excel file from a backup:
- First, check your regular file backup system and see if the missing Excel file is available there. This could be a backup on an external hard drive, network storage, or cloud backup service.
- Once you’ve located the needed backup file, simply restore it to its original location on your PC or to a new location.
- Open the restored Excel file normally to confirm you have recovered your data.
The key is having a regular backup process in place for your important Excel files, as covered in this Excel tutorial on backing up files. With a good backup, you can easily revert to a previous version of a deleted or corrupted Excel file.
Recover Previous Versions
If you have System Restore enabled on your Windows PC, you can recover previous versions of your Excel files from restore points. Restore points are created automatically by Windows whenever a system change is made, like installing an app or driver. You can also create restore points manually.
To recover a previous version of an Excel file using System Restore:
- Open File Explorer and navigate to the location of the Excel file you want to restore. This allows you to recover previous versions of files that have been deleted or renamed.
- Right-click on the file name or folder and select “Properties”.
- Click the “Previous Versions” tab. This will display snapshots of the file or folder from previous restore points.
- Click on a previous version from the list to preview it. Select “Restore” to recover that version of the file.
The previous version will be restored as a copy with “(Date) Version” appended to the file name. You can then open this copy to access your old Excel data. Keep in mind that System Restore does not monitor cloud storage or network locations.
Enabling System Restore and regularly creating restore points can help you easily roll back from accidental file changes or deletions in Excel and other Office apps. Just be aware that it only works for local drives on your PC. For more details, see this guide on recovering previous versions of Excel files.
Recover from Temp Files
Excel creates temporary files as you work to store information in case the program crashes or a file is not properly saved. These temporary Excel files contain copies of data that can potentially be recovered if an original file is lost or deleted.
The location of these temporary files depends on your Windows version:
- Windows 10/11: C:\Users\UserName\AppData\Local\Microsoft\Office\UnsavedFiles
- Windows 8/7/Vista: C:\Users\UserName\AppData\Local\Microsoft\Office\UnsavedFiles
The temporary Excel files use the file extension .TMP. To recover data from a temp file:
- Navigate to the UnsavedFiles folder for your Windows version.
- Search for any .TMP files created around the time your original Excel file was open.
- Open the .TMP file in Excel.
- Save the temp file with the name of your original Excel file.
This allows you to recover as much data as Excel had autosaved from your lost file. However, any changes made since the last autosave will still be lost. For best results, recover Excel temp files as soon as possible after a file is lost or deleted.
Use File Recovery Software
Dedicated file recovery software tools are designed specifically to scan storage devices and recover deleted files. They can dig deeper than Windows’ Recycle Bin and System Restore features to find residual traces of deleted files. Some popular Excel file recovery software options include:
Recovery for Excel – Repairs corrupt Excel files and recovers unsaved Excel documents. It works for XLS and XLSX files.
Recoverit Data Recovery – Retrieves unsaved, lost, or deleted Excel files. It has a user-friendly interface and works on both Windows and Mac.
Wondershare Recoverit – Restores corrupted Excel files by scanning storage devices to find residual traces. Supports XLS and XLSX recovery.
The key advantage of dedicated recovery software is it can find deleted Excel files even if they were not backed up or saved to the Recycle Bin. Look for software that supports your operating system and Excel file types.
Recover from Cloud Storage
If your Excel files were synced to a cloud storage service like OneDrive or SharePoint Online, you may be able to restore previous versions of the file from the cloud. OneDrive and SharePoint keep file version histories that allow you to roll back to an earlier saved state.
To restore a previous version from OneDrive:
- Open OneDrive in File Explorer.
- Navigate to the location of the file you want to restore.
- Right-click on the file and select Version History.
- Preview the available previous versions and select Restore to restore that version.
For SharePoint Online:
- Navigate to the file library where the file is located.
- Click on the ellipses (…) next to the file name.
- Select Version History and choose the version you want to restore.
With Office 365 subscriptions, Microsoft keeps unlimited version history of files, so you should be able to find previous versions of your Excel files as long as they were synced to OneDrive or SharePoint Online before being lost or deleted locally.
Contact Microsoft Support
As the developer of Excel, Microsoft offers official data recovery services that may be able to help recover your file if all else fails. According to Repair corrupted Excel file online(repairtoolbox.com), Microsoft provides an Excel file recovery service where you can send your corrupted or deleted file to them and download the recovered file after paying a recovery fee.
Another article from Excel Rescue released | Expert Zone – Cimaware Software(cimaware.com) also mentions an official Microsoft Excel file recovery service. While details are limited, as the developer of Excel, Microsoft likely has proprietary data recovery methods that may be able to recover files when all other options have been exhausted.
Before paying for Microsoft’s recovery service, be sure to carefully try all other free methods first. But for valuable files, contacting Microsoft support provides one last option that takes advantage of their unique expertise with the Excel file format and contents.
Prevent Future Data Loss
Going forward, there are some best practices you can follow to avoid losing your Excel files again:
- Enable the AutoRecover feature in Excel. This will automatically save your work at regular intervals so you don’t lose data if Excel crashes or you forget to save.
- Turn on real-time AutoSave. This saves your work continuously so you never lose more than a few seconds of work.
- Do not save over previous versions of a file. Instead use Save As to create new file versions.
- Back up your Excel files regularly to an external hard drive, cloud storage, or file hosting service.
- Be careful when moving, renaming or deleting files. Double check you are modifying the correct file.
- Close Excel files when you are finished working on them.
Following these tips diligently will help avoid accidental data loss in Excel going forward. Be proactive about saving your work and you can avoid many common pitfalls.