Upgrading your Mac to the latest operating system, macOS Ventura, is an exciting prospect. Ventura comes with a host of new features and updates that can enhance your Mac experience. However, before taking the leap to upgrade, it’s important to understand what happens during and after the upgrade process. Knowing what to expect can help ensure a smooth transition to Ventura.
Preparing for the Ventura Upgrade
The first step is making sure your Mac is ready for Ventura. Apple lists the following minimum system requirements:
- MacBook models from 2017 or later
- MacBook Air models from 2018 or later
- MacBook Pro models from 2017 or later
- Mac mini models from 2018 or later
- iMac models from 2017 or later
- iMac Pro (all models)
- Mac Pro models from 2019 or later
- At least 44GB of available storage space
Before upgrading, be sure to back up your Mac using Time Machine. This will save copies of all your files, apps, and system settings. That way, if anything goes wrong during or after the upgrade, you can easily restore your Mac to its pre-upgrade state.
It’s also a good idea to make sure all your apps are updated to their latest versions. Older apps may not be fully compatible with Ventura. Checking for app updates beforehand avoids potential issues.
The Upgrade Process
Once you’ve backed up your Mac and checked for app updates, you’re ready to upgrade. The upgrade to Ventura can take place wirelessly over the internet or using a bootable installer drive.
To upgrade wirelessly, go to System Preferences > Software Update and click “Upgrade Now” when macOS Ventura appears. Your Mac will download the installer file from Apple’s servers and walk you through the installation process. Be patient, as the download may take a while depending on your internet connection speed.
For a bootable installer drive, you’ll need a USB flash drive with at least 12GB of available storage capacity. Plug the drive into your Mac and use the macOS Installer application to download the Ventura installer files and create the bootable drive. Then restart your Mac from the drive and follow the onscreen prompts to install.
The upgrade process typically takes between 15 minutes to an hour, depending on your Mac’s specs. Your Mac will restart several times during installation. It’s important not to interrupt the process once it begins.
Changes and Updates During Installation
Many changes take place behind the scenes when you upgrade to Ventura. Here are some key things that happen during installation:
- File conversion – Any files, apps, or frameworks that are incompatible with Ventura are converted to a compatible format.
- System optimization – Cache files and logs are cleared out to optimize performance on Ventura.
- Driver updates – Existing drivers for components like the trackpad, keyboard, and graphics are updated to their Ventura-compatible versions.
- Migration of data – Your personal data, settings, and accounts are copied over to the new OS version.
- Installation of new OS components – The core Ventura system files, apps, frameworks, and services are installed.
- Changes to system settings – Default apps, security settings, and other preferences are migrated to their Ventura defaults.
You won’t see most of these processes happen – the status bar will simply say “Installing” or “Configuring Update.” But rest assured your Mac is hard at work behind the scenes migrating you to the latest OS.
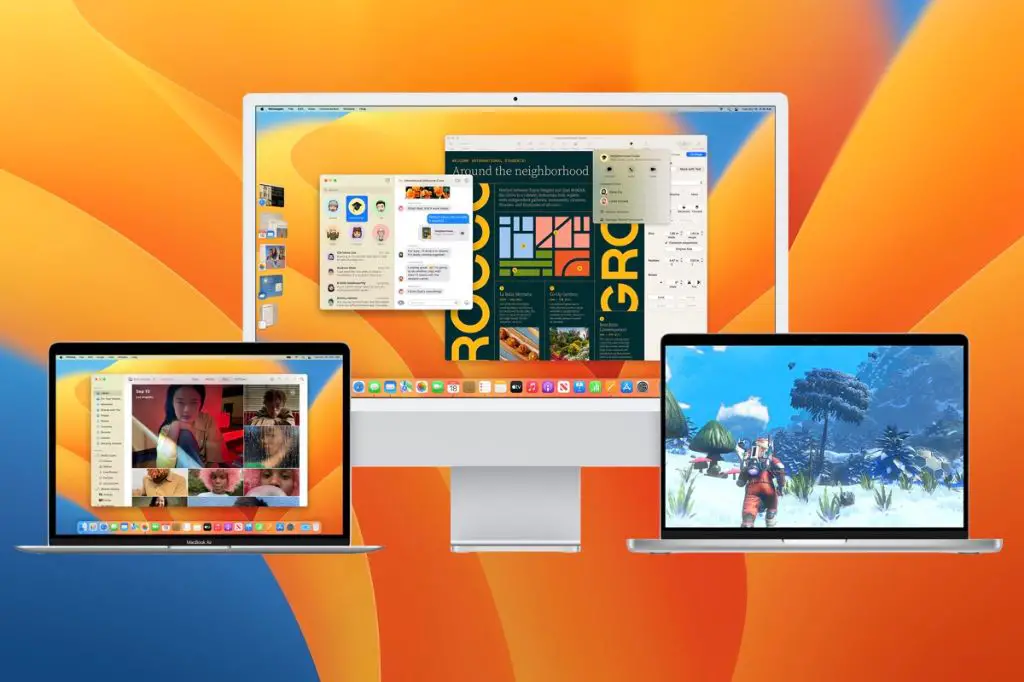
New Features Available with Ventura
Once the upgrade is complete, you can start enjoying all the new features in Ventura. Some highlights include:
- Stage Manager – A new way to stay focused on your main app while keeping other apps handy but out of the way.
- Handoff between devices – Start an email, message, or browsing session on one Apple device and fluidly pick it up on another device nearby.
- Updates to Messages – New features like editing, unsending, and marking conversations as unread make Messages more versatile.
- Updates to Mail – Tools like reminders, scheduling send times, and Follow Up suggestions help you manage mail with focus.
- Updates to Safari – Shared Tab Groups let you share web links with others and see what tabs they’re viewing in real time.
- Updates to Spotlight – More intuitive results help you find what you need faster.
- Updates to FaceTime – SharePlay sessions let you watch movies, listen to music, and more in sync with friends and family.
There are dozens of additional updates both big and small aimed at streamlining your Mac experience. Be sure to explore Ventura and all it has to offer.
Post-Upgrade Changes
After the upgrade is finished, you may notice some changes and quirks as your Mac adopts the new OS:
- Apps updating themselves to be fully Ventura-compatible.
- Subtle interface differences in places like menus, buttons, and windows.
- Desktop icons getting shifted around.
- Different default apps like Mail and Safari replacing your previous defaults.
- Other minor visual changes to alert banners, notifications, etc.
These changes are normal and your Mac is simply fine-tuning itself for Ventura. Within a day or two, any quirks should resolve themselves.
Updating Your Apps
While many apps will automatically update after the upgrade, you may need to manually update some apps yourself via the App Store. Check the Updates tab to see which apps have pending updates. Important updates you should check for include:
- Web browsers – Safari, Chrome, Firefox, etc.
- Productivity apps – Microsoft Office, Adobe Creative Cloud, etc.
- Security apps – Antivirus, VPNs, firewalls, etc.
- Utility apps – Dropbox, backup tools, drive utilities, etc.
- Communication apps – Skype, WhatsApp, Slack, etc.
Updated apps take full advantage of Ventura features and fixes. So be diligent about updating where necessary. Contact a developer if certain apps haven’t been updated yet for Ventura.
Performing a Clean Install (Optional)
In most cases, upgrading seamlessly from your previous OS is recommended. However, some users may wish to start from scratch with a clean install of Ventura for a variety of reasons:
- Resolving persistent issues that carried over from the previous OS.
- Clearing out stagnant system files and configs for better performance.
- Removing unnecessary apps, languages, and old user accounts.
- Standardizing settings across multiple team machines.
Before a clean install, be sure to fully back up your Mac with Time Machine as the process will wipe everything. Then boot to the Ventura installer drive and choose to erase the drive fully before installing. Copy back any needed files from backup manually.
Potential Post-Upgrade Issues
While most upgrades go smoothly, you may encounter minor issues after upgrading to Ventura. Some possibilities include:
- Longer boot times – Indexing and other optimization may initially slow boots until processes complete.
- Laggy performance – The system may feel temporarily sluggish as apps optimize themselves.
- Glitchy app behavior – Apps not yet updated for Ventura may act quirky or crash unexpectedly.
- Shorter battery life – Battery efficiency often needs re-calibration after a major OS upgrade.
- Missing files/data – Some files may fail to migrate properly during installation.
- Lost settings/preferences – Some specific settings may revert back to defaults.
Before troubleshooting any issues, first reboot your Mac and give it a day or two to sort itself out. The system needs time to fully index, optimize caches, complete migrations, etc.
If issues persist more than 2-3 days after upgrading, try additional solutions like these:
- Update or reinstall problematic apps.
- Check for and install any supplemental system updates.
- For battery issues, give your Mac a full charge cycle to recalibrate.
- Reset system caches and local data files.
- Restore from a Time Machine backup (or clean install as last resort).
With some time and troubleshooting, you can resolve most common post-upgrade issues.
Conclusion
Upgrading to Ventura causes some major changes under the hood as your Mac transitions to the latest macOS version. But with proper backup and preparation, most upgrades go smoothly. And you gain access to all the latest features and updates Apple has included in Ventura to enhance your Mac experience.
Do your homework beforehand by checking compatibility, backing up your Mac, and updating apps. Be patient through the upgrade process, and expect some minimal post-upgrade quirks initially. And don’t hesitate to troubleshoot and resolve any lingering issues in the days after upgrading.
With a bit of care and effort, your upgrade to Ventura will go well and you’ll be enjoying Apple’s newest OS release before you know it.