Spilling water or any other liquid on your computer can be a scary situation. Your computer is at risk of serious damage if liquids seep into the internal components. Thankfully, there are steps you can take right away to help minimize the damage. Here are some quick tips on what to do if you accidentally spill water on your laptop or desktop computer.
Step 1: Unplug the Computer Immediately
As soon as you realize liquid has been spilled on your computer, unplug it right away. This means unplugging the power cable from the electrical outlet as well as any other connected cables like Ethernet or USB. Doing this cuts off the power supply and helps prevent short circuits or fires that could be caused by liquids contacting the internal electronics.
It’s important to act fast – don’t take time troubleshooting or trying to save any unsaved work. Every second the computer remains plugged in and turned on increases the risk of permanent damage from the spilled liquid.
Step 2: Remove the Battery from Laptops
For laptop computers, you’ll also want to remove the battery right away after unplugging from the power source. This helps prevent short circuits and potential battery-related fires.
If possible, remove any other peripheral devices or accessories plugged into your laptop as well, such as external hard drives. The quicker you can get your laptop disassembled, the better.
Step 3: Absorb Excess Liquid
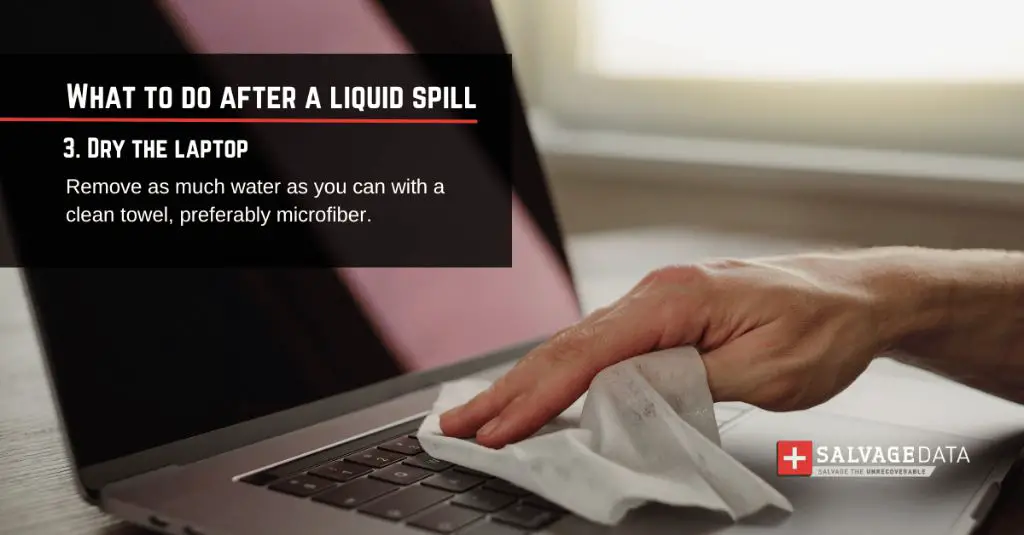
Next, you’ll want to absorb any liquid sitting on the surface of your computer and anywhere it could drip. Tilt the device carefully to drain out as much liquid as you can, holding it over a sink or towel.
Use a dry cloth or paper towels to gently blot or wipe up any standing liquid. Work from the edges in towards the center of the spill. Be gentle – don’t scrub or apply pressure, which could drive moisture further into the machine.
For desktop computers, open up the case and follow the same process to soak up any accumulation of liquid inside the tower using a soft cloth.
Step 4: Dry the Computer Thoroughly
Liquids can linger beneath keycaps, around vents or under the battery on a laptop. You’ll need to thoroughly dry all components before turning your device back on.
One effective way to dry out a laptop is to position it upside down and open at a 45 degree angle. This allows moisture to drain out completely. Place paper towels or cloth beneath to absorb dripping liquid.
Use canned air to blow out any lingering moisture from keyboard crevices, ports, vents, speakers, or other openings. Start at an angle to avoid blowing the liquid deeper inside.
For desktop towers, open up the side panel and use compressed air to remove moisture from inside the case. Carefully wipe any wet areas with a microfiber cloth.
Step 5: Remove Keycaps and Clean Underneath
After the bulk of the liquid is removed, carefully pop off any keycaps from your laptop or desktop keyboard and clean underneath each one. This allows you to remove lingering moisture trapped around each key.
Use tweezers or a small flathead screwdriver to gently pry up the keycaps, lifting from the corner do not pull directly up. Wipe the exposed area with a cotton swab dipped in isopropyl alcohol to remove any remaining moisture, dirt or stickiness.
Let the keys air dry completely before replacing the caps. Also wipe down the caps before putting them back on.
Step 6: Allow 48 Hours to Dry
With the excess moisture cleared off the surface and interior components, you’ll need to allow your computer ample time to dry out completely before turning it back on.
It’s best to let it air dry for at least 24-48 hours if liquid was spilled directly on the motherboard or other internals. This allows any lingering moisture trapped inside micro crevices or under integrated circuits to fully evaporate.
For a laptop, keep it positioned open at an angle so airflow can circulate inside. Place it in a dry, well-ventilated area during this drying period.
Run a dehumidifier or fan blowing nearby to facilitate moisture removal, but not aimed directly at the sensitive electronics.
Be patient during the drying process, as powering up your computer too soon risks short circuiting and permanent damage if moisture remains.
Step 7: Remove CMOS Battery
For added protection, especially if liquid spilled directly onto the motherboard, you may want to remove the CMOS battery for at least an hour during the drying period.
The CMOS battery powers the computer’s BIOS settings and could be damaged if it gets wet. Taking it out avoids potential leaks or short circuits from a damaged battery.
Use a Phillips head screwdriver to detach and remove the flat, silver coin battery from your desktop or laptop motherboard. Wait a minimum of one hour before reinserting it.
Step 8: Reassemble the Computer
Once satisfied your system is fully dry, carefully reassemble your computer by replacing any components you removed. Double check for any remaining damp spots or debris left behind from the spill.
For laptops, slide the battery back into place and reattach any panels or covers removed earlier. Replace all keycaps on the keyboards, pressing down firmly until each clicks into place.
Close up desktop computer towers and plug peripherals like displays or accessories back in. If you removed the CMOS battery, put it back in now.
Step 9: Turn On and Test Components
With your computer fully reassembled and dried out, the moment of truth arrives. Plug it back in and turn the power on to determine if it works.
If it boots up normally, test out all the components and functions – keyboard, trackpad, display, speakers, ports, etc. Make sure you don’t observe any unusual behavior, sparks or smoke coming from the electronics.
If the computer fails to power on, emits smoke or smell, or displays other concerning symptoms it likely still has liquid damage. Turn it off immediately and let it dry longer if you can, or seek professional repair assistance.
Step 10: Get Professional Help if Needed
If your computer is still not functioning normally after drying and you’ve reassembled it correctly, then the liquid damage was likely beyond what DIY methods can address. The best option is to take it into a professional computer repair shop.
Repair techs have specialized tools and methods for detecting any remaining moisture and cleaning corrosion from liquid damage. Components damaged beyond repair may need replacement.
Be upfront with the repair company about the liquid spill right away. This helps them take the appropriate steps to dry out and fix your computer.
Tips to Prevent Spills on Your Computer
While a accidental spill can happen to anyone, there are some precautions you can take to avoid them happening in the first place:
- Never place drinks or other containers with liquids directly on or next to your computer.
- Close bottle caps or lids fully when using them near electronics.
- Keep your work area free of clutter that could knock over a drink.
- Keep computers away from table edges where they can be bumped.
- Take drinks and electronics away from children
- Use lidded containers for hot drinks like coffee or tea.
- Invest in a waterproof case or cover for laptops.
- Don’t use electronics near water sources like a kitchen sink.
What Liquids Cause the Most Damage?
Pure water itself does not conduct electricity very well, contrary to what you may expect. Distilled water can actually be used for rinsing electronics during the repair process.
The greater dangers come from the minerals, acids, sugars, and other substances mixed into common beverages. Here are some of the worst liquids that can damage your computer:
Soda or Energy Drinks
Carbonated soft drinks contain high amounts of conductive minerals as well as sugars that can adhere to components leaving sticky residue behind. The carbonation accelerates corrosion.
Fruit Juices
Natural fruit juices contain acids that can damage metal components and circuit boards. Sugary residues can attract moisture.
Coffee or Tea
Coffee and tea are both slightly acidic beverages, with coffee being particularly corrosive. The high heat also hastens damage to sensitive electronics.
Alcoholic Beverages
Beer, wine, and cocktails all contain conductive elements as well as corrosive sugars and acids. High alcohol content can deteriorate plastics in your machine.
Salt Water
Water containing salt or electrolytes becomes much more conductive, so ocean water or sports drinks pose a major risk for devices.
Signs of Liquid Damage
How can you tell if spilled liquid has penetrated your computer and caused serious harm? Here are some warning signs:
- Computer failing to turn on or repeatedly shutting down
- Distorted or flickering display
- Malfunctioning keys or buttons
- Visible moisture beads inside the screen or case
- Buzzing, sparking or burning smell from components
- Corrosion visible on circuits or metal parts
- Fan or hard drive making unusual noises
The above symptoms likely indicate irreversible damage has already been done. At that point professional data recovery and repairs may be required, if possible at all.
Conclusion
Spilling liquid on your computer results in a time-sensitive emergency situation. Knowing what immediate steps to take can help reduce the extent of the damage. Quickly unplugging, wiping up excess liquid, and thoroughly drying out your device allows for the best chance of recovering it fully.
While no one wants this accident to happen, being prepared with the right response helps minimize the impacts. With proper drying time and cleaning methods, even significant spills don’t have to result in a total loss of your computer. Just be sure to keep drinks far away from electronics in the future!