Quick Answer
There are a few tests that can be performed to determine if a hard drive’s BIOS is faulty:
– Booting to the BIOS setup utility and checking for errors or anomalies.
– Running the manufacturer’s HDD diagnostics utility from outside the operating system.
– Checking the S.M.A.R.T. status of the drive using disk utility software.
– Performing a low-level format of the drive and reinstalling the BIOS firmware.
The most definitive test is to attempt re-flashing or updating the BIOS firmware on the hard drive. If this fails, it indicates corrupted BIOS contents.
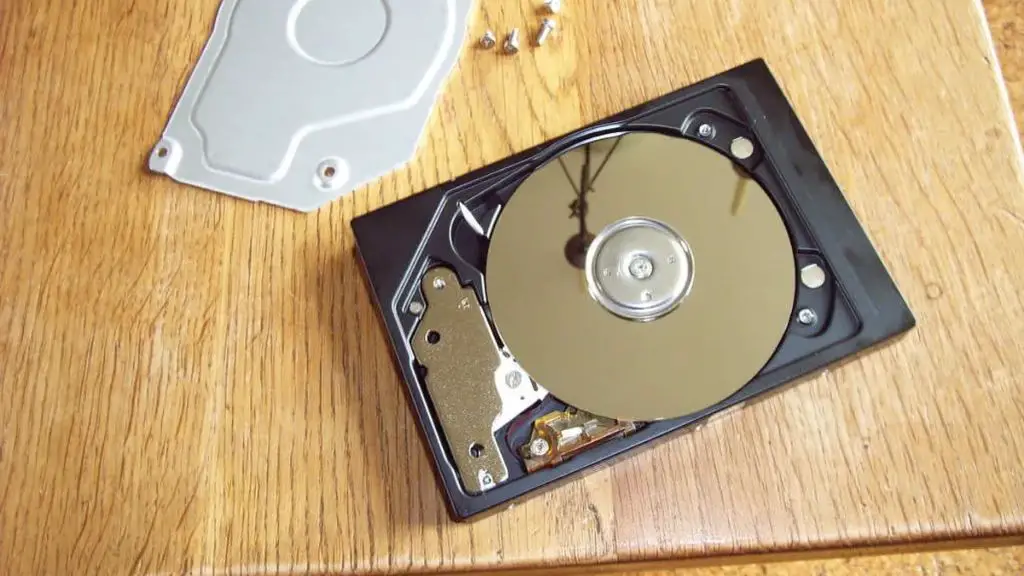
The basic input/output system (BIOS) on a hard drive handles the low-level initialization and operation of the drive. Like any other firmware, the hard drive BIOS can become corrupted or damaged over time, leading to potential malfunctions or failures. Determining if the BIOS itself is faulty is important for troubleshooting drive issues and figuring out the appropriate solution.
Some common symptoms of a glitched or failing hard drive BIOS include:
– Failure to detect or recognize the hard drive at bootup
– Drive not spinning up or intermittent spins
– Extremely slow drive response
– Incorrect capacity reporting
– Frequent disconnects or drops in connectivity
– Increased number of bad sectors or unreadable areas
– Data corruption or loss
– OS crashes and boot failures associated with the drive
Many of these could also indicate a problem with the physical hard drive hardware itself. But if drive diagnostics check out, a corrupted BIOS is likely the culprit. Testing the BIOS directly is necessary to confirm.
Booting to BIOS Setup
One quick check is to boot into the system BIOS setup utility, outside of the operating system. Modern motherboards have an option to bring up a list of all detected hard drives and their properties.
Any issues with the drive should be immediately evident here. For example, the BIOS may fail to detect the drive entirely, show the incorrect model name or capacity, or indicate malfunctions like bad sectors.
The drive information displayed in BIOS setup is read directly from the hard drive firmware, before the OS is loaded. So any abnormalities point to low-level problems with the drive itself.
The BIOS setup screen also shows the firmware version of each drive. If the firmware is extremely outdated or seems corrupted, that suggests the BIOS is faulty. An intact BIOS would correctly report the drive model, capacity, and up-to-date firmware version.
Accessing BIOS Setup
To access the BIOS setup screen:
1. Power off the computer completely.
2. Restart the computer.
3. Press the BIOS access key during the initial boot process. This is usually F2, F10, or Delete. The exact key depends on the system manufacturer.
4. The BIOS setup utility should appear. Navigate to the section showing storage devices or hard drive information.
5. Check whether the drive is properly detected and all information is correct. Take note of any errors, anomalies, or discrepancies.
6. If issues are seen, it points to a potentially corrupted BIOS.
Manufacturer HDD Diagnostics
Most hard drive manufacturers provide a bootable diagnostics tool to test the health and function of their drives. These utilities run outside the OS environment and exercise the drive’s hardware and firmware directly.
If the diagnostics tool encounters critical errors or failures when testing drive sectors, reading/writing capabilities, SMART attributes, or other low-level operations, it indicates trouble with the drive itself or the BIOS.
For example, the Seagate SeaTools, Western Digital Data Lifeguard, and Hitachi Drive Fitness diagnostic tools all have options to perform complete tests on all aspects of compatible drives.
If these tools report the BIOS or firmware is not responding properly or fails portions of the test, it likely means the BIOS code has become unstable or corrupted. The diagnostics tool may also explicitly indicate the BIOS is damaged and requires re-flashing.
Running the manufacturer’s free bootable diagnostics is a quick way to determine if the hard drive BIOS itself is malfunctioning in some way.
Using HDD Diagnostics Utilities
To run a bootable hard drive diagnostic tool:
1. Download the HDD manufacturer’s diagnostics software ISO file.
2. Burn it to a CD/DVD or create a bootable USB drive.
3. Boot the computer from the CD/DVD or USB.
4. Select the target hard drive and desired tests to perform.
5. Let the diagnostics run and check the test results.
6. If the drive BIOS fails portions of the test or is reported as faulty, it likely needs re-flashing or replacement.
S.M.A.R.T. Status
Another way to possibly identify BIOS issues on a hard drive is by checking its S.M.A.R.T. status.
S.M.A.R.T., which stands for Self-Monitoring, Analysis and Reporting Technology, is a system built into hard drives to monitor internal operations and reliability. It warns about problems before catastrophic failure occurs.
Many disk utility programs can read a drive’s S.M.A.R.T. data to see if it has recorded any failures, errors, or abnormal behaviors. This includes attributes related to bad sectors, communication issues, component failures, and firmware problems.
For example, a corrupted BIOS could trigger S.M.A.R.T. alerts like “Uncorrectable Sector Count” (indicating bad sectors), “Command Timeout” (failed drive operations), or “Firmware Corruption Count” (direct firmware problems).
So the S.M.A.R.T. status provides another window into possible BIOS abnormalities. Standard disk tools found in Windows, Mac OS X, Linux, and bootable rescue disks can retrieve this information.
Checking S.M.A.R.T. Status
To view a drive’s S.M.A.R.T. status and check for firmware-related failures:
1. Use built-in OS utilities like Windows’ Disk Management, macOS Disk Utility, or Linux smartctl command.
2. Install third-party tools like CrystalDiskInfo (Windows), DriveDX (Mac), GSmartControl (Linux).
3. Boot to a recovery disk environment and use chkdsk (Windows) or fsck (Linux) to scan connected drives.
4. Check if any S.M.A.R.T. attributes indicate possible firmware corruption or failure. This warns the BIOS may be damaged.
Low-Level Format
A more thorough but destructive test is to perform a low-level format of the hard drive. This completely erases the drive and rewrites the partitioning and file system information from scratch.
Formatting the drive resets the BIOS and firmware as well. If the low-level format fails due to firmware problems, it’s a clear sign of corruption. The format should still complete even with bad sectors or physical defects on the platter.
Before attempting this, make sure to back up any important data on the drive. The full format will wipe everything.
Low-level formatting uses manufacturer-specific commands to access the deepest hardware levels. So use their tools instead of the basic OS format function. For example, for Seagate drives use SeaTools, WD drives use Data Lifeguard, etc.
If the drive format fails or reports a firmware error, the BIOS is likely faulty and requires re-flashing. A successful format may also repair minor BIOS glitches.
Low-Level Format Process
To perform a low-level format to test for firmware issues:
1. Backup all drive data to another location. The format erases everything.
2. Download the HDD manufacturer’s software tools. Make sure the specific drive model is supported.
3. Connect the target drive only to the system.
4. Boot into the HDD utility from CD/DVD/USB and select the formatting option.
5. Start the low-level format, waiting for the process to complete.
6. If any firmware issues are reported, the BIOS needs re-flashing or replacing the drive.
BIOS Re-flashing
The most definitive way to test for and attempt repair of a faulty hard drive BIOS is by re-flashing the firmware. This overwrites the existing BIOS code with an intact version from the manufacturer.
A BIOS re-flash should be performed AFTER other troubleshooting steps fail to resolve apparent firmware issues. Only re-flash as a last resort. The re-flashing process could fail if the existing BIOS is corrupted, confirming the faultiness.
Hard drive manufacturers provide BIOS firmware image files on their support websites for manual download. Make sure it exactly matches the drive model. Third-party tools also exist to back up and re-flash HDD BIOS safely.
If the drive fails to take the new BIOS or boot up normally, it indicates the existing BIOS was faulty or the hardware itself has failed. Re-flashing may fix minor BIOS glitches, but a truly corrupted BIOS requires drive replacement.
Hard Drive BIOS Re-flashing Process
To re-flash the hard drive BIOS firmware:
1. Backup drive data and download the correct BIOS file from the manufacturer.
2. Use the HDD utility software to update the firmware, following instructions carefully.
3. Reboot and see if drive behavior or issues are resolved after the BIOS update.
4. If the drive fails to accept the re-flash, the existing BIOS is likely faulty and the drive needs replacement.
Conclusion
A faulty or failing hard drive BIOS can cause a variety of system problems, but is repairable in some cases. The main options for testing for and resolving BIOS issues include:
– Checking drive info and errors in the BIOS setup screen
– Running manufacturer diagnostic tools to test drive firmware
– Viewing S.M.A.R.T. status attributes for failure alerts
– Performing a low-level reformat to reset BIOS completely
– Attempting a BIOS re-flash using the firmware image file
Back up important data before attempting repairs. If the drive fails to respond to BIOS re-flashing, this indicates an irreparable fault and the entire drive likely requires replacement. But re-flashing often fixes minor BIOS corruption issues and restores normal functioning.