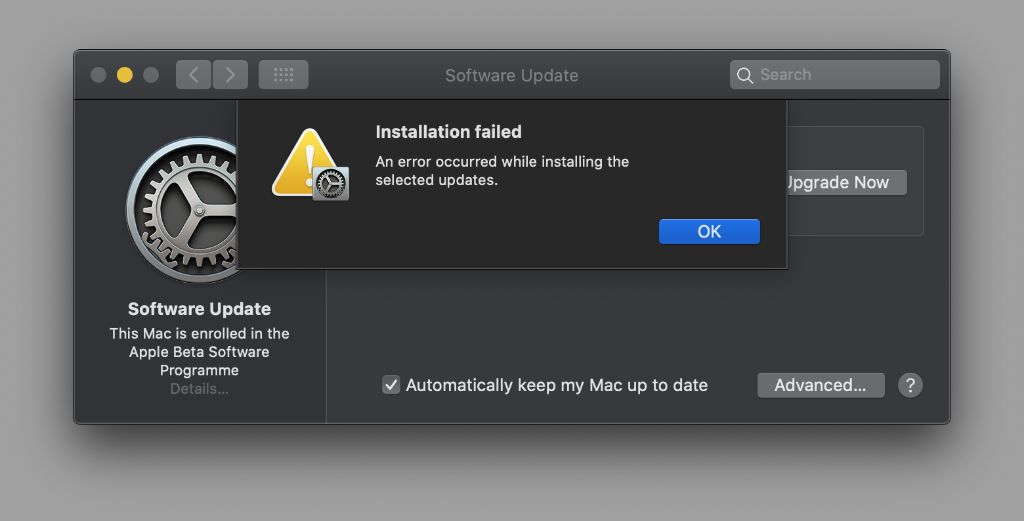
Installing macOS can sometimes fail or encounter errors that prevent the installation from completing successfully. This can be frustrating, but there are several troubleshooting steps you can take to resolve the issue and get macOS installed properly. In this 5000 word guide, we’ll cover the most common reasons why macOS installation fails and walk through solutions to get your Mac up and running again.
Check System Requirements
Before beginning installation, it’s important to check that your Mac meets the minimum system requirements for the version of macOS you’re trying to install. macOS versions have different requirements in terms of processor, RAM, disk space, and graphics capability. Trying to install on unsupported hardware is a common reason for installation failure.
To check your Mac’s specs and confirm they meet the requirements for your macOS version, go to the Apple menu and select “About This Mac.” Review processor, memory, graphics, and storage. Compare your Mac’s capabilities with the system requirements listed on Apple’s website for the macOS version you aim to install.
If your Mac doesn’t meet the minimum requirements, you’ll need to upgrade your hardware before trying to install. Adding RAM and increasing disk space tend to be easier upgrades to make. Upgrading processor or graphics card is more complex. If your hardware is too old and incompatible, you may need a newer Mac.
Resolve Disk Errors
Disk errors are another common cause of macOS installation failure. The installer does a lot of reading and writing to your startup disk, so any corruption, formatting problems, or faults could lead to the process getting stuck.
First, you should repair your current macOS installation using Disk Utility. Boot to Recovery Mode by restarting and holding Command+R. Launch Disk Utility, select your startup disk, click First Aid, and Run to check for errors. This can resolve any directory damage or file system errors.
If Disk Utility reports your startup disk can’t be repaired, you may need to fully erase and reformat it. Make a backup first, then erase, choose Mac OS Extended format, and GUID Partition Map scheme. This will completely wipe the disk and restructure it from scratch ready for macOS installation.
You can also check disk health using a third-party tool like DriveDX which does more in-depth diagnostics of drive hardware like bad sectors. Drive failures could obstruct installation.
Free Up Disk Space
The macOS installer requires a minimum of 20GB of available storage space on the startup disk to complete successfully. If your disk is low on free space, it can cause the installation to fail or get stuck.
Go to About This Mac -> Storage and check how much free space you have. If it’s under 20GB, you’ll need to clear up room for the installer to work.
Some ways to free up disk space include:
– Empty Trash
– Remove large unused apps
– Store photos/music on external drive
– Move files to cloud storage
– Delete unused languages
Deleting unused files and offloading data to external storage can help you meet the disk space minimum. You may also need to upgrade to a larger startup disk if space is severely constrained.
Use Wired Internet Connection
It’s best to use a wired ethernet connection when installing macOS rather than WiFi. Wireless networks are more prone to drops which could disrupt the download and installation process.
Connect your Mac directly to your router or modem with an ethernet cable. This provides a more reliable internet connection for downloading the installer files and completing the setup steps.
If wired connection isn’t possible, get your Mac as close to the router as you can and reboot networking devices to optimize WiFi signal. Slow or unstable internet is another potential point of failure.
Download Latest macOS Installer
Using an outdated installer version can also cause installation problems. Apple updates the macOS installers to fix bugs and improve compatibility.
Go to the App Store app and search for macOS to check you have the latest installer for your version. Click the Download button to get the newest release. This ensures compatibility with your Mac model and hardware.
If you created a bootable USB or have an old installer DVD, download the newest installer and make fresh installation media. Using outdated install files is asking for trouble.
Restart and Try Again
Before diving deeper into troubleshooting, simply restarting your Mac and trying the installation again can surprisingly resolve transient errors.
Installation processes involve coordinating many hardware and software systems. Small hiccups can block progress. Power cycling resets everything and reinitializes the process, offering a clean slate.
After restarting, boot to the installer again and rerun. Taking this simple step saves further hassle in many cases.
Reset NVRAM and SMC
Resetting your Mac’s NVRAM and SMC can clear out low-level settings that may interfere with installation.
NVRAM (non-volatile RAM) stores information like display resolution, boot volume choice, and recent kernel panic logs. It can get corrupted.
To reset NVRAM:
1. Shut down your Mac
2. Turn it back on and immediately press Command + Option + P + R
3. Hold keys until you hear the startup chime a second time
4. Let go and allow Mac to finish booting
This clears NVRAM and resets settings that could block installation.
The SMC (System Management Controller) controls power and hardware functions. Resetting it resolves various system issues.
To reset SMC:
1. Shut down Mac
2. Unplug power cable for 15 seconds
3. Plug power back in and wait 5 seconds
4. Turn Mac back on
With NVRAM and SMC reset, try installing macOS again. This often resolves quirky system errors.
Boot to Recovery Mode
Booting to Recovery Mode provides a troubleshooting Mac environment for reinstalling macOS. This often fixes installation failures.
To enter Recovery Mode:
1. Restart Mac and hold down Command + R keys
2. Keep holding until you see the Apple logo or boot options screen
3. Select Reinstall macOS/OS X or Recovery
From Recovery, you can reinstall macOS or run Disk Utility to correct disk problems. If the usual install fails, Recovery lets you try a different approach.
Use Verbose Mode
Verbose Mode provides text output during the boot and installation process so you can see exactly where it’s getting stuck.
To enter Verbose Mode:
1. Restart Mac and hold down Command + V keys
2. Installer screen shows textual output detailing the startup process
3. Note the last message before stall
4. Research that error to troubleshoot
With Verbose output, you can better diagnose exactly what’s causing your installation to fail.
Erase and Reformat Drive
A more aggressive fix is erasing your startup drive entirely and reformatting it. This wipes any file system or disk errors and starts fresh.
To fully erase and reformat the startup drive:
1. Backup data
2. Boot to Recovery
3. Open Disk Utility
4. Select the startup drive
5. Click Erase, choose Mac OS Extended format and GUID Partition Scheme
6. Confirm the erase
7. Quit Disk Utility and reinstall macOS
This completely reformats the drive as empty space ready for macOS. Combined with a clean install, it resolves most disk-related issues that could impede installation.
Check Drive Partitioning
Incorrect drive partitioning can also lead to failed macOS installs. The drive should have a single Mac OS Extended partition.
If you dual boot with Windows or have custom partitioning, that can confuse the installer. Use Disk Utility to check drive partitioning:
1. Boot to Recovery Mode
2. Open Disk Utility and select startup drive
3. Check the Volume Scheme – it should be GUID Partition Table
4. Verify there is only a single Mac OS Extended partition taking up the full disk space
If you see any other volumes or custom layouts, you’ll want to erase and reformat the drive first with a simple Mac OS Extended single partition spanning the disk. This creates the standard structure the installer expects.
Test and Replace RAM
Faulty RAM on your Mac can cause all kinds of strange errors and crashes, including during installation. RAM issues may not cause outright failures but lead to intermittent stalls.
To test your RAM:
1. Boot to Recovery Mode
2. Select Utilities > Memory Test from the top menu
3. Allow test to run – it will check for RAM mapping and integrity issues
If the test reveals RAM errors, you’ll want to replace the DIMMs with new RAM sticks. Don’t mix and match old and new RAM. Replace both chips as a matching pair for stability.
With new, verified RAM installed, attempt the macOS install again. RAM drives the whole process, so problems there can certainly interrupt it.
Try Safe Mode
Booting into Safe Mode loads a minimal, pared back version of macOS. This disables non-essential software, third-party kernel extensions, fonts, and startup items that may conflict with installation.
To boot into Safe Mode:
1. Restart Mac
2. Hold down Shift key after hearing startup chime
3. Let go after progress bar loads (Safe Boot will appear on login screen)
4. Complete macOS installation
With Safe Mode’s stripped down environment, you remove possible points of interference with the install. Worth attempting if normal boots stall.
Reset SMC and PRAM
Resetting the SMC and PRAM provides a clean slate for installation by clearing out low-level settings that could get stuck.
The SMC handles power management and hardware control. Reset it by:
1. Fully shutting down Mac
2. Unplugging power cable for 15 seconds
3. Reconnecting and restarting
This wipes SMC parameters and lets it reinitialize.
PRAM stores a few memory settings like keyboard layout and boot disk selection. To reset PRAM:
1. Restart Mac and hold Command + Option + P + R
2. Listen for 2 startup chime sounds
3. Let go and allow regular boot
With SMC and PRAM reset, the macOS install has an empty config to work with.
Run Apple Diagnostics
Apple Diagnostics is a boot tool for checking your Mac’s hardware health for defects that could impede installation or cause it to fail.
To use Apple Diagnostics:
1. Restart Mac while holding D key
2. Diagnostics screen appears – select your language
3. Run the default test suite – it checks memory, drives, processor etc.
4. Review the report at the end
If any issues are found, you may need service or replacement of that hardware component. Diagnostics helps identify if a part like the drive or board is just broken.
Check File System Permissions
Incorrect file permissions can prevent installation of macOS system files. Check permissions with Disk Utility:
1. Boot to Recovery Mode
2. Open Disk Utility and select startup drive
3. Click First Aid tab and select “Repair file permissions”
4. Run the repair process to fix any permission errors
This ensures proper access to system resources during installation. Try the install again after correcting permissions.
Reinstall in Single User Mode
Single User Mode starts up a command line root environment where you can manually perform the macOS install steps.
To use Single User Mode:
1. Restart Mac and hold down Command + S at startup
2. Terminal window appears – you’re now in Single User Mode
3. Manually run disksetup and other commands to execute installation
4. Reboot normally once complete
If the normal process fails, installing macOS manually in Single User may resolve issues.
Wipe and Install From External Drive
As a last resort, you can wipe your entire startup drive and reinstall macOS cleanly from an external drive or bootable installer.
This completely reformats your internal drive and copies macOS over from scratch:
1. Backup all data
2. Connect bootable installer drive
3. Erase internal drive fully in Disk Utility
4. Boot from external drive installer
5. Step through installation onto erased internal drive
While time consuming, this gives you the cleanest possible slate for macOS installation unimpeded by any lingering disk errors or bad partitions.
Conclusion
Troubleshooting and resolving macOS installation failures can be tedious. However, methodically verifying requirements, erasing disks, checking hardware issues, and testing different boot modes allows you to isolate and correct the underlying problem. With the proper fix applied, you can successfully get macOS installed and running again. Don’t give up easily – work through each potential issue until your Mac boots up properly with the new OS version.
