We’ve all been there – you accidentally delete an important file and then desperately try to get it back. Luckily, Windows 8 has tools to help you recover deleted files, even if they were deleted a while ago.
Searching the Recycle Bin
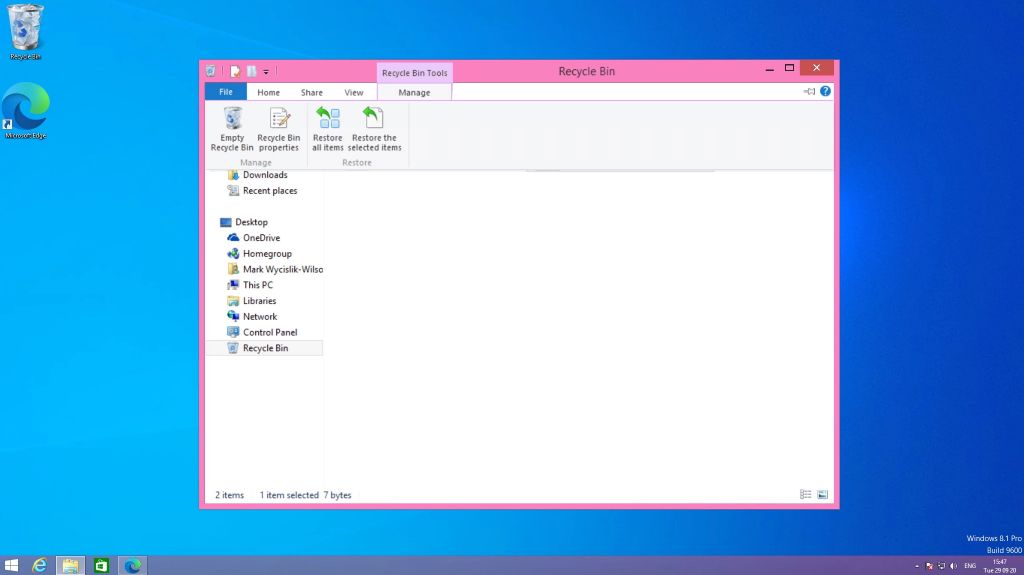
The first place to check for deleted files is the Recycle Bin. This is where Windows stores recently deleted files, so you can restore them if you accidentally delete something. To open the Recycle Bin, click on the desktop Recycle Bin icon or go to the desktop and type “Recycle Bin” into the search bar.
Once open, you can browse through the bin contents just like any other folder. To restore a file, right click on it and select “Restore”. The file will be returned to its original location. The Recycle Bin stores items for 30 days by default before permanently deleting them.
Using File History
If a file no longer appears in the Recycle Bin, you may still be able to recover it using File History. This feature continuously backs up files stored in your libraries, desktop, contacts, and favorites folders. To use it to find deleted files in Windows 8:
- Go to Control Panel > File History
- Click “Restore personal files” on the left sidebar
- Look for the deleted file in the list of backed up files sorted by date
- Select the file and click the “Restore” button
This allows you to restore versions of files from various points in time. File History is enabled by default in Windows 8, so as long as backup drives are connected, it should maintain copies of your important files.
Using Previous Versions
The Previous Versions tool is another way to roll back files to a time before they were deleted or changed. To use Previous Versions:
- Navigate to the folder where the file was saved originally
- Right click in the blank space and select “Restore previous versions”
- Select the desired restore point from the list of dates
- Open the folder from that date and copy back the previous version of the file
This works best for recovering important documents and files on your local hard drive. Previous Versions relies on System Restore points and may only go back a few days or weeks by default.
Using Data Recovery Software
If the previous options don’t help you get your files back, you may need dedicated third party data recovery software. These tools dig deeper to attempt recovering deleted files from your hard drive. Some popular Windows options include:
- Recuva – Free download that can recover files deleted from your Recycle bin, hard drive, or external devices.
- EaseUS Data Recovery Wizard – Free and paid versions to restore deleted files even if you emptied the Recycle bin.
- Stellar Data Recovery – Retrieves lost files from partitions or external drives after accidental deletion or corruption.
- Disk Drill – Scans hard disks for trace file fragments and reconstructs them to restore lost data.
Follow these steps when using data recovery software:
- Download and install the program.
- Select the drive you want to scan for deleted files.
- Choose a scan type – typically “Deleted Files”, “Media Files”, or “All File Types”.
- Preview files after the scan completes to find your deleted items.
- Select the files to recover and restore them to another drive.
This gives you the best chance to get files back after a permanent deletion. But don’t save anything back to the original drive yet or you risk overwriting the deleted data!
Enabling Windows Backup
To prepare for any future deletions or catastrophes, make sure you have Windows Backup enabled. This feature regularly copies important files and system images to an external hard drive or network location. Here’s how to turn it on:
- Open the Control Panel and select “System and Security > Backup and Restore”
- Select “Set up backup” after selecting your backup drive
- Choose backup types like File History, System Image, or both
- Schedule regular backups like daily or weekly
With backup copies of your system and files, you’ll always have a way to recover deleted or lost data. Just reconnect your backup drive and restore as needed.
Enabling File Protection
Another proactive defense is enabling File Protection for important folders like Documents. This ensures certain files cannot be permanently deleted without admin privileges. To enable it:
- Open File Explorer and right-click on a folder
- Select “Properties” and click the “General” tab
- Check “Read-only” to make files read-only
- Check “Hidden” to hide folders from simple deletes
This adds an extra layer of security against unintended deletions. Hidden or read-only files have to be manually unprotected before permanent deletion.
Checking the Command Prompt
There’s one last trick that tech-savvy Windows users may want to try when deleted files won’t reappear. Using the Command Prompt, you can search all connected drives for remnants of deleted files. Here are the steps:
- Open the Command Prompt as Administrator
- Type “chkdsk X: /f” where X is the drive letter
- Hit Enter and wait for the scan to run
- Type “chkdsk X: /r” to recover readable files
This scan searches drive sectors for any recoverable data from deleted files. Any recovered copies get placed in a special “FOUND” folder on the drive. While complex, this method can retrieve previously inaccessible files.
Preventing File Deletion
To avoid dealing with accidental file deletion in Windows altogether, be proactive with these tips:
- Back up your files regularly – Use File History, Backup and Restore, cloud backups, or third party tools.
- Check the Recycle Bin before emptying – Scan for any unintended or forgotten deletions.
- Toggle File Protection – Use read-only or hidden attributes to prevent deletion.
- Remove admin privileges – Don’t stay logged in as Administrator to avoid mass deletion abilities.
- Delete carefully – Double check what you are deleting before confirming removal.
Recovering Permanently Deleted Files
If a file no longer appears in your Recycle Bin or in any backups, it may mean it has been permanently deleted from your system. This happens after the Recycle Bin has been emptied, or when special software is used that can permanently destroy files.
Recovering permanently deleted files is extremely difficult because Windows considers that space “free” to write new data. However, it’s not impossible in some cases. Here are a few last ditch things to try:
- Use recovery software to scan for file fragments that might still exist.
- Try checking your Command Prompt as Administrator for recovered files.
- Remove the drive and use a separate system to scan it read-only for deleted data.
- If absolutely needed, seek help from professional data recovery experts.
But if a drive has been actively overwritten multiple times, the old data may be unrecoverable through consumer means. The key is taking action as soon as possible while fragments might still persist unchanged.
Preventing Permanent Deletion
To avoid dealing with permanent file deletion altogether, the best solution is prevention:
- Backup regularly – Maintain multiple copies of important files in different locations.
- Don’t save over deleted files – Avoid writes to the drive until recovered.
- Use file protection – Mark important files and folders as read-only or hidden.
- Eject drives before formatting – Detach external drives before deletion to protect that data.
- Double check deletion alerts – Carefully verify you want to permanently erase files.
Conclusion
Accidentally deleting files in Windows 8 can be frustrating. But thankfully between the Recycle Bin, File History, Previous Versions, backups, and data recovery tools, you have a lot of options to try getting them back.
The sooner you act after deletion, the better your chances will be. Avoid continued usage and new writes to the drive if possible. This gives you the best shot at recovering that unsaved work or prized photo when they mysteriously vanish!