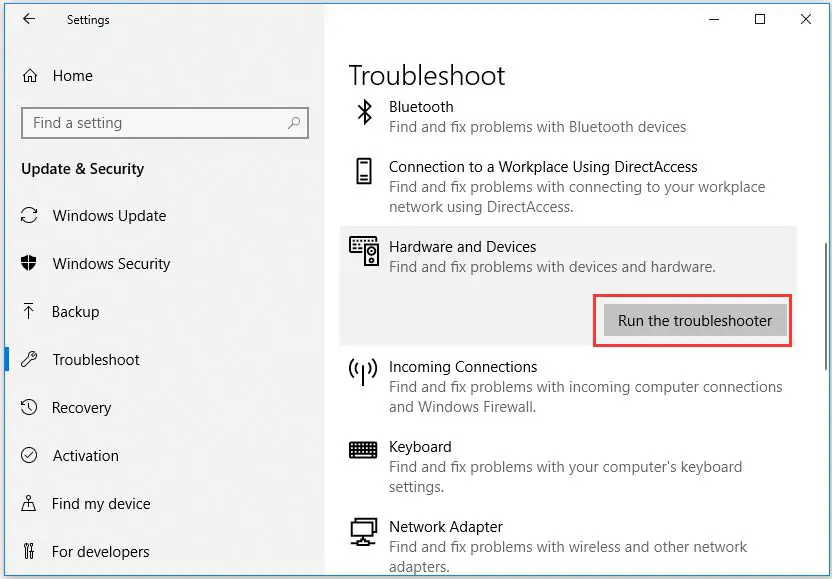
Being unable to eject an external hard drive in Windows 10 is a common issue that many users encounter. When you try to safely remove a drive, you may find that the “Eject” option is missing from the menu or that Windows gives you an error saying the drive cannot be ejected because it is still in use.
This can be frustrating as it prevents you from safely disconnecting your drive without potentially losing data or damaging the drive. In this guide, we will explore the various causes of this issue and walk through solutions to allow you to properly eject external drives in Windows 10.
Reasons the Eject Option May Be Missing
There are a few main reasons why the eject option may be completely missing when right-clicking on an external hard drive in Windows 10:
The drive is not connected properly. If the hard drive is attached via USB but not fully inserted or has a faulty cable, Windows may not recognize it as removable media. Ensuring a snug and secure connection may restore the eject option.
The drive letter was not assigned correctly. External drives should be assigned letters higher than the system drive, usually E or later. If it received a system drive letter like C, Windows will treat it like an internal drive and not provide the eject option.
The drive is formatted as a system partition. Drives that are formatted to hold Windows system files like the operating system itself or recovery data will not have the eject feature. This is to prevent ejecting critical system partitions accidentally.
Checking these common causes can potentially reveal why Windows 10 is not showing an eject button for a specific hard drive.
Reasons Unable to Safely Remove Hardware
There are several common reasons why Windows may not allow you to safely remove an external hard drive, even when you click the “Eject” button:
An application or process is still accessing files on the drive. This could be an active program like a media player, backup software, anti-virus scanner, etc. Windows will block removal to prevent potential data corruption or crashes. Check Task Manager to see if any apps are using the drive.[1]
Background services like indexing, search, or drive optimization may intermittently access the drive. Windows Search indexes drive contents to enable fast file searches. Turning off indexation for removable drives can allow safe removal.[2]
The Recycle Bin on the external drive may contain files, preventing removal. Empty the Recycle Bin to allow ejection. An active auto-backup may also lock the drive.
If no obvious apps or processes are accessing the drive, a system restart can reset any hung processes that are blocking the Eject function.
Using the Windows Safe Removal tool can force the disconnection after ensuring all disk writing is complete. But an abrupt removal risks data loss.
Check for Apps/Processes Using the Drive
The most common reason the eject button is missing is because apps or processes are still accessing the hard drive, preventing Windows from safely removing it. You can check which apps or processes are using the drive through the Task Manager in Windows 10.
To open Task Manager, press Ctrl + Shift + Esc or right-click the taskbar and select “Task Manager.” Go to the “Processes” tab and click the “Disk” column header to sort the processes by disk usage.
Look for any process utilizing high disk activity on the target drive. Common culprits include antivirus software, Dropbox, OneDrive, Windows search/indexing, etc. Right-click the process and select “End task” to terminate it and free up the drive.
You may need to end multiple processes before Windows releases the hard drive. Close any open Explorer windows showing the contents of the drive as well.
According to superuser.com, Task Manager’s Resource Monitor provides a comprehensive breakdown of disk activity that can help identify processes locking the drive.
Stop Background Services
Recommend stopping some Windows services like Windows Search and Superfetch that may be accessing the drive in the background.
Superfetch and Windows Search run in the background, monitoring and indexing files. This can prevent a drive from safely ejecting. To fix this, you can temporarily disable these services according to Microsoft’s recommendations (source).
To disable Windows Search:
Open the Services app and find “Windows Search” in the list. Double click on it, change the Startup Type to Disabled, and click Stop.
To disable Superfetch:
Open a Command Prompt as Admin and run: sc config sysmain start=disabled. Then restart your PC.
After ejecting the drive, remember to re-enable these services by setting their Startup Type back to Automatic.
Disable Drive Indexing
One way to allow a drive to be safely ejected is to disable indexing for that specific drive. Indexing allows Windows to quickly search for files, but it can sometimes prevent a drive from being ejected properly. To disable indexing:
1. Open File Explorer and right-click on the drive you want to disable indexing for.
2. Select Properties.
3. Uncheck the box next to “Allow files on this drive to have contents indexed in addition to file properties.”
This will prevent Windows from indexing the files on that drive. With indexing disabled, Windows Search will no longer need to constantly access the drive, which can allow it to be safely ejected without errors. Just keep in mind, disabling indexing means searches will no longer look at content stored on that drive.
Sources:
[1] https://answers.microsoft.com/en-us/windows/forum/all/is-there-a-way-to-disable-indexing-of-certain/1bc2f29f-6938-431a-80cd-a3f8c14e25c4
[2] https://www.tenforums.com/performance-maintenance/191292-disable-indexing-external-drives.html
Use Safe Removal Tool
One option to force eject a drive is to use the Safe Removal Tool. This is a utility included in Windows that can stop processes and services that may be accessing the drive so that you can safely eject it (1).
To use the Safe Removal Tool:
- Open File Explorer and go to This PC or My Computer.
- Right-click on the drive you want to eject and select “Eject”. If the eject option is grayed out, the drive is still in use.
- Search for “Safe Removal” in the Windows search bar and open the Safe Removal application.
- Select the drive you want to eject and click “Eject”
- The Safe Removal Tool will close any programs or processes using the drive so it can be safely ejected.
The Safe Removal Tool provides a reliable way to force eject an external drive even when the normal eject option is not available in Windows (2). Just keep in mind that force ejecting a drive could potentially lead to data loss or corruption if files are still being written to or accessed on the drive.
Restart Explorer
One quick fix that may release any handles on the drive preventing eject is to restart Windows Explorer. Windows Explorer is the program that provides the desktop interface and file management in Windows. It manages the open windows, taskbar, drives, folders, and files. Sometimes Explorer may hang on to file handles even after programs are closed. Restarting Explorer releases these handles.
To restart Explorer, press Ctrl + Alt + Delete to open the task manager. Find Windows Explorer in the Processes tab and select it. Click the “Restart” button at the bottom. This will restart Explorer and reload the desktop and drives. Now try ejecting the drive again. In many cases, a simple Explorer restart will enable ejecting the stubborn USB drive.
According to this source, restarting Windows Explorer is often the easiest solution when the USB drive cannot be ejected due to background processes still accessing it. Restarting Explorer refreshes the desktop and drives and clears out any stuck handles preventing safe removal of the drive.
Restart Your PC
Sometimes the simplest solution is the best one. Restarting your PC will clear any processes or services that may be locking the hard drive and preventing ejection. When Windows fully reboots, it will release any handles that were keeping the drive in use.
A full system restart essentially resets everything, forcing all applications and services to close out completely. This gives you the best chance of then being able to successfully eject the external hard drive after startup. The drive eject button should then be available and functional.
Before restarting, be sure to save your work and close any critical programs. Then go to the Windows Start menu and select “Restart.” Alternatively, you can press the Ctrl + Alt + Delete keyboard shortcut and select “Restart” on the menu that pops up.
After the system finishes restarting, try accessing the external hard drive eject button again. With all programs and services stopped and restarted, you should now be able to eject the drive safely.
If you still cannot eject after a restart, there may be a deeper issue, like file system corruption on the drive itself. A full reboot/restart flushes out any software-related issues temporarily blocking ejection.
Conclusion
In summary, there are a few common reasons why you may be unable to safely eject an external hard drive in Windows 10.
First, check to make sure no applications or background processes are still accessing the drive. Close any open windows, apps or file explorers related to that drive. Stop any antivirus scans or indexing jobs that could be interfering.
If that doesn’t work, try using the Safe Removal tool located in the system tray. This will force any operations to stop before letting you eject the drive.
Restarting the Windows Explorer process or your PC entirely can also fix drive access issues. As a last resort, shut down your computer fully before disconnecting the external drive.
By identifying what programs or services are still interacting with the external drive, you should be able to successfully eject it using one of these troubleshooting solutions. Just be careful not to disconnect any drives while they are still in use, to avoid potential data corruption.