USB drives have become an essential storage device for many users. Their small size, large storage capacity, and plug-and-play functionality make them extremely convenient for transferring files between computers and devices. However, sometimes users run into an annoying issue where their USB drive seems to be “write-protected”, meaning they can’t add, delete or edit files on the drive. This article will explore the various reasons why you may be unable to remove write protection from a USB drive and provide potential solutions.
What does “write protected” mean?
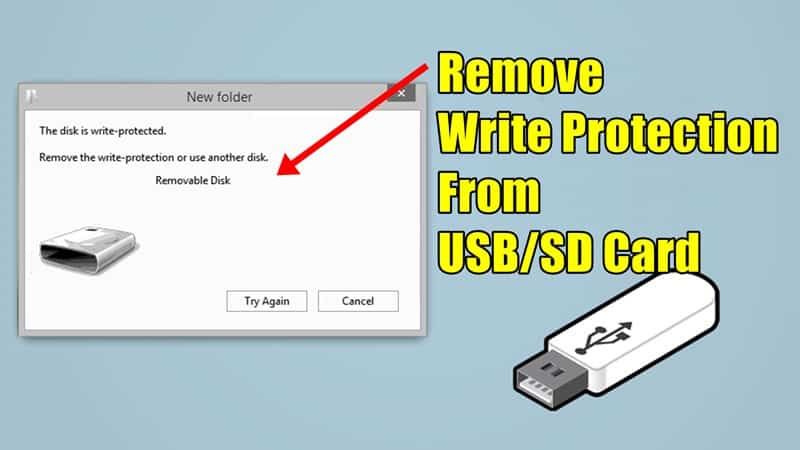
When a USB drive is “write protected”, it means the drive is configured so that its contents cannot be modified. Specifically, the drive cannot be formatted and files cannot be added, deleted or edited. However, existing files on the drive can still be viewed and copied off of it. Write protection is a safety feature to prevent accidental deletion or corruption of a drive’s data. There are a few common reasons a USB might be write protected.
Physical lock switch
Many USB drives have a small physical switch on the housing of the drive that toggles write protection on and off. Sliding the switch one way will lock the drive and prevent files from being written to it. Sliding it back will unlock the drive and enable writing again. This switch is sometimes labeled as “Lock/Unlock” or has a small padlock icon. If you’re unable to add, remove or edit files on your USB drive, check to see if this physical write protection switch is enabled and switch it the other way.
Device policies
If you are using a work or school issued USB drive, it may be configured with device policies that write protect the drive. This prevents users from accidentally deleting important files. You will need to contact your IT department to have write protection disabled if this is the case.
Partition table errors
The partition table on a USB drive contains data about the partitions on the drive and their attributes. If this table becomes corrupted, it can sometimes cause the entire drive to be treated as write protected. This usually happens if the drive was not ejected properly from a computer and the partitions were not able to be dismounted before removal. It’s an easy fix – you just need to recreate the partition table, which will wipe the existing data on the drive.
Drive formatting issues
Similarly, if the file system on a drive becomes corrupted or damaged, it may result in write protection being enabled. For example, if the FAT32 or exFAT formatting on a drive gets errors, the operating system treats the drive as read-only to avoid further damage. Reformatting the USB drive to a fresh file system will resolve these kinds of issues.
Malware infection
Malware and viruses could also lead to unexpected write protection on a USB drive. Malicious programs may change drive settings or inject code to deliberately write protect a drive. If your antivirus program detects an infection on the USB drive, clean the drive and remove all malware to see if that fixes the write protection issues.
Drive failure
Lastly, if a USB drive has failed completely or has a large number of bad sectors, the operating system may write protect the entire drive to avoid further data loss. Unfortunately, this kind of hardware failure means the drive is at the end of its lifespan and should be replaced.
How to remove write protection from USB drive
If you run into a write protected USB drive, here are some steps to troubleshoot and remove write protection:
Check physical lock switch
First, check whether there is a small physical lock switch on the USB drive housing and switch it to the unlocked position if needed. This will immediately resolve write protection if it was enabled via the hardware switch.
Try on different computer
The write protection may be caused by problems with the computer, not the USB drive. Try plugging the drive into another computer and see if you can add/remove files from it there. If it works on a different PC, the drive is OK and the original computer is likely causing the issue.
Run antivirus scan
An antivirus program could detect and remove any malware on the drive causing write protection issues. Make sure to scan the USB drive with an updated antivirus program.
Reformat in Disk Management
Open the Disk Management utility in Windows and locate the USB drive. Right-click on its partitions and choose “Format” to reformat them to NTFS or exFAT. This will recreate the file system and partition table, wiping all data but resolving any software issues.
Use diskpart in Command Prompt
An alternative is to use the diskpart command in an elevated Command Prompt window to cleanly format and recreate all partitions on the USB drive with a fresh partition table. This should eliminate any software write protection.
Contact IT department
If this is a work/school managed drive, contact your IT or tech support department to have them remove device restrictions that are write protecting the drive.
Replace USB drive
If you’ve tried all other troubleshooting steps and still can’t get the USB drive to successfully accept writes, the drive itself has likely failed and should be replaced. Try another flash drive from a reputable vendor for a reliable storage device.
Best practices to avoid write protected USB drives
Following proper USB drive usage and handling practices can help avoid many of the issues that commonly lead to write protection:
- Always eject the USB drive properly before unplugging it.
- Don’t remove flash drives while files are still being copied.
- Keep USB drives away from small children and pets to prevent physical damage.
- Avoid exposing USB drives to moisture, extreme heat or cold.
- Use antivirus software and keep it updated.
- When reformatting, use the native OS utilities like Disk Management.
- Replace USB drives that are 3-5 years old as failure rates increase with age.
Guide: How to remove write protection from USB drive
Step 1 – Check physical lock switch
Examine the USB drive to see if there is a small slider switch on the metal casing. Push the switch to the opposite position to unlock writing to the drive if it was locked.
Step 2 – Try the USB drive on another computer
Plug the USB drive into a different computer and test if you can add or delete files. If it works, the original computer is likely causing write issues.
Step 3 – Scan for malware and viruses
Use antivirus software to scan the USB drive and remove any infections that could be preventing access.
Step 4 – Reformat drive with Disk Management
- Open Disk Management utility in Windows.
- Right-click on the USB drive and select “Format”.
- Choose NTFS or exFAT file system.
- Click OK to reformat and wipe the drive.
Step 5 – Clean with diskpart command line
- Open an elevated Command Prompt window.
- Type “diskpart” and hit Enter.
- Type “list disk” and identify USB drive disk number.
- Type “select disk X” (replace X with drive number).
- Type “clean” to wipe drive partition table.
- Type “create partition primary” to recreate partition.
- Type “format fs=ntfs quick” (or fs=exfat) to reformat partition.
- Type “assign” and “exit” to finish.
Step 6 – Contact IT support
If this is an organization-provided USB drive, contact IT support to remove any device polices forcing write protection.
Step 7 – Replace USB drive
If drive still cannot be written to, it likely has failed completely and should be replaced with a new USB drive.
Frequently Asked Questions
Why is my USB drive suddenly read only?
Unexpected read-only access is commonly caused by a flipped physical lock switch, device policies enforced remotely, drive formatting issues, or malware infecting the USB drive.
How can I delete files from a write protected USB?
You will be unable to delete or add files on a write protected USB drive. You need to remove the write protection by flipping the lock switch, reformatting, or scanning for malware before the drive contents can be modified.
Why can’t I format my USB drive?
Attempts to format a USB drive may fail if write protection is enabled physically or through software restrictions. The drive needs to be unlocked and write access enabled before it can be reformatted.
How do I unlock write protection on SanDisk USB?
Check for a small lock switch on the SanDisk USB drive casing and slide it to the opposite position. If that doesn’t work, connect the drive to a different computer or try reformatting it through Disk Management on Windows or a utility like diskpart.
Why is my USB locked and how do I unlock it?
USB drives become locked if the physical lock switch is toggled, IT policies block writing, the file system gets corrupted, or malware infects the drive. Unlocking can be done by flipping the lock switch back, reformatting, or cleaning malware off the drive.
Conclusion
Write protected USB drives can certainly be annoying. However, the write protection is enabled for good reason – to prevent accidental data loss or corruption. Understanding what causes USB drives to become write protected allows you to pinpoint solutions to remove write protection when needed through troubleshooting steps like toggling the lock switch, reformatting, scanning for malware, or replacing failed drives.
With robust physical construction, avoidance of malware, and proper ejecting before disconnecting, you can minimize instances of unexpected write protection and enjoy the convenience and versatility of USB drives to transfer and store your important files.