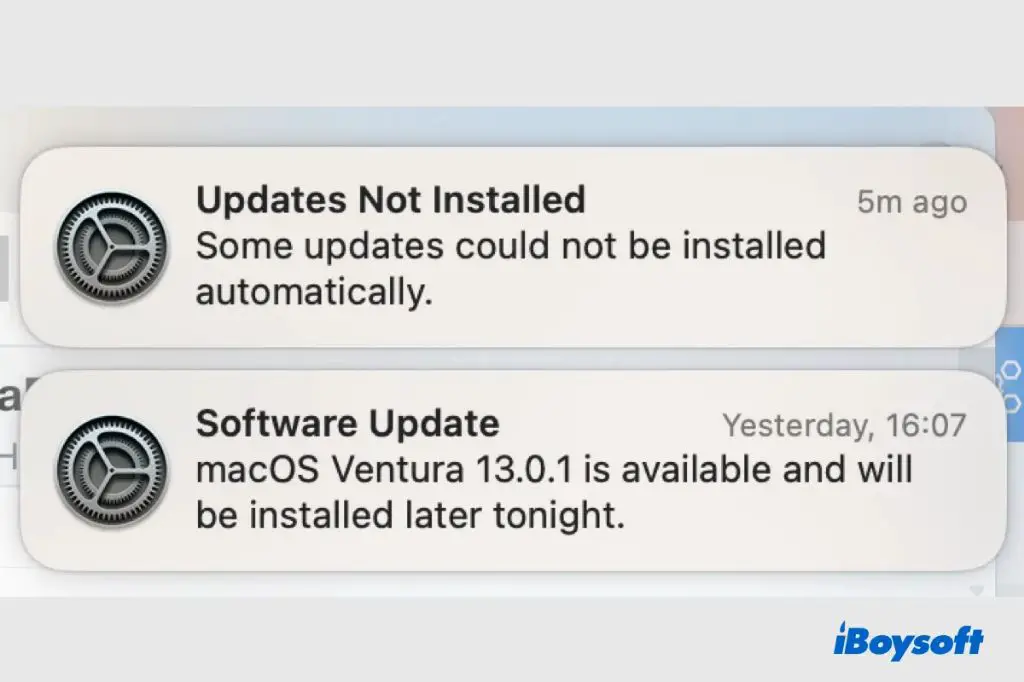
It can be frustrating when you get an error message in macOS saying that some updates could not be installed. This usually happens when there is an issue preventing the software update process from completing successfully. There are several potential reasons why Mac software updates may fail to install properly, including outdated or incompatible software, insufficient storage space, corrupted update files, problematic login items, an active VPN connection, a Time Machine backup in progress, system file permission issues, and more.
In this guide, we will cover the most common reasons for the “some updates could not be installed” error on Mac, explain what is causing each issue, and provide troubleshooting steps to fix the problems so you can successfully update your Mac. By the end, you’ll have a better understanding of why you may be getting the error, as well as solutions to try so you can keep your Mac up to date.
Outdated/Incompatible Software
One of the most common reasons for updates failing to install is outdated or incompatible software on your Mac. When Apple releases a new macOS update, it may require a minimum version of certain applications or system components. If the software on your Mac is too old, the update process will be blocked because the existing apps or services are not guaranteed to work properly after upgrading.
For example, if you are running macOS Mojave and try to update to macOS Catalina, but have an older version of iTunes that is not designed for Catalina, you will get a message that the update can’t be installed due to “incompatible software.” You would need to either update iTunes to the latest compatible version first, or uninstall iTunes before retrying the macOS update.
The same applies for many third-party apps. Developers need time to ensure their apps are fully optimized and compatible with new operating system versions. If you try to update macOS before your third-party apps are validated for compatibility, you may be prevented from installing the updates until you upgrade the apps or remove them.
Apple provides some tools like Rosetta to ease the transition between certain macOS versions, but sometimes incompatible software will still block updates entirely. Checking that all your apps and system components are updated before trying to install major macOS updates is key to avoiding issues.
Insufficient Storage Space
One of the most common reasons for update failures is not having enough free storage space on your startup disk. macOS updates often require between 2-6 GB of available space. If your Mac’s startup disk is nearly full or completely full, the installer will not be able to download and install the updates properly.
When your Mac tries to install an update and sees there is insufficient disk space, you’ll get an error message stating the amount of storage required. For example, “This update requires 11.9 GB of disk space on Macintosh HD.” If you open the Storage section of About This Mac, you’ll likely see very little free space.
To fix this, you need to free up storage space on your startup disk to meet the minimum requirements. Here are some things you can try:
- Empty the Trash Can.
- Delete old and unused files and applications.
- Move files such as photos, movies, and documents to external storage or cloud storage services.
- Uninstall large applications you no longer use.
- Clear cached and temporary files using a cleaning utility.
Once you’ve freed up sufficient disk space, you should be able to install the macOS updates successfully. It’s generally a good idea to maintain at least 10-20% of your startup disk storage as free space to prevent update issues in the future. If storage space is consistently a problem, consider upgrading to a larger internal SSD or adding external storage.[Insufficient storage space causing update failures](https://discussions.apple.com/thread/250942633)
Corrupted Software Update Files
Corrupted or incomplete software update files can sometimes cause the update installation process to fail. This can happen if the download was interrupted, if there was an issue with the internet connection, or if the update files became corrupted for other reasons. The Mac will display an error stating that the software updates could not be installed.
To resolve this, first try restarting your Mac and re-downloading the software updates. Go to System Preferences > Software Update and click “Check Now” to re-download the updates.[1] If issues persist, you may need to delete any corrupted installer packages. To do this, open Finder and go to /Library/Updates and delete any packages related to the failed update. Finally, run Apple’s Disk Utility to check for disk errors and permissions problems that could cause software corruption.
Re-downloading a fresh copy of the software updates and deleting any corrupted installer files should resolve most issues caused by corrupted software updates. This allows your Mac to fully install the latest updates properly. If problems continue even after trying these steps, it’s best to seek additional troubleshooting help.
Problematic Login Items
Login items or startup items are applications that automatically launch when you start your Mac. Having too many login items can slow down your system and cause issues with installing updates. According to Apple Support, login items can sometimes prevent software updates from properly installing [1].
Login items load during the system startup process before updates can be applied. If a login item is incompatible with an update, it may block the update installation. Additionally, login items take up RAM and processor resources that may interfere with a large system update.
To resolve this, go to System Preferences > Users & Groups > Login Items and remove any unnecessary applications [2]. Restart your Mac and try applying the updates again. Keeping your login items to a minimum can prevent them from blocking system updates in the future.
VPN Connection Active
Sometimes Mac updates may fail if there is an active VPN connection. This is because the VPN routes all network traffic through an encrypted tunnel, which can interfere with the system’s ability to reach Apple’s update servers. According to this Apple developer thread, existing apps can fail to update automatically when connected to a VPN.
To allow updates to complete, you may need to disconnect from the VPN. Go to System Settings > VPN and disconnect or turn off your VPN connection. Once disconnected, check for updates again in System Settings. The updates should now install without issue.
If you need to keep your VPN connection active, an alternative is to manually download the update installers from Apple’s website, then run the installers directly rather than relying on automatic updates. According to Apple’s VPN help guide, you can change VPN settings to exclude certain apps and services from the VPN tunnel, such as updates, which may also resolve the issue.
In summary, a VPN connection can sometimes block Mac updates, but you can either disconnect the VPN temporarily or manually download and install updates to work around this problem.
Time Machine Backup in Progress
Time Machine backups can sometimes block software updates from installing until the backup is complete. This is because Time Machine needs exclusive access to system files during backups, so updates that require changes to system files will be blocked until the backup finishes.
If a Time Machine backup is in progress when you try to install software updates, you may see a message that the updates could not be installed. This does not necessarily indicate a problem – it simply means the updates will need to wait until the backup completes.
There are a few reasons a Time Machine backup may get stuck for an extended time:
- The backup disk is having connectivity problems or is formatted incorrectly (cite: https://macpaw.com/how-to/time-machine-backup-failed)
- The backup is having trouble accessing system files that are locked or in use (cite: https://support.apple.com/guide/mac-help/if-a-time-machine-backup-fails-mchlb955003d/mac)
- The backup disk is full and needs more space
Check Time Machine preferences to see if a backup is in progress. Wait for the current backup process to finish, then try installing the updates again. The updates should be able to proceed once Time Machine releases its lock on system files.
System File Permissions Issues
Problems with system file permissions can also block software updates on a Mac. The Mac operating system applies read, write, and execute permissions to system files and folders. If these permissions get changed or corrupted, it can prevent the system from modifying protected files during an update.
For example, if the /Library folder loses write permission for the current user, the system will not be able to install updated software files there. The update process relies on having proper access to system folders and files. When permissions are incorrect, you may see errors about not having necessary access or privileges.
To fix permission issues, you can use the Disk Utility app to verify and repair disk permissions. Open Disk Utility, select your main system drive, and click “First Aid” > “Repair Disk Permissions.” This will reset permissions to their proper defaults. You can also use the chmod command in Terminal to manually modify permissions.
After resetting file permissions, try updating your system software again. If the permissions were causing update errors, the issue should now be resolved and your Mac can install the updates.
Temporary Workarounds
If you encounter the “some updates could not be installed” error, there are some temporary workarounds you can try before seeking further help:
Attempt to install the updates in safe mode. Restart your Mac and hold down the Shift key when you hear the startup chime to boot into safe mode. This may allow the updates to install cleanly.
Try clearing your Mac’s NVRAM by restarting your Mac and holding down Command + Option + P + R until you hear the startup chime again. This resets certain settings and can resolve update errors.
Perform a combo update instead, which contains previous updates and can jump over problematic updates. Download the combo update for your macOS version from Apple.
If using a VPN, disconnect it and try updating again, as VPN connections can interfere with updates.
Pause or disconnect any Time Machine backups, then attempt the updates again without the backup running.
These tips may allow the updates to install successfully as a temporary fix. If the issues persist, further troubleshooting is likely needed.
When to Seek Help
If you have tried all of the troubleshooting steps suggested but your Mac still says some updates could not be installed, it may be time to seek professional help. Continuing to use an outdated OS with uninstalled updates can leave your system vulnerable. Here are some signs it’s time to take your Mac to an Apple Store or authorized service provider:
- You have installed macOS updates in Safe Mode, repaired disk permissions, reset NVRAM and SMC, and tried other common fixes, but updates still will not install successfully.
- Your Mac frequently encounters kernel panics, crashes, or other serious system issues that prevent installing updates.
- You get persistent error messages related to installation, permissions, or corrupted files that prevent finishing the update.
- You have insufficient storage space to complete the update, even after removing unneeded files and apps.
- You suspect your Mac has underlying hardware problems preventing a successful update.
Continuing to use an outdated, vulnerable OS is risky. If you have exhausted all DIY troubleshooting without successfully installing updates, it’s best to consult a qualified technician. They can diagnose any underlying issues and get your system up-to-date.