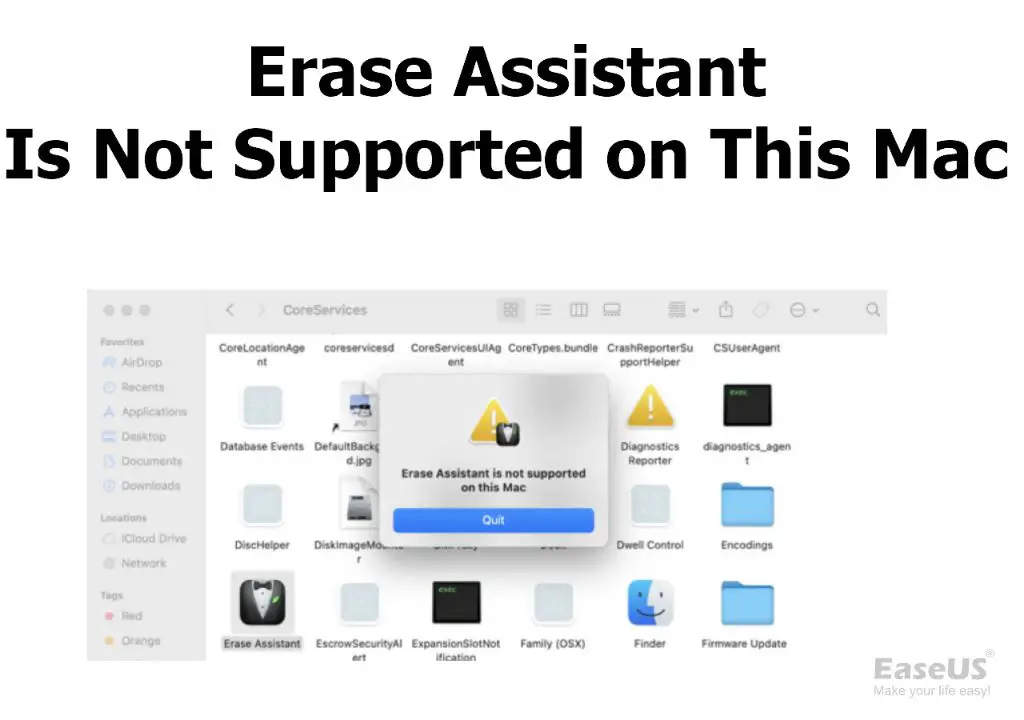
If you get a message saying “Erase Assistant is not supported on this Mac” when trying to erase your MacBook’s drive, it likely means your Mac is too old to utilize the latest version of macOS’s built-in disk erasing utility.
What is Erase Assistant?
Erase Assistant is a feature that was introduced in macOS High Sierra in 2017. It provides an easy way to securely erase and reformat a Mac’s internal drive directly from the Finder.
To use Erase Assistant, you simply right-click on the internal drive you want to erase from the Finder sidebar and select “Erase.” This opens the Erase Assistant which walks you through the steps to reformat the drive and install a fresh version of macOS.
Erase Assistant provides different security options for erasing the drive. The most secure is a 7-pass erase that overwrites the drive with random data to make previously deleted files unrecoverable.
Why does my older Mac not support Erase Assistant?
For a Mac to be able to use Erase Assistant, it needs to have a firmware version of 2147 or later. This firmware version was first introduced with the MacBook Pro (Late 2016).
Any Mac model older than Late 2016 will not have the correct firmware to support the latest version of Erase Assistant in High Sierra and later.
Here are the minimum Mac models required for Erase Assistant support:
- MacBook Pro (Late 2016 and later)
- MacBook (Early 2017 and later)
- MacBook Air (2018 and later)
- iMac (2017 and later)
- iMac Pro (All models)
- Mac Pro (2019 and later)
- Mac mini (2018 and later)
So if you have an older Mac that pre-dates these models, you will get the “Erase Assistant is not supported on this Mac” message.
Alternative disk erase options for older Macs
Just because your older Mac doesn’t support Erase Assistant doesn’t mean you can’t securely erase your drive. You’ll just need to use a different method.
Here are some options for erasing an older Mac’s drive:
Use Disk Utility
Disk Utility has long been the go-to app for formatting drives on Mac. Here’s how to use it:
- Open Disk Utility (located in Applications > Utilities)
- Select your internal drive in the sidebar
- Click “Erase” at the top
- Choose a format like “Mac OS Extended (Journaled)”
- Select the scheme you want – GUID Partition Map for Intel Macs or Apple Partition Map for older PowerPC Macs
- Click “Security Options” and move the slider to select the number of passes for a secure erase
- Click “Erase” to start the process
Use Target Disk Mode
You can boot your Mac into Target Disk Mode and connect it to another Mac with Disk Utility via Thunderbolt or FireWire. This lets you remotely erase the drive on your old Mac from the newer Mac.
To use Target Disk Mode:
- Fully shut down the old Mac
- Boot it up while holding the T key to enter Target Disk Mode
- Use a Thunderbolt or FireWire cable to connect the old Mac to a newer Mac
- The old Mac’s drive will show up as an external drive on the newer Mac
- Open Disk Utility on the newer Mac and erase the connected drive
Use a Third-Party Utility
There are a number of third-party drive erasing tools available for Mac that work on older models.
Some top options include:
- Drive Genius – provides a “Shred” option for secure erasure.
- SuperDuper – has a “Security Options” setting under Erase Disc.
- Carbon Copy Cloner – lets you add multiple erase passes when cloning.
These tools generally offer similar erasing options to what you’d find in Disk Utility, but with some added benefits.
Will Apple still service my older Mac?
The fact that your older Mac doesn’t support Erase Assistant does not necessarily mean Apple will refuse to service it.
Apple authorizes repairs and service for Macs up to 5 years after the final manufacturing date, even if they are outdated. Of course, service options become more limited over time as components change and stop being made.
But as long as you have an older Mac that is still within this 5-year service eligibility window, Apple or an authorized service provider should be able to perform repairs and maintenance, even if Erase Assistant is not supported.
It’s only when a Mac hits the “vintage” status, which is longer than 5 years, that Apple cuts off all hardware service. At that point, you’d need to rely on third-party repair centers.
Should I upgrade to a newer Mac for Erase Assistant support?
If your Mac is functioning fine otherwise, then there’s no immediate need to upgrade your Mac just for Erase Assistant support.
The alternative erase options using Disk Utility or third-party tools work just fine. Erase Assistant just streamlines the process slightly and makes it easier for less tech-savvy users.
However, if you were already considering upgrading to a newer Mac for performance improvements, Erase Assistant support would be a nice ancillary benefit.
Here are a few reasons why you may want to upgrade your older Mac to a newer model:
- Faster processors and better graphics performance
- Support for newer versions of macOS
- Higher memory capacities and faster RAM
- Modern ports like USB-C/Thunderbolt 3
- Newer security features like the T2 chip
Combined with Erase Assistant simplifying drive erasure, these benefits may make upgrading worthwhile if you use your Mac extensively. But it’s still not an absolute necessity for the occasional erase.
Conclusion
Being told “Erase Assistant is not supported on this Mac” simply indicates your Mac predates the models that support the latest version of the feature.
While slightly inconvenient, you can still securely erase any Mac drive using Disk Utility or third-party tools. And Apple will continue servicing older Macs for several years.
Upgrading to get Erase Assistant is only recommended if your needs justify a newer Mac for the performance improvements.
So don’t feel like you urgently have to upgrade just to get Erase Assistant support. Any Mac can still be erased securely using legacy options.