If your Dell desktop computer is not turning on, there are a few common issues that could be causing the problem. In this comprehensive guide, we’ll walk through all the potential reasons your Dell desktop won’t power up and show you how to troubleshoot and fix the issue.
Quick Overview: Common Reasons a Dell Desktop Won’t Turn On
Before jumping into detailed troubleshooting steps, here’s a quick overview of the most common reasons a Dell desktop computer won’t turn on:
- Power cable is loose or disconnected
- Faulty power supply unit
- Faulty power button
- BIOS settings issue
- RAM compatibility issue
- Faulty motherboard
- Loose internal components
We’ll now dive deeper into troubleshooting each of these potential issues to determine why your Dell desktop is not powering up.
Step 1: Check Power Cable Connections
The first thing to check whenever a desktop computer fails to turn on is the power cable connections. Here are the steps to verify all power connections are secure:
- Make sure the power cable is firmly plugged into the back of the desktop tower and connected to a working power outlet/surge protector.
- Verify the power supply cable inside the desktop case is securely connected to the motherboard.
- Check that any power switch or LED cables are properly attached to header pins on the motherboard.
- Wiggle the power connections gently to confirm they are snugly in place.
Loose power cables are one of the most frequent reasons for a no-power condition. Reseating all power connections firmly often resolves the failure to power up.
Testing the Power Outlet
Along with checking power cables, it’s also important to test the electrical outlet you have the desktop plugged into. Use the following steps:
- Unplug everything from the outlet and surge protector.
- Plug in a lamp or other device you know works to confirm the outlet functions.
- Try plugging the desktop into a different outlet, preferably on another circuit.
If the computer powers on from the new outlet, you likely have an issue with the original outlet that needs to be fixed. Contact an electrician for outlet repairs or replacement if needed.
Step 2: Reseat Internal Components
If the power connections check out okay, the next step is to open up the desktop case and reseat the internal components. Over time, components like memory modules and expansion cards can become loose from repeated heating and cooling cycles or being knocked around.
Follow these best practices for reseating desktop components:
- Unplug the computer and press/hold the power button for 5 seconds to discharge static electricity.
- Use a Phillips screwdriver to remove the side panel from the tower case.
- Check inside for any loose connections or damaged parts.
- Remove and reinstall memory modules in their slots.
- Remove and reinstall hardware cards like the video card, network card, etc.
- Press down on internal cables to make sure they’re properly seated.
- Replace the side panel, plug everything back in, and attempt to turn on the computer.
Reseating the RAM and expansion cards will fix power issues caused by loose modules or connectors. Be careful when handling internal components to avoid any static discharge damage.
Checking Internal Hardware Issues
While you have the computer opened up, also visually inspect the internal hardware for any signs of failure:
- Check for bulging/leaking capacitors – Faulty capacitors on the motherboard can prevent powering up.
- Check for burnt smells or scorch marks – Indicates component failure.
- Check cable connections – Reseat any loose internal cables.
- Check fans – Replace any seized or noisy fans.
Repair or replace any damaged internal hardware components that could be preventing the Dell desktop from turning on.
Step 3: Test the Power Supply
If the computer still won’t turn on after reseating components and cables, the next culprit to check is the power supply unit (PSU). Some ways to test a Dell desktop power supply:
- Test with a multimeter – Use a digital multimeter to check proper voltage levels from PSU cables.
- Paperclip test – Short the Power_On pin to a ground pin on the 24-pin cable to turn on the PSU.
- Try a known-good PSU – Swap in a compatible PSU from another working desktop.
If the power supply fails any of those tests, it will need to be replaced. When installing a new PSU, make sure it provides sufficient wattage for your specific Dell model’s hardware configuration.
Selecting a Replacement PSU
Here are some tips for selecting a compatible replacement power supply for a Dell desktop computer:
- Look up the Dell service tag to find the correct wattage and connectors.
- Choose a trustworthy brand like Corsair, EVGA, or Seasonic.
- Get a PSU with at least 80 Plus Bronze efficiency rating.
- Make sure the form factor matches the case.
- Verify it has the right power cables and connections.
Installing a suitable new power supply should resolve any power issues caused by a faulty PSU.
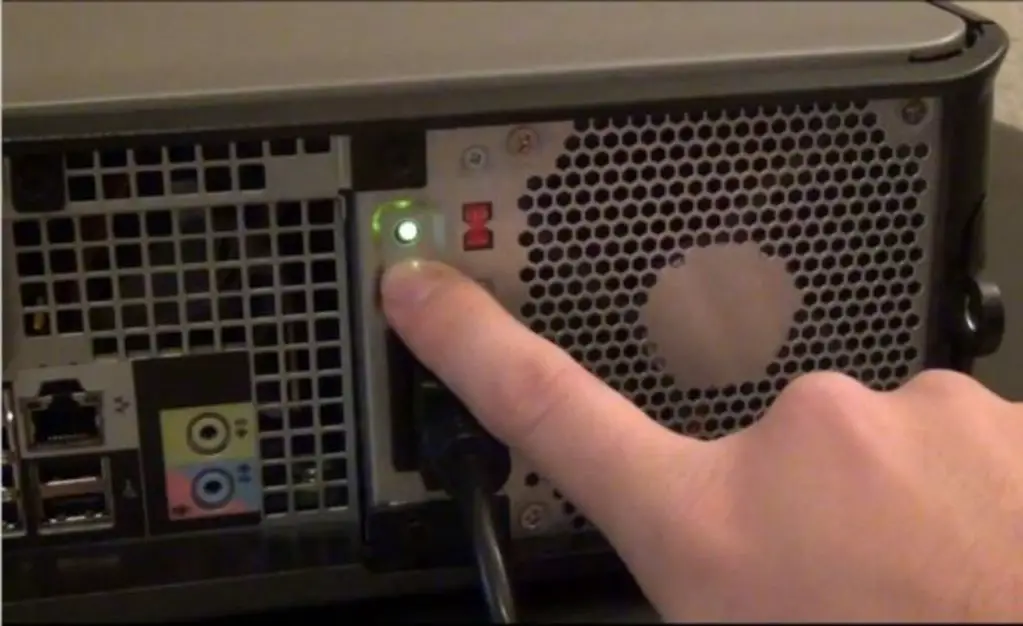
Step 4: Test the Power Button
Next up, we need to check the front panel power button on your Dell desktop. The power button is one of the simplest components, but failures are common after years of use. Try the following steps to test the power button:
- Inspect visually – Check for damage or loose/disconnected cables.
- Press test – Test pressing the button to turn on; check if stuck.
- Short pins – Use a screwdriver to touch the PWRBTN pins on motherboard.
If shorting the power switch pins powers the computer on, the button itself is likely faulty and needs replacement. You can remove the old power button and solder a new one in place on the case front panel.
Bypassing the Power Button
As a workaround for a faulty power button, you can bypass the switch entirely by shorting the PWRBTN pins on the motherboard each time you want to turn on the computer. Just be sure to shut down properly in Windows before cutting power.
Some motherboards also support jump starting the computer by shorting two pins designated CLRCMOS. Refer to your Dell model’s motherboard manual for details.
Step 5: Test the Motherboard
The motherboard is central to all PC operations. If you’ve tested all other components like the PSU, RAM, CPU, etc. and the desktop still fails to power on, motherboard failure is the likely cause. Here are some ways to test the motherboard itself:
- Inspect for damage – Visually check for burnt spots or physical damage.
- Reseat CPU – Remove and reinstall the processor.
- Clear CMOS – Reset BIOS settings to default.
- Test with bare minimum configuration – Boot with just CPU, one RAM stick, onboard video.
- Try known-good parts – Swap in working RAM, PSU, CPU.
If the computer fails to POST with the bare minimum hardware connected, the motherboard likely has a fault and needs to be replaced. Match the replacement board’s socket, chipset, and form factor to your Dell model.
Step 6: Attempt BIOS Recovery
Before fully giving up on a Dell desktop that refuses to power on, you can attempt a BIOS recovery as a last resort. The steps are:
- Disconnect all peripherals and cables from computer.
- Open the case and remove CMOS battery for 60 seconds.
- Reinstall the CMOS battery.
- Locate the BIOS recovery jumper on motherboard.
- Short the BIOS recovery jumper pins for a few seconds.
- Remove BIOS jumper and reassemble computer.
- Plug in and long press power button for 30 seconds.
Shorting the BIOS recovery jumper resets the BIOS chip to its default state. This can fix booting issues caused by corrupted BIOS settings or failed firmware updates. If the computer still won’t POST, the motherboard likely requires repairs or replacement.
Common Dell Desktop Motherboard Problems
Some common problems that can lead to a failed Dell motherboard include:
- Failed BIOS update
- Overheating issues
- Power surge damage
- Short circuits
- Broken chipset or Southbridge
- Faulty capacitors
- Too much accumulated dust
Damage to any critical pathways or components on the motherboard can easily prevent booting. A qualified repair technician may be able to replace damaged ports, capacitors, fuses, or chips on the motherboard.
However, outright motherboard failure often requires total replacement. When replacing a Dell desktop motherboard, be sure to get the exact replacement match for your specific model number and hardware configuration.
Conclusion
Troubleshooting a Dell desktop PC that won’t turn on can be frustrating, but methodically testing each component and function will help identify the failure point. Start with the simple power connections, then work your way to testing the PSU, motherboard, RAM, and finally attempting BIOS recovery. With patience you should be able to get to the root of the power problem.
If your Dell desktop ultimately ends up needing significant repairs or replacement parts, it may be time to simply upgrade to a newer model. But with the right troubleshooting steps, many common power failures can be resolved and get your computer back up and running.
For additional advice with Dell desktop issues, you can utilize their technical support forums or contact Dell customer service directly. With the steps covered in this guide, your Dell desktop should be powering up again in no time.
