Having issues accessing your E drive can be frustrating, but the good news is that in most cases it’s an easy fix. The E drive is a logical drive that is part of your computer’s hard disk storage, so not being able to access it likely indicates a software issue rather than a hardware problem.
Quick Diagnosis
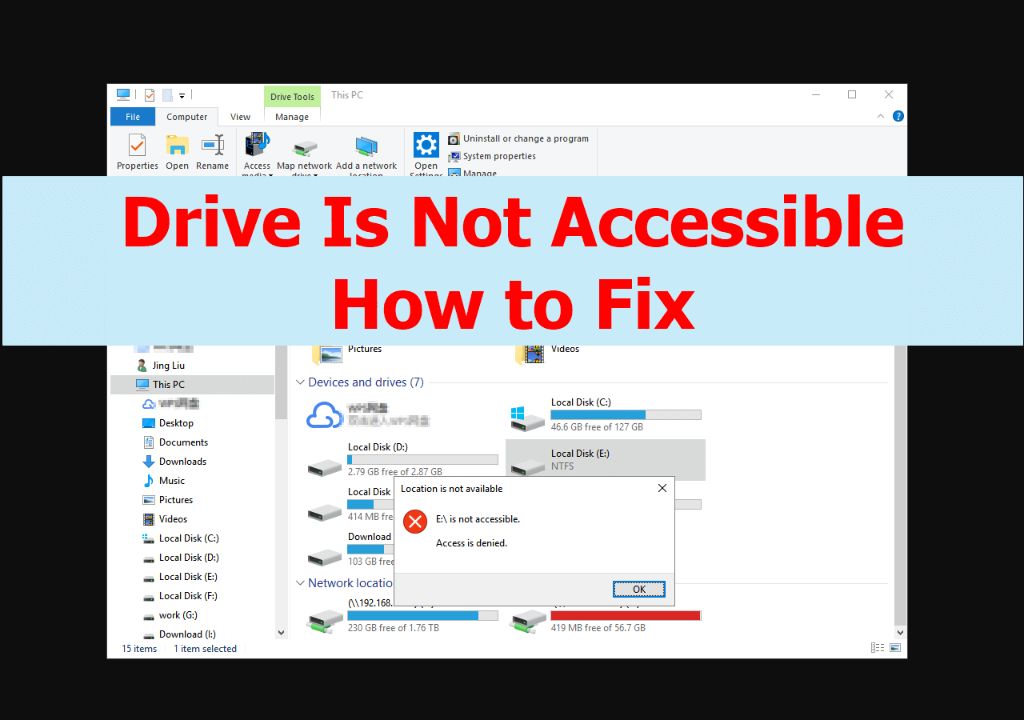
Here are some quick things to check if your E drive is not showing up or accessible:
- Make sure the E drive is enabled. Open Disk Management and check if the E drive shows up there but is offline or missing a drive letter.
- Check the drive connections. Make sure both power and data cables are properly connected to the E drive if it is an external storage device.
- Update your drivers. Outdated, buggy, or missing drivers can cause drive access issues. Update chipset, storage, and USB drivers if applicable.
- Run CHKDSK. Use the Check Disk utility to scan for and repair drive errors.
- Change or assign a drive letter. A missing or conflicting drive letter can make the E drive not show up.
If the quick fixes don’t work, continue reading for more detailed troubleshooting steps.
Check Drive Errors with CHKDSK
One of the most common reasons for drive access issues is file system errors. Using the Check Disk (CHKDSK) utility can identify and fix various drive errors and problems. Here are the steps to run CHKDSK on the E drive:
- Open the Command Prompt as administrator.
- Type “chkdsk E: /f” and hit Enter to start scanning the E drive.
- Allow the scan to complete. This may take some time depending on the drive size and amount of data.
- Restart your computer and check if the E drive is now accessible.
CHKDSK will attempt to repair any file system errors found during the scan. This should resolve most simple errors that can cause drive access problems.
Make Sure the Drive is Enabled
If your E drive shows up in Disk Management but is marked as Offline or Missing, you just need to enable it to become accessible again. Here’s how:
- Go to Disk Management (press Windows + R and type “diskmgmt.msc”).
- Right-click on your E drive and select Online.
- The drive status should change to Healthy.
- Check if the E drive is now visible in File Explorer.
Enabling the drive this way should resolve the access issue if the drive itself does not have any hardware problems.
Change or Assign Drive Letter
If your E drive is not showing up in File Explorer but appears in Disk Management, the issue may be with the drive letter. Follow these steps to change or assign a drive letter:
- Open Disk Management and locate your E drive.
- Right-click on the volume and choose Change Drive Letter and Paths.
- Click Change and assign an unused letter like E or F.
- Click OK. The new drive letter will now show up in File Explorer.
A conflicting or missing drive letter is a common reason for drives not showing up properly. Changing the drive letter will resolve the access issue if that is the cause.
Update Your Drivers
Outdated, corrupted or missing drivers can also result in drive access problems, especially with external storage devices. Here’s how to update drivers:
- Open Device Manager.
- Expand Disk drives and External hard drive controllers.
- Right-click on the associated drive and select Update driver.
- Search automatically for updated driver software.
- Repeat for any other relevant drivers like USB or chipset drivers.
- Reboot and check for drive access.
Updating your drivers will help resolve any driver conflicts, bugs or malfunctions that could be preventing drive access. Be sure to keep your drivers up-to-date.
Enable Drive Visibility in Folder Options
As a quick fix, you can also try enabling the drive visibility in File Explorer. This will show all hidden drives:
- Open File Explorer and go to the View tab.
- Click Options and go to the View tab.
- Under Advanced settings, check Show hidden files, folders, and drives.
- Click OK. Check if the E drive now shows up in This PC.
If the E drive shows up after enabling this, you can leave it on or assign the drive a letter permanently instead of hiding it.
Check Physical Connections
For external storage drives, connectivity issues are a common reason for drive not being accessible. Double check these physical connections:
- Power cable – Make sure the drive is getting power. Try a different cable if possible.
- Data cable – Remove and firmly reinsert the data cable between the drive and computer.
- USB port – Try connecting the drive to a different USB port on your computer.
Loose, damaged or faulty cables are the most likely hardware issue to cause external drive access problems. Reconnect or swap cables to test.
Diagnose Disk Issues with Data Lifeguard
For hardware diagnostic and repair on Western Digital drives, you can use their Data Lifeguard Diagnostic tool:
- Download and install the Data Lifeguard Diagnostic tool.
- Start the tool and select your WD drive.
- Click either Quick Test or Extended Test to scan your drive.
- Review the test report and check for identified errors.
- Use the Repair option to fix detected bad sectors or issues.
Running the WD Data Lifeguard tool can diagnose and troubleshoot physical disk problems on Western Digital internal or external drives.
Initialize Disk if GPT/MBR Missing
In Disk Management, if your E drive shows up as an Unknown disk with a black bar on top, it means it has no partition style set. This can happen if the GPT/MBR data gets corrupted or erased.
You can resolve this by initializing the disk:
- Right-click on the disk and select Initialize Disk.
- Select a partition style – GPT or MBR and click OK.
- The drive should now list as Basic and be assigned a drive letter.
Reinitializing the disk will recreate the partition table and make the drive accessible again in this scenario.
Run SFC and DISM
Corrupted system files can also sometimes cause drive access issues. Run SFC and DISM scans to check and repair system file errors:
- Open Command Prompt as admin and run SFC /scannow
- Wait for scan to complete. Restart PC.
- Run DISM /Online /Cleanup-Image /RestoreHealth
- Restart PC after command completes.
SFC and DISM will scan for and replace any corrupted operating system files which could eliminate the problem.
Format Drive If Accessible
As a last resort if all else fails, you can try formatting the E drive to repair severe file system errors:
- Backup data from the E drive if possible.
- Open Disk Management and right-click on E drive.
- Select Format and choose NTFS file system.
- Click OK to confirm and format E drive.
- Restart computer and check if E drive opens now.
Formatting will wipe out all existing data but can also resolve problems from file system corruption or bad sectors.
Consider Data Recovery
If the E drive has physical issues detected from diagnostic tools, or formatting does not resolve the problem, data recovery may be required. Some options include:
- Use data recovery software like Recuva, TestDisk, etc. to extract data from the inaccessible drive.
- Remove the drive and connect it to another PC as an external drive. This often helps recovery tools access it.
- Take it to a professional data recovery service for repair and recovery if DIY options don’t work.
Data recovery should be considered if you need to recover important files from the inaccessible E drive.
Replace Corrupted Drive If Needed
In rare cases, the E drive hardware itself may be permanently damaged from internal failure, degradation, etc. If all troubleshooting options are unsuccessful, replacing the drive may be necessary.
For external drives, you can simply buy a new enclosure and insert the old drive to access files and migrate them before replacing. For internal drives, cloning software makes replacing the boot drive relatively smooth.
While drive replacement is inconvenient, it is the definitive solution for some extreme drive corruption or failure situations.
Conclusion
Troubleshooting drive access issues requires patience but is usually manageable with software tools and simple connection checks. For hardware failure, professional data recovery or outright drive replacement may be the solutions. Backing up your data regularly allows easy recovery in such scenarios.