It can be frustrating when your internal hard drive fails to show up in Disk Management on Windows 11. This issue prevents you from accessing the files and data stored on the drive. There are several potential causes for an internal drive not appearing in Disk Management, ranging from loose connections to driver problems.
Check Physical Connections
One of the most common reasons an internal hard drive may not show up in Disk Management is because it has become physically disconnected from the motherboard. Check that the power cable and SATA cable are properly seated in the back of the hard drive and connected to the appropriate ports on the motherboard.
Make sure the cables are not loose or damaged. Wiggle the cables gently to ensure there is no internal damage or corrosion. Try swapping out the SATA cable with a known good cable, as the current one may have a broken wire or connector. Also verify the power connector is fully inserted into the drive and that the drive is receiving adequate power.
If your hard drive uses an older IDE connection instead of SATA, check the master/slave jumpers to ensure they are set correctly. IDE cables cannot be “hot swapped” so the system will need to be fully shut down before reconnecting the IDE cable.
In some cases, a loose connection is all that is preventing the drive from being detected. Properly seating the cables or replacing a bad cable can often resolve the issue of a drive not showing up.
Sources:
https://recoverit.wondershare.com/computer-problem/common-hard-drive-problems-and-solution.html
Initialize the Disk
Sometimes a new hard drive may need to be initialized before it can be detected by Windows 11. According to the Microsoft documentation (source), initializing a disk prepares it for use by Windows by creating a primary partition, creating and formatting logical drives, and bringing the disk online. This process assigns a drive letter to the disk and writes a signature to the disk, allowing Windows to access and manage it.
To initialize a disk in Windows 11:
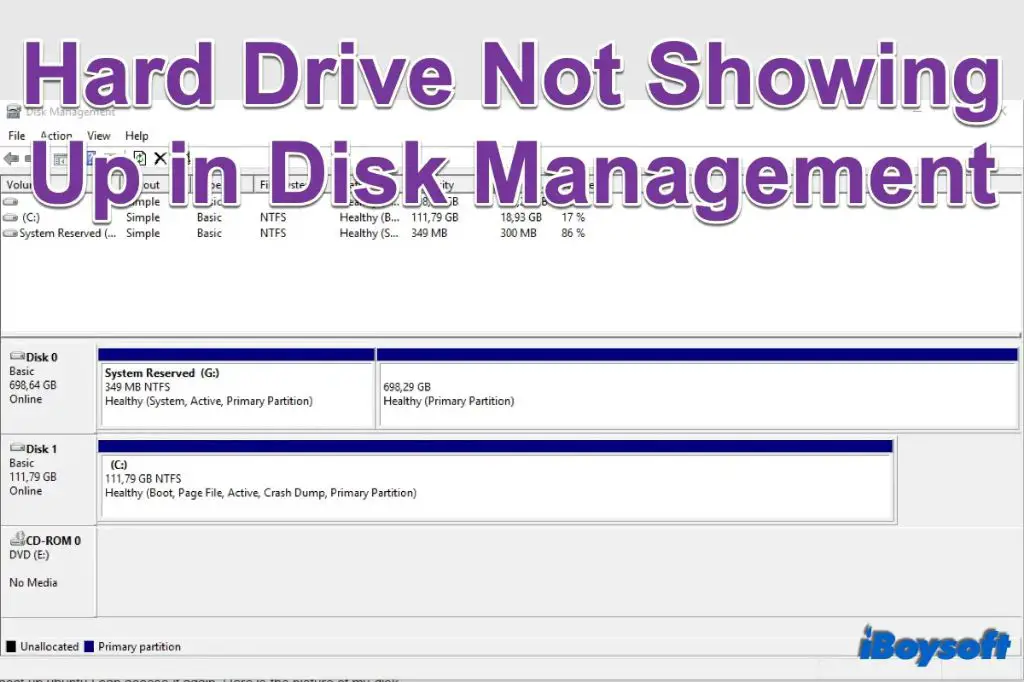
- Open Disk Management (press Windows key and type “diskmgmt.msc”).
- Right-click the disk you want to initialize and select “Initialize Disk.”
- Choose between MBR or GPT partitioning (for drives larger than 2TB, use GPT).
- Click “OK” to confirm.
The disk should now show up with a drive letter assigned. Initializing the disk writes the necessary signature and partition information so that Windows can detect it properly. If the internal drive is still not showing up after initializing, there may be a deeper issue.
Update Drivers
Outdated motherboard or storage drivers can prevent Windows from detecting hard drives properly (Source). You can update your drivers manually through Device Manager in Windows, or use a driver update utility. To update drivers manually, type “Device Manager” in the Windows search box, then expand categories like “Disk drives” to update those drivers. Click “Update driver” and select “Search automatically for drivers.” You can also visit your motherboard manufacturer’s website and download the latest drivers. Install them by right-clicking the .exe or .msi file and selecting “Run as Administrator.” Keeping your drivers updated ensures maximum compatibility with hardware like internal hard drives.
Enable AHCI
If your hard drive was configured for RAID mode rather than AHCI mode, it may not show up in Disk Management. AHCI (Advanced Host Controller Interface) is the preferred SATA mode for optimal performance with solid state drives. Here’s how to switch from RAID to AHCI:
1. Reboot your computer and enter the BIOS setup utility. The key to press varies by manufacturer, but common keys are F2, F10 or Delete.
2. Navigate to the SATA settings and change the SATA Operation mode from RAID to AHCI. For Dell computers, this is often under Configuration > SATA Operation.
3. Save changes and exit the BIOS.
4. When your PC reboots, you’ll get a blue screen. This is normal. Press F7 to continue booting into Windows.
5. Once logged in, open an Administrator Command Prompt and run the command:
bcdedit /set {current} safeboot minimal
6. Reboot your PC again. This enters Safe Mode.
7. When logged in, install the AHCI driver for your system if needed. For Intel systems, install the Intel RST driver.
8. Reboot once more back into normal Windows. The hard drive should now appear in Disk Management.
Change Drive Letter
The most common reason an internal hard drive may not show up in Disk Management is because it has an incorrect or conflicting drive letter assignment (Microsoft, 2023). When connecting a new drive, Windows will automatically assign the next available letter. However, this can cause conflicts, especially if you’ve connected an external drive using that letter before.
To resolve this, you need to change the drive letter in Disk Management (Pureinfotech, 2023):
- Open Disk Management (press Windows Key + R, type “diskmgmt.msc” and press Enter)
- Right click the internal drive and choose “Change Drive Letter and Paths”
- Click “Change” and assign a new drive letter from the dropdown.
- Click OK to confirm the changes.
This will assign a fresh drive letter to the internal disk, avoiding any conflicts. Be sure to choose an unused letter to prevent future issues. After changing the letter, the drive should appear normally in File Explorer.
Format the Drive
If a hard drive is not formatted, it won’t show up in Windows 11 Disk Management. Before Windows can access and manage the drive, it must be formatted. Formatting a drive erases all data on it and prepares it for use with Windows.
To format an unrecognized hard drive in Windows 11:
- Open Disk Management (right-click the Start button and select “Disk Management”).
- Right-click the hard drive you want to format and select “Format”.
- Choose your desired file system – typically NTFS – and give the drive a label if desired.
- Click “OK” to begin the formatting process.
Formatting can take a while depending on the drive size but once completed, the hard drive should now be recognized in Windows 11 and available for use. Just make sure to format the correct drive, as formatting erases all data.
For more details, refer to Microsoft’s guide on formatting drives in Windows.
Replace Cables
Faulty SATA cables can prevent communication between the hard drive and the motherboard, resulting in the drive not showing up in Disk Management. SATA cables can become damaged over time from bending or crimping, causing degraded performance or connection issues.
Try replacing the SATA data and power cables connected to the hard drive with brand new cables, preferably high quality cables from a reputable manufacturer. Make sure both ends of the SATA cable are securely connected. If the drive is still not detected after swapping the cables, the cables are likely not the cause.
According to StarTech.com, some quick tests to diagnose SATA cable issues include:1
- Wiggling the SATA cable while powered on to see if connectivity is restored
- Trying a different SATA port on the motherboard
- Testing the drive with a known good SATA cable
Replacing faulty or low quality SATA cables is an easy first step in troubleshooting a drive not detected in Disk Management.
Update BIOS
An outdated system BIOS can sometimes cause hard drive detection issues in Windows 11. The BIOS controls communication between the operating system and hardware devices. When the BIOS is outdated, it may not properly detect newer hard drives. To update the BIOS on a Windows 11 PC:
1. Go to your computer or motherboard manufacturer’s website and find the support page for your specific model. There you can download the latest BIOS update.
2. Before installing the update, make sure your computer meets the minimum system requirements. Also close any open programs and disconnect external devices.
3. Follow the instructions to flash the BIOS update onto your system. This usually involves copying the update file onto a USB drive, rebooting into the BIOS menu, and selecting the update option.
4. After the flashing process is complete, reboot your computer and check if the hard drive now appears in Disk Management. As per this article, updating to the latest BIOS version can resolve detection issues caused by compatibility problems.
5. If the drive still does not show up, you may need to try other troubleshooting steps like updating drivers, changing cables, or formatting the drive.
Conclusion
In summary, there are several potential solutions if your internal hard drive is not showing up in Disk Management in Windows 11. First, check your physical connections and cables to ensure everything is properly plugged in. Trying initializing the disk in Disk Management if it shows up as unknown. Update your drivers, enable AHCI mode in BIOS, and change the drive letter if needed. As a last resort, replacing SATA cables or updating the BIOS may resolve the issue.
Detection issues with internal hard drives can often be tricky to troubleshoot in Windows 11. Be sure to try the various solutions one at a time until you isolate the problem. Check forums and manufacturer websites for specific advice pertaining to your make and model of drive. With persistence and by methodically applying the right fixes, you should be able to get your internal hard drive recognized again in Disk Management.