A loud laptop fan can be concerning, as it may indicate an issue with your device. However, in many cases there are simple explanations for a revved up fan that don’t require major repairs.
Quick Diagnosis
Some common reasons for a loud laptop fan include:
- Dust buildup in vents – This prevents proper airflow and causes the fan to work harder.
- Running resource intensive programs – The fan speeds up to cool the laptop when you use demanding software.
- High operating temperature – The fan ramps up when the CPU or GPU get too hot.
- Old thermal paste – This can cause the CPU/GPU to overheat, triggering louder fan speeds.
- Fan malfunction – Issues with the fan bearings or motor can create noise.
- BIOS settings – Some BIOS settings can cause constantly revved up fan speeds.
Before you take your laptop in for repair, there are some quick troubleshooting steps you can take:
- Clean the vents – Use compressed air to dislodge any built up dust.
- Update BIOS/drivers – Install the latest firmware and drivers from your manufacturer.
- Adjust power settings – Switch to balanced or power saver mode in Windows or Mac OS.
- Check running apps – Close any intensive programs like games or video editors.
- Listen to fan – Try to isolate if the noise is coming directly from the fan.
If the fan noise persists after trying these basic steps, further diagnosis may be needed to pinpoint the exact cause.
Common Causes of Loud Fan Noise
Here is a more in-depth look at some typical reasons you may notice your laptop fan working overtime:
Dust Buildup
One of the most common reasons for a loud laptop fan is a buildup of dust in the vents and intakes. The cooling fans pull in air to dissipate heat produced by components like the CPU and GPU. But over time, dust gets sucked into the laptop and accumulates in the heatsink and fan assembly. This dust acts as an insulator and reduces airflow, forcing the fans to spin faster to compensate.
Regularly cleaning out your laptop vents can help prevent this issue. Use a can of compressed air to safely dislodge dust buildup. Make sure to blow air through all the intake and exhaust vents, as well as the fan itself if accessible. Avoid using vacuums, which can produce static discharge and damage electronics.
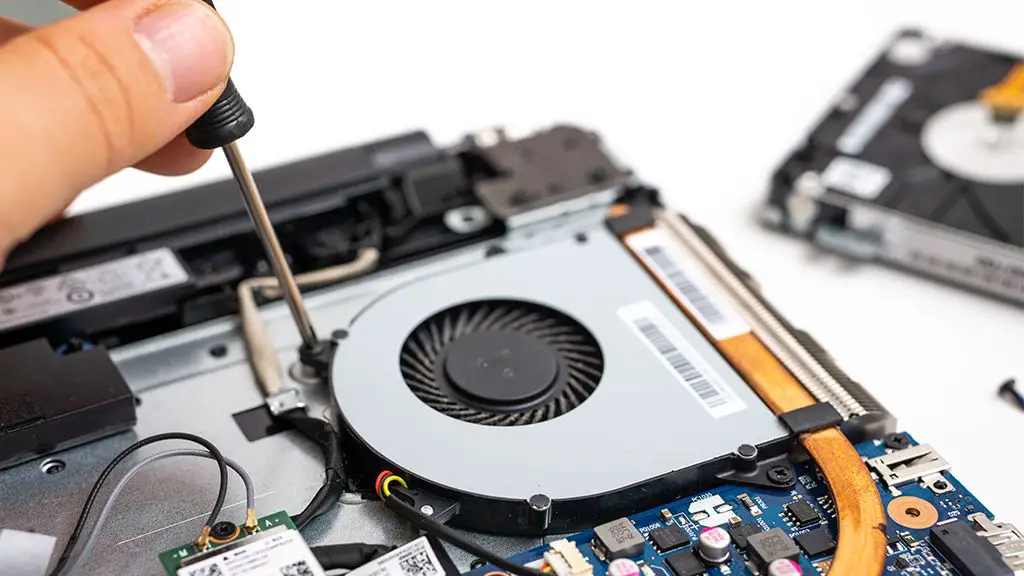
You may need to open up the bottom panel to thoroughly clean out the fan and heatsink. Refer to a repair guide for your specific laptop model for instructions. Be very careful not to damage any delicate components when doing this.
Resource Intensive Programs
Running demanding software can cause your laptop fan to temporarily speed up as the components heat up under load. Programs that involve complex graphics and video editing like Adobe Premiere or AutoCAD tend to be the most resource intensive. Gaming is another common culprit for revving up laptop fans.
When the CPU and GPU are crunching through intensive tasks, they generate more heat. This triggers the fans to ramp up to full speed to keep the chips cool and prevent thermal throttling which reduces performance.
The simple solution is to avoid using demanding programs when you want your laptop to stay quiet. Install games and other software on a desktop PC or cloud gaming platform when possible. Also try reducing graphics settings in games to medium or low.
High Operating Temperature
If the interior temperature of your laptop gets too high, the fans will automatically spin faster to try to cool things down. Thermal sensors inside your laptop monitor conditions to make sure components like the CPU and GPU don’t overheat.
A high operating temperature can be caused by several factors:
- Blocked vents or fans clogged with dust
- Direct sun exposure or inadequate ventilation
- Failing fan or dried out thermal paste
- Internal dust buildup insulating components
- Resource intensive apps generating excess heat
Try to identify and fix the root cause of overheating rather than just treating the loud fan symptoms. Cleaning the vents, improving airflow around the laptop, and monitoring your running software can help. You may also need to replace aged thermal paste between the CPU/GPU and heatsink.
Old Thermal Paste
The thermal paste between your laptop’s CPU/GPU and the heatsink can dry out and become ineffective over time. This paste helps facilitate heat transfer away from the chips. When it deteriorates, heat builds up and the fans compensate by spinning faster.
Most manufacturers recommend replacing laptop thermal paste once every 2 years or so. The process involves carefully removing the heatsink, cleaning off old paste, applying new paste, and reattaching the heatsink. Most CPU and GPU chips need only a rice grain sized dot of fresh paste in the center.
Thermal paste replacement can lower operating temperatures by 10-15°C in some cases and significantly quiet the fans. Use a quality paste like Arctic Silver or Thermal Grizzly for best results. Avoid liquid metal pastes in laptops.
Fan Malfunction
In some cases, loud fan noise may indicate an issue with the fan itself. For example:
- Obstructed fan – Built up dust stops the fan blades from spinning properly, creating noise.
- Worn out bearings – Fan bearings operate smoothly when new, but eventually wear out and create noise.
- Bent fan blade – Even a small bend in a fan blade can touch the housing, creating a loud vibrating buzz.
- Imbalanced motor – The fan motor can become noisy if bearings wear unevenly.
It’s often possible to pinpoint fan malfunction noise to a specific fan. Unplug each fan one at a time while the laptop is on to isolate. You may be able to fix minor fan noise issues by cleaning out obstructions. But worn bearings, bent blades, and imbalanced motors will likely require fan replacement.
Aggressive BIOS Settings
Some laptop manufacturers ship systems with BIOS settings that ramp up fan speeds aggressively. This results in loud, constantly spinning fans even during light usage in order to keep temperatures very low.
For example, gaming laptops often favor lower temperatures over quieter operation. Their BIOS settings target maximum performance and divert extra cooling power towards the CPU and GPU.
If your fans seem excessively loud for regular use, explore whether changing the BIOS settings helps quiet them down. Look for options related to fan speeds, processor power states, and performance vs balanced cooling. Just be careful not to push temperatures too high when experimenting.
Troubleshooting Steps for Loud Fan
Follow these steps to troubleshoot a loud laptop fan:
- Clean the vents – Use compressed air to thoroughly clean all exterior vents and intakes of dust buildup. Also clean fan blades if accessible.
- Monitor temperatures – Download a system monitor app like Core Temp or HWMonitor to check CPU and GPU temperatures during use.
- Update BIOS and drivers – Install the latest BIOS, GPU, and other hardware drivers from your manufacturer’s website.
- Adjust power settings – Switch Windows/macOS to balanced or power saving mode instead of high performance.
- Close intensive programs – Stop any games, video editors, CAD software or other demanding apps.
- Check background processes – Look for any high CPU usage of processes like Windows Update or virus scans happening in the background.
- Reapply thermal paste – If old or dried out, replace CPU/GPU thermal paste with fresh paste like Arctic Silver 5.
- Test with open chassis – Carefully take off the bottom cover and test for fan noise with the chassis open.
- Isolate fan making noise – Unplug fans one at a time with laptop on to pinpoint culprit.
- Inspect fans – Look for obstructed, warped, or physically damaged fan blades causing noise.
- Update BIOS settings – Some options like fan speed can be adjusted to reduce noise levels.
Trying these steps can help isolate whether an overtaxed fan, clogged vent, failing fan, or other issue is causing the loud noise without immediately needing to replace parts. If the noise persists, then further repairs may be necessary.
When to Repair or Replace a Loud Fan
If basic troubleshooting steps don’t resolve a loud laptop fan, more extensive repairs may be required:
- Fan replacement – Install a new fan if bearings are shot or blades are warped/obstructed.
- Heatsink repair – Remove heatsink and clear out any stuck on dust or debris.
- Thermal paste replacement – Worn out paste reduces cooling performance and should be replaced.
- Motherboard repair – Fan connectors or temperature sensors on the board may be faulty.
Fan replacement is the most common fix for fans making excessive noise or showing physical damage. Most laptops have 1-2 replaceable fans that can be swapped out after removing the bottom panel and disconnecting the old fan. Match the exact OEM part number when ordering a new fan.
For more advanced noise issues where fans run constantly at high speed, heatsink and thermal paste maintenance may be needed. This keeps components like the CPU cooler so the fans don’t need to work as hard.
If fans scream constantly during any activity, the root problem may be with the motherboard components controlling them. Fan connectors, temperature sensors, or BIOS chips may be malfunctioning and require board-level repair by a specialist.
When to Just Replace the Laptop
Once a laptop is out of warranty, fan repairs can quickly become expensive. The parts and labor costs may exceed the value of an older machine. At that point, it’s reasonable to just replace the laptop rather than sink money into fixing a loud fan.
Consider replacing instead of repairing if:
- Your laptop is over 3 years old
- Repair costs exceed half the laptop’s original price
- Parts are difficult to source for an obscure model
- You were already considering upgrading to a newer laptop
Unless the laptop has special sentimental value or high-end components, expensive fan repairs on an outdated machine may not be worth the cost compared to buying a new replacement. If the fan noise is tolerable, you can try to prolong the laptop’s life by cleaning the vents, managing workload, and replacing thermal paste. But a failing fan often signals a laptop that’s nearing the end of its usable life.
Preventing Loud Fan Issues
You can help prevent excess laptop fan noise by:
- Cleaning vents monthly using compressed air
- Not blocking vents or intakes while in use
- Using a laptop cooling pad for airflow
- Monitoring CPU and GPU temperatures
- Replacing thermal paste every couple years
- Avoiding resource intensive software when possible
- Updating BIOS and drivers regularly
- Tuning BIOS settings for balanced power and noise
With proper maintenance and operating conditions, most laptop fans should operate smoothly and quietly for the lifetime of the device. But inevitably fans start to wear down over years of friction and must work harder to compensate, leading to increased noise. Following good usage and maintenance habits helps delay this inevitability as long as possible.
Conclusion
A loud laptop fan can be a nuisance, but is most often easily explained by a blocked vent, dust buildup, intensive program use, or other common causes. Try basic cleaning, updating software, monitoring thermals, and tweaking power management before assuming the fan itself is failing. With routine maintenance, you can maximize the working life of original fans before needing to replace them and restore quiet operation. If fan repairs do become necessary, judge whether they are worthwhile relative to just upgrading to a new laptop. With care and regular upkeep, you can enjoy several years of quiet computing from even budget notebook models before loud fans start to take their toll.