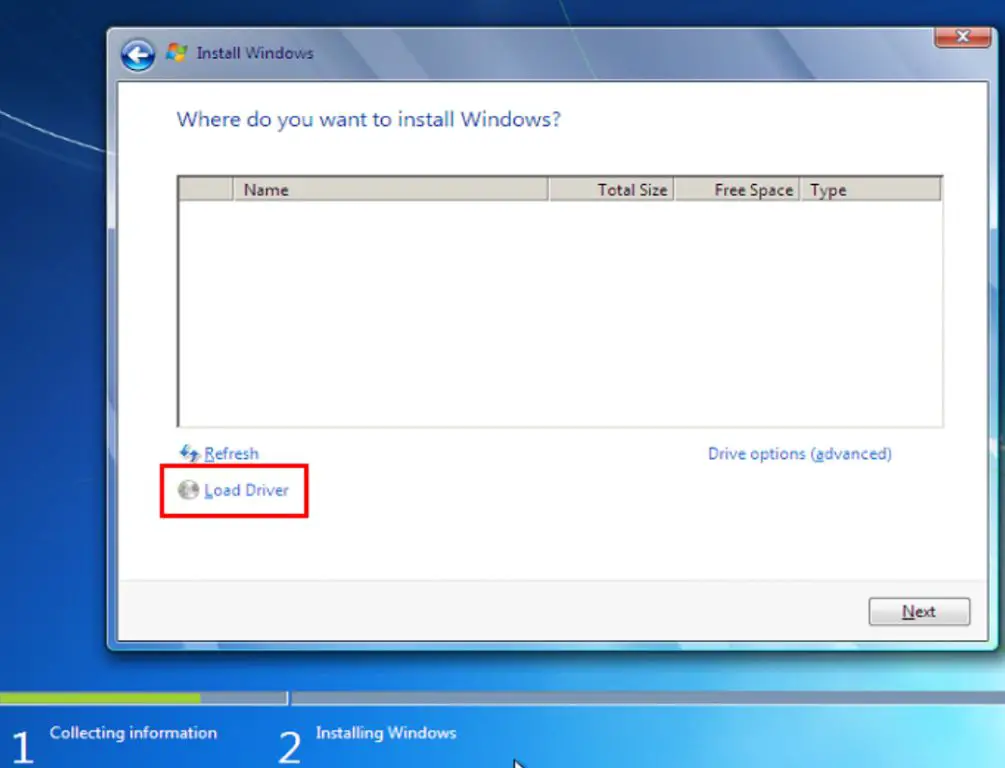
Installing Windows 10 on a new solid state drive (SSD) can sometimes be tricky. You might run into a situation where your SSD is not being detected or showing up in the Windows Setup tool during the installation process. There are a few potential reasons why this can happen and several things you can try to get your new SSD to appear.
Check Physical Connections
The first thing to check is that your SSD is properly connected inside your computer. Verify that the power and data cables are securely attached to the SSD and to the correct ports on the motherboard. SSDs require both a SATA power cable from the power supply and a SATA data cable connected to one of the SATA ports on the motherboard. If the cabling is loose or disconnected, the SSD will not be detected during Windows installation.
Tips for Checking Connections
- Reseat both the SATA data and power cables on the SSD side and motherboard/PSU side
- Try connecting the SSD to a different SATA port on the motherboard
- Check the SATA data cable for any bent pins or other damage
- Ensure the power supply is switched on and has the correct voltage selection for your region
Make Sure the SSD is Enabled in BIOS
If your BIOS is not properly detecting the SSD, it will not show up as an installation option in Windows Setup. Enter your computer’s BIOS settings menu on startup to verify that the SSD is listed there. Some BIOS versions may have separate menus for “standard” SATA devices and “advanced” SATA or NVMe SSDs, so check all applicable sections.
How to Enable SSD in BIOS
- Restart your computer and press the BIOS key, often Delete or F2, to access BIOS settings
- Navigate to the Boot, Storage, or Advanced drive settings menu
- Locate the section listing connected disk drives
- If the SSD is not listed, enable AHCI or NVMe mode (depends on SSD type)
- Save changes and exit BIOS to restart
Initialize the SSD in Disk Management
Brand new SSDs will be listed as “Unallocated” in Disk Management, rather than showing their full storage capacity. The SSD needs to be initialized before Windows Setup will recognize it as an installation target. Initializing also gives the drive a file system so it can store data.
Initializing an SSD in Disk Management
- Open Windows Disk Management (press Windows + R and type “diskmgmt.msc”)
- Locate the Disk # for your SSD in the lower panel
- Right click the SSD disk area and choose Initialize Disk
- In the right pane, select GPT or MBR partition style
- Click OK to confirm initialization
After completing the initialization, your SSD should show its full unallocated capacity and be detectable during Windows installation.
Clean Install Windows 10 onto the SSD
Once you’ve verified the SSD is enabled in BIOS and initialized in Disk Management, try performing a clean install of Windows 10 onto the drive:
Steps for Clean Install on SSD
- Boot from the Windows 10 installer USB in UEFI mode
- Delete all existing partitions on the SSD
- Create a new partition filling the full SSD capacity
- Format the partition to NTFS filesystem
- Perform a custom install of Windows 10 to the SSD partition
This will wipe the SSD completely clean and pave the way for a smooth operating system installation without any remnants from other drives causing conflicts.
Update SSD Firmware
Outdated firmware on the SSD can sometimes lead to detection issues. Check the SSD manufacturer’s website for any available firmware updates. The update process varies between manufacturers but typically involves creating a bootable ISO on a USB drive.
Tips for Updating SSD Firmware
- Backup important data before firmware updates
- Use the SSD maker’s official tools to avoid issues
- Confirm the latest firmware from their product page
- Some updates require USB connection for power during update
- Completely initialize SSD after successful firmware update
Replace Problematic SATA Cables
Faulty SATA data cables are a common source of various SSD detection and performance problems. If you’ve verified the drive is enabled in BIOS and initialized in Windows, try substituting a different SATA cable.
Choosing Quality Replacement Cables
- Aim for short cable lengths under 18 inches
- Look for SATA III rated cables for best performance
- Verify the SATA connectors are undamaged
- Purchase from reputable brands for reliability
- Consider shielded cables for sensitive data
Swapping out the existing SATA cables can resolve underlying issues of cables that do not properly meet SATA specifications.
Check for SSD Driver Conflicts
If your system previously had a different SSD installed, there may be driver conflicts preventing proper detection of the new SSD. Use a bootable Windows PE environment to delete any old SSD drivers.
Fixing SSD Driver Conflicts
- Download the Windows ADK and make a bootable WinPE USB drive
- Boot computer to the WinPE environment
- Use DiskPart to list all connected disk drives
- Type “diskpart” to open the DiskPart console
- Type “list disk” to view detected disks
- Delete any old SSD driver packages and filters
With any problematic legacy drivers cleared out, your system will have a clean slate to install the new SSD and required drivers.
Verify SSD Alignment
Another potential issue is that the partitions on the SSD have misaligned offset boundaries. This most often occurs on SSDs reused from previous Windows installations. Alignment checks and corrections can be performed using the diskpart command.
Checking Alignment with DiskPart
- Open command prompt as admin
- Type “diskpart” to start utility
- Type “list disk” to show all disks
- Select the SSD with “select disk X”
- Type “detail disk” to view current alignment
- If misaligned, use “clean” and recreate partitions
Proper partition alignment is vital for SSD performance and reliability. Windows setup may fail to detect misaligned SSDs.
Run SSD Diagnostics from Manufacturer
Most major SSD providers offer a suite of diagnostics tools to check for issues with the drive itself. Diagnostics can test the disk interface, media read/write operations, temps, smart data, and various benchmarks.
Accessing SSD Diagnostic Tools
- WD SSDs – WD Drive Utilities
- Samsung SSDs – Samsung Magician Software
- Crucial SSDs – Crucial Storage Executive
- Intel SSDs – Intel Solid State Drive Toolbox
These tools help rule out any SSD hardware malfunctions causing the missing drive in Windows Setup.
Update Motherboard Chipset Drivers
Outdated or missing chipset drivers on the motherboard can potentially interfere with proper SSD detection during Windows installation. Check the motherboard OEM website for the latest chipset driver package.
How to Update Motherboard Chipset Drivers
- Note the make and model of your motherboard
- Go to the OEM support website and find your model
- Locate and download the Chipset driver package
- Extract and run the included setup executable
- Restart computer after chipset driver installation
Keep chipset drivers updated after Windows is running to avoid potential SSD compatibility issues.
Disable Anti-Virus and Firewall Software
Security programs that load early at startup can sometimes interfere with storage driver installation and initialization. Boot into Safe Mode or unload 3rd party anti-virus, firewall, and system optimization software prior to installing Windows.
Booting to Safe Mode
- Restart computer and enter BIOS setup
- Select the Boot tab and Enable Safe Boot
- Save changes and exit BIOS
- Computer will restart to Windows Safe Mode
- Attempt to install Windows 10 from Safe Mode
This prevents non-Microsoft services from loading and isolates the installation.
Check for Bad Sectors on SSD
If your SSD has developed bad sectors in the flash memory cells, it can cause installation issues. Scan for bad sectors using the chkdsk command from within Windows or a bootable USB drive.
Scanning SSD for Bad Sectors
- Open Command Prompt as admin
- Type “chkdsk X: /f” where X is the drive letter
- Press Y to confirm disk check at next reboot
- Restart computer and chkdsk will run before Windows loads
- ssd will scan and attempt to repair bad sectors
Backup important data first, as chkdsk can potentially corrupt files if drive damage is severe.
Contact the SSD Manufacturer
If all else fails, reach out to the SSD maker directly for troubleshooting. They may have additional proprietary tools to diagnose issues with that specific model. Be prepared to provide the SSD serial number, firmware version, and details about your PC setup.
Information to Provide the SSD Manufacturer
- SSD model name and serial number
- Current firmware version
- PC make/model, motherboard model
- Steps already attempted to resolve issue
- Image of BIOS screen showing SSD info
- Results of any diagnostic tests
The SSD maker can then review your configuration and suggest targeted solutions. Their technical support may be able to identify compatibility problems.
Conclusion
SSDs not appearing properly during Windows installation can be frustrating. But troubleshooting through BIOS settings, cable connections, partition alignment, firmware updates, and diagnostic tools can typically get the SSD operational. Reach out to the manufacturer if problems persist after trying these steps. With the proper set up, your high performance SSD will serve your PC storage needs for years to come.