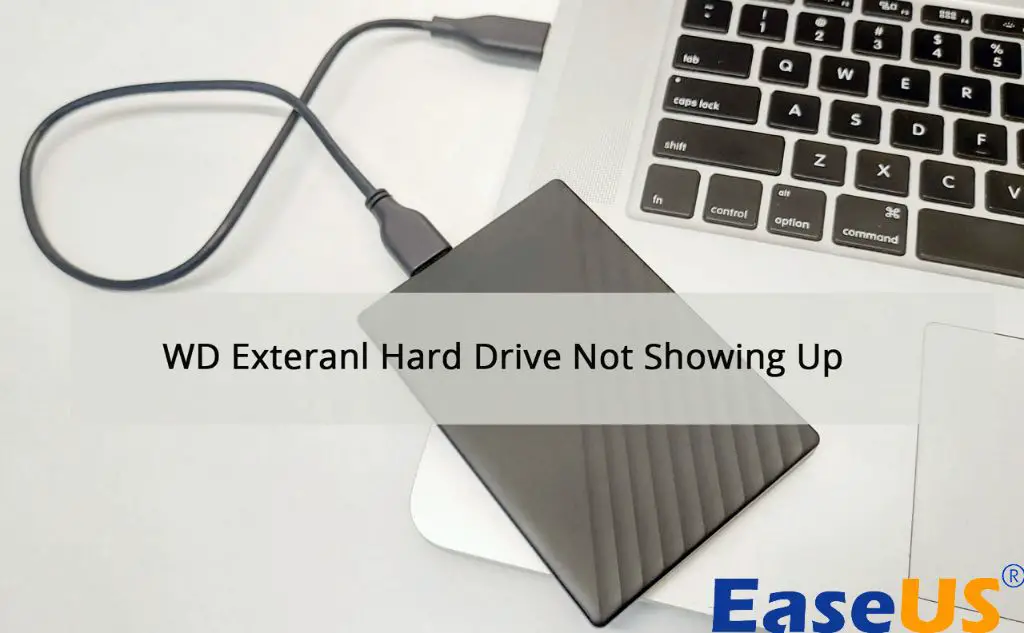
External hard drives like the WD Elements are very useful for adding extra storage to your computer. However, sometimes these external drives stop showing up in File Explorer unexpectedly. This can be frustrating if you rely on the external drive for backups or extra capacity.
In this article, we will go through all the typical reasons an external hard drive like the WD Elements may not show up on your Windows PC. We cover a range of troubleshooting steps from checking connections to updating Windows and reformatting the drive. Each section includes actionable suggestions to help get your WD Elements working again. By the end, you should have the knowledge to get your drive back up and running.
Check Physical Connections
One of the first things to check is whether the WD Elements drive is properly physically connected to your computer. Make sure the USB cable connecting the drive to the computer is securely plugged in at both ends. Try connecting the drive to different USB ports on your computer, as some ports may not be functioning properly. If you have multiple USB cables, try using a different cable. In some cases, a faulty or damaged USB cable can cause connectivity issues.
As suggested in the WD community forums, faulty physical connections are a common reason why external drives like the WD Elements are not detected. If the USB cable is loose, damaged, or defective, it can interrupt the connection between the drive and computer [1]. Trying different cables and ports is an easy troubleshooting step that may resolve the detection problem. Check that the drive is getting power by looking for an illuminated LED light. But make sure all USB connections are secure first if the drive is still not detected.
Update Drivers
An outdated USB or motherboard driver can sometimes prevent your WD Elements drive from being recognized by Windows. It’s recommended to update your USB and motherboard drivers to the latest available versions. Here are the steps for updating drivers in Windows 10:
- Open Device Manager by right-clicking the Start menu and selecting it.
- Expand the Universal Serial Bus controllers section.
- Right-click your USB driver and select Update driver.
- Select Search automatically for updated driver software.
- Follow the on-screen instructions and restart your PC if prompted.
You can also visit your motherboard manufacturer’s website and search for the latest drivers available for your specific model. Download and install any updates offered. Keeping your drivers up-to-date can resolve a wide range of hardware issues.
For additional assistance with updating drivers, refer to Western Digital’s guide: https://support-en.wd.com/app/answers/detail/a_id/13977/~/how-to-install-wd-drivers-for-windows-and-macos-for-external-drives
Initialize the Drive
If your WD Elements drive is not showing up in File Explorer, it’s possible the drive has not been initialized. An uninitialized drive will not appear in File Explorer or Disk Management.
Initializing the drive assigns it a drive letter and prepares it for use. Here are the steps to initialize your WD Elements drive using Disk Management:
- Open Disk Management. You can access this by right-clicking the Start menu and selecting Disk Management.
- Locate your WD Elements drive in the lower panel. It may appear as an “Unknown” drive or “Not Initialized.”
- Right-click on the drive and select “Initialize Disk.”
- In the box that appears, select MBR or GPT partition style. MBR is compatible with older and legacy systems. GPT supports larger drives.
- Click “OK.” The drive will now be initialized and show up as “Healthy.”
Once initialized, you can assign a drive letter to your WD Elements drive so it shows up in File Explorer. Initializing the drive is an important step in making sure your external drive functions properly.
Assign a Drive Letter
A missing or conflicting drive letter can prevent the WD Elements drive from appearing in File Explorer. To resolve this, you’ll need to assign a drive letter to the WD Elements drive using Disk Management:
- Open Disk Management – hit Windows key + R, type diskmgmt.msc, and hit Enter.
- Locate the WD Elements drive in the list. It may show as an Unknown volume without a drive letter.
- Right-click on the volume and select Change Drive Letter and Paths.
- Click Add to assign a new drive letter.
- Select a letter that is not already in use. Click OK.
The WD Elements drive should now show up with the assigned drive letter in File Explorer. If it is still not visible, restart your PC and check again.
Occasionally a drive letter conflict can prevent detection. If a network drive or another external drive is already using the same letter, change the letter of the WD Elements drive to fix this.1
Check Disk Management
Even if the drive doesn’t appear in File Explorer, check Disk Management to see if the drive is listed there. If it is, a drive letter likely needs to be assigned. To open Disk Management on Windows 10 or 11, right-click the Start button and select “Disk Management”.
In Disk Management, check if the WD Elements drive shows up there. If it appears as an unknown/unallocated drive, you’ll need to assign it a drive letter. Right-click on the box for the drive and choose “Change Drive Letter and Paths”. Click “Add” to assign an unused letter, like F or G, to the drive. Then hit “OK” and the drive should show up in File Explorer with that letter assigned.
If the WD Elements drive doesn’t appear in Disk Management at all, the drive itself may have failed or have another hardware issue. You can try using manufacturer tools like WD Drive Utilities to diagnose and repair the disk.
Restart Your PC
One simple but effective troubleshooting step is to restart your computer. Sometimes, issues with external hard drives not showing up can occur if power was interrupted or the drive was not properly ejected.
Restarting your PC will allow Windows to re-initialize all connected devices and start fresh. This can resolve any software errors or conflicts that were preventing Windows from correctly detecting the WD Elements drive.
To restart your computer, go to the Start menu and click the Power button, then choose “Restart.” Let the system fully reboot before reconnecting your WD Elements hard drive. In many cases, the external drive will now appear in Windows File Explorer after restarting.
If the drive is still not recognized, try connecting it to a different USB port on your computer. Also, make sure the connections are snug both at the port and on the drive. A loose cable can sometimes cause connection issues.
Restarting the PC is a quick and easy fix that is recommended in this guide as an initial troubleshooting step for a WD external hard drive not being recognized.
Update Windows
One potential solution is to check if any Windows updates are available, as Microsoft may have released a fix for drive recognition issues. Go to Settings > Update & Security > Windows Update and click Check for Updates. Install any available updates, especially those labeled as “Important” or “Recommended.” After your system restarts, reconnect the WD Elements drive and see if Windows now recognizes it.
As noted in the iBoysoft article, sometimes a Windows update fixes problems with external hard drive detection. WD Elements drives function as USB mass storage devices, so an update directly from Microsoft could address any OS-level conflicts. Windows updates frequently include driver updates as well, which may help your system properly recognize the external drive.
Format the Drive
If the WD Elements drive is not functioning properly or has errors, formatting the drive using Disk Management may help repair or reset it. However, this will erase all data on the drive, so make sure to back up any important files first.
To format the WD Elements drive in Disk Management on Windows:
- Open Disk Management (right-click the Start button and select “Disk Management”).
- Right-click on the WD Elements drive and click “Format”.
- Under File System, select “exFAT” to format it for compatibility with both Mac and Windows.
- Check “Quick Format” and click “OK”.
Formatting will erase all data on the WD Elements drive and allow you to start fresh. This may resolve issues if the drive is not being detected or has file system errors.[1] Just be sure to back up your data first.
Contact Support
If none of the previous solutions resolve the issue, it’s time to reach out to Western Digital (WD) support. WD provides several options to contact their customer service team for troubleshooting assistance and potential warranty claims or replacements (RMA).
You can contact WD support via:
- Phone – Call 1-800-275-4932 for Western Digital’s toll-free support number in the US. International numbers are available here.
- Email – Send an email to WD support at [email protected].
- Live chat – Initiate a live chat session on WD’s contact page.
Explain your issue and be prepared to provide your WD hard drive’s model and serial numbers. WD support can then walk through troubleshooting steps or initiate a replacement hard drive if needed.