Check Physical Installation
One of the most common reasons an M.2 SSD may not show up in Windows is an improper physical installation. There are a few key things to check:
- Make sure the M.2 slot on the motherboard supports NVMe SSDs. There are different types of M.2 slots, such as M-Key, B-Key, and B+M Key. NVMe SSDs require either an M-Key or B+M Key slot. Refer to the motherboard manual to verify M.2 slot compatibility (https://www.atpinc.com/blog/what-is-m.2-M-B-BM-key-socket-3).
- Check that the SSD is fully inserted into the M.2 slot at a 30- or 45-degree angle. It should click into place and not move around.
- Verify the SSD is properly secured with the correct size mounting screw.
- Inspect the physical condition of the SSD. Look for any signs of damage or bent pins.
- Make sure the motherboard standoff or spacer is installed if the SSD is shorter than the M.2 slot length.
Double check these installation steps before troubleshooting further in software. A loose connection or unsupported slot is the most likely culprit for an undetected M.2 drive.
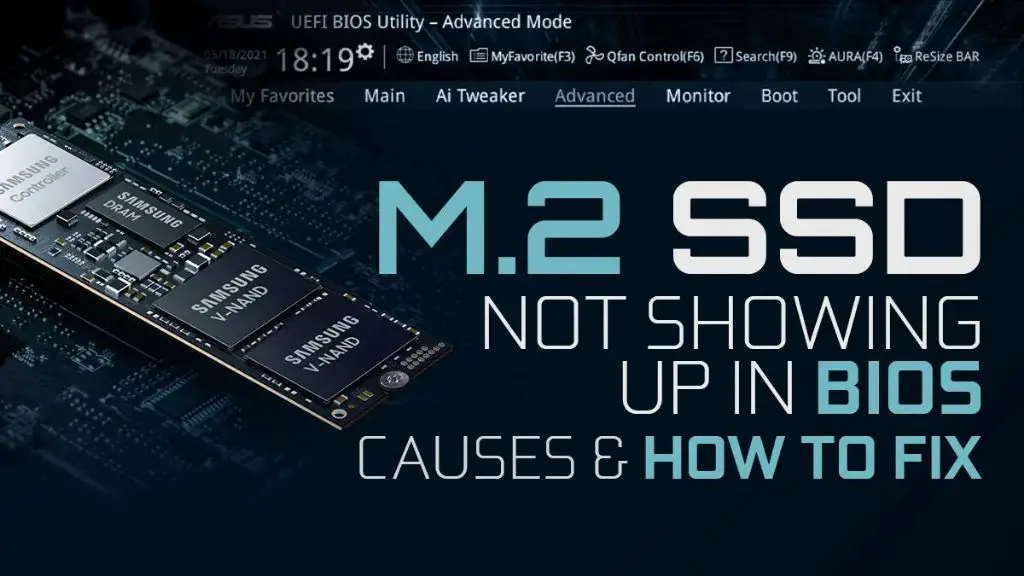
Verify SSD is Detected in BIOS
The first step is to access your computer’s BIOS settings during boot to verify if the M.2 SSD is being detected. To access the BIOS:
- Restart your computer.
- As soon as you see the manufacturer’s logo, press the F2 key continuously to enter the BIOS setup utility. The key may vary depending on your motherboard, but F2 and Delete are common options.
- Once in the BIOS, go to the storage or boot section and look for a list of connected drives. Your M.2 SSD should be listed here if properly detected.
If the SSD is listed in the BIOS, then your motherboard and SSD slot are functioning properly. The issue likely lies in the SSD not being properly initialized in Windows. If the SSD is missing from the BIOS, there may be a physical connection issue with the SSD or a compatibility problem with your motherboard that needs troubleshooting.
Refer to your motherboard manual for exact steps to enter BIOS and find storage devices. If the M.2 SSD is not showing up at all in BIOS, re-seat the physical drive and secure the screw, then try accessing BIOS again.
Install Latest Motherboard Drivers
One potential cause of an M.2 SSD not showing up in Windows is outdated or missing motherboard drivers, especially chipset, SATA, and NVMe drivers. Motherboard manufacturers like Asus, Gigabyte, and MSI periodically release updated drivers that can improve performance, fix bugs, and add support for new hardware like M.2 SSDs.
To update your motherboard drivers, first identify your motherboard make and model. Then go to the manufacturer’s website and download the latest chipset, SATA, and NVMe drivers available for your model. Often these will be bundled together in one driver package or executable file. Be sure to get the drivers directly from your motherboard manufacturer rather than a third party site.
After downloading the latest motherboard drivers, run the executable to install them on your system. Restart your computer when prompted. With updated motherboard drivers installed, especially the critical chipset and storage drivers, Windows should now properly detect your M.2 SSD.
Keeping your motherboard drivers updated is good practice in general for performance and stability, per recommendations on sites like Reddit and Tom’s Hardware. So be sure to check the manufacturer website periodically for the latest available drivers.
Enable M.2 in BIOS
The motherboard’s BIOS settings may need to be configured to enable the M.2 slot. Look for options related to “M.2” or “NVMe” to enable the port. For example:
On ASUS motherboards, go to Advanced > PCIe Configuration and enable “M.2 Slot” under “PCIEX16_1 Slot” (https://www.partitionwizard.com/news/how-to-enable-m-2-in-bios.html).
For MSI, go to Settings > Advanced > Integrated Peripherals and enable “M2_x Enable” where x is the M.2 slot number (https://www.crucial.com/support/articles-faq-ssd/bios-uefi-configuration-optimizing-m2).
Enabling the slot allocates PCIe lanes so the NVMe drive is properly detected. Consult your motherboard manual if you cannot find the relevant BIOS settings.
Initialize SSD in Disk Management
Once the physical installation of the M.2 SSD has been verified and you have confirmed the drive is showing up in the BIOS, the next step is to initialize the drive in Windows Disk Management. Disk Management allows you to manage the drives connected to your system in one centralized interface.
To open Disk Management on Windows 10 or 11:
- Press the Windows key + R on your keyboard to open the Run dialog box.
- Type diskmgmt.msc and click OK to launch Disk Management.
In Disk Management, the new SSD may show up as an Unknown and Not Initialized disk. To initialize it:
- Right-click on the disk and select Initialize Disk.
- Choose your preferred partition style – MBR or GPT.
- Click OK to complete the initialization.
Once initialized, the disk will be available for formatting and partitioning. This initializes the SSD and prepares it for use in Windows.
For more details, refer to Microsoft’s guide on initializing new disks in Disk Management.
Assign Drive Letter
If the M.2 SSD is detected in the BIOS but does not show up in Windows, it likely needs a drive letter assigned. Without a drive letter, Windows cannot access the SSD.
To assign a drive letter, open Disk Management in Windows. You can access Disk Management by right-clicking the Start menu and selecting Disk Management.
In Disk Management, locate the M.2 SSD. It may show up as an unknown/unallocated drive. Right click on the unallocated space and select “Change Drive Letter and Paths.”
In the dialog box, click “Add.” Then choose an unused drive letter to assign to the M.2 SSD (such as D: or E:). Click “OK” to assign the drive letter.
The M.2 SSD should now show up in Windows File Explorer with the new drive letter. You can access and manage files on the SSD as you would with any other drive.
Source: https://www.startech.com/en-us/faq/hard-drives-general-assign-change-drive-letter
Update Storage Drivers
One reason an M.2 SSD may not show up in Windows is because you need to update the storage drivers. Storage drivers manage the communication between Windows and the SSD hardware. Outdated, missing, or corrupted drivers can prevent proper SSD detection.
To update the storage drivers, open Device Manager in Windows and expand the Storage Controllers section. Look for any devices with a yellow exclamation icon, which indicates a driver issue. You can right-click on the device and choose Update Driver to automatically search for and install the latest driver.
You can also visit your motherboard or SSD manufacturer’s website to download the latest storage drivers. For example, you may be able to find SATA, NVMe, or chipset drivers to install. After downloading, run the driver installer to update to the new version.
Updating to the latest storage drivers from the device manufacturer ensures maximum compatibility between your hardware and Windows for proper SSD detection.
Sources:
https://learn.microsoft.com/en-us/windows-hardware/drivers/sfu/storage-firmware-update-driver
Run Diskpart Commands
One way to resolve an M.2 SSD not showing up in Windows is to run Diskpart commands in the command prompt. Diskpart is a command-line disk partitioning utility included in Windows that allows you to manage disks and volumes. Here are the steps to run Diskpart commands to resolve a missing M.2 SSD:
Open Command Prompt as Admin
First, open the command prompt by typing ‘cmd’ in the Windows search bar. Right click on Command Prompt and select ‘Run as administrator’. This opens the command prompt with admin privileges needed to run diskpart.
Use Diskpart Commands
Type ‘diskpart’ and press enter. This will launch the Diskpart utility. Now type ‘list disk’ to display all disks connected to your system. Identify the disk number for your M.2 SSD. If you don’t see your M.2 disk listed, it is not being detected properly.
If the M.2 is listed, proceed to use commands like ‘select disk X’ (replace X with your disk number) to select the M.2 drive. Then run ‘clean’ to delete all existing partitions on the disk. Finally, create a new primary partition using ‘create partition primary’. You can also format the disk with ‘format quick fs=ntfs’ if needed.[1]
Running through these Diskpart commands can help your system correctly detect, partition and format the M.2 SSD.
Fix File System Issues
One potential cause of an M.2 SSD not showing up in Windows is file system corruption. The chkdsk command can be used to check the file system for errors and attempt to repair any issues found. To run chkdsk:
1. Open an elevated Command Prompt window by searching for cmd in the Start menu, right-clicking on Command Prompt, and selecting Run as Administrator.
2. Type the following command and hit Enter: chkdsk C: /f /r /x
Replace C: with the drive letter of your undetected M.2 SSD. The /f parameter tells chkdsk to fix any errors found, /r attempts to recover readable data, and /x forces the volume to dismount before the scan begins.
Chkdsk will scan the drive and display any problems discovered and fixed. Allow the process to fully complete, which could take a while depending on the drive size. After chkdsk finishes, reboot your PC and check if the M.2 SSD now shows up in File Explorer.
If corruption is found, chkdsk may help repair file system issues so that the M.2 drive is detected properly in Windows. Refer to Microsoft’s documentation for more details on using chkdsk.
Secure Physical Connection
One of the most common reasons an M.2 SSD may not show up in Windows is because of a loose physical connection. The M.2 socket on the motherboard can sometimes fail to make proper contact with the SSD if it isn’t seated correctly.
To secure the physical connection, the first step is to power down the PC, unplug it from power, then open up the case. Locate the M.2 slot on the motherboard where the SSD is installed. Remove the SSD, then reinsert it into the slot and use the retention screw to firmly tighten it down.
As recommended by Asus support, “Please try to replug Sata cable on the motherboard, and confirm Sata cable is correctly connected.” [1] Properly reseating the M.2 SSD ensures the physical pins make solid contact.
After securing the SSD in the M.2 slot, reassemble the PC, connect power, and turn it back on. Now check if the SSD shows up in the BIOS or in Windows. With any luck, firmly reseating the connection resolved the issue.
If the SSD still isn’t detected, the slot itself could be damaged or the drive may be defective. Try testing the SSD in another M.2 slot or PC if available. RMA the SSD or motherboard if the issue persists.