Reinstalling macOS means erasing your Mac’s disk drive and installing a fresh copy of the operating system. This can help resolve problems caused by corrupted system files or settings, free up disk space, and give your Mac a clean slate. Some reasons why you may want to reinstall macOS include:
Fixing serious performance or stability issues caused by problematic software, OS bugs, or malware infections that can’t be resolved any other way. [1]
Preparing to sell or give away your Mac by wiping private data and restoring it to factory settings.
Getting a fresh start if your Mac has accumulated outdated apps, files, and settings that are slowing it down over time.
Testing a new macOS version on a separate partition without risking your main installation.
Although reinstalling macOS may take some time and effort, it often fixes problems and improves performance. This guide will walk through the full process to help you reinstall macOS smoothly.
Back Up Your Data
Before reinstalling macOS, it is critically important to back up all of your files and data. A clean install will completely erase the contents of your Mac’s hard drive, so anything that is not backed up will be permanently deleted.
The best way to back up a Mac is to use Apple’s built-in Time Machine software. Time Machine automatically saves hourly backups of your entire Mac, including system files, apps, settings, and all of your documents (Source).
To set up Time Machine, simply connect an external hard drive with at least twice the storage capacity of your Mac’s internal drive. Then open System Preferences > Time Machine and select the external drive as your backup disk. Time Machine will regularly back up your entire Mac to this external drive.
Before reinstalling macOS, make sure you run a final manual backup with Time Machine to ensure the latest files are saved. You can also use Time Machine after reinstalling macOS to restore your files (Source).
If you don’t have an external hard drive large enough for Time Machine, consider using iCloud to back up your most important files like documents, photos, and music. Just make sure you have enough iCloud storage to fit the files you want to save.
Download the macOS Installer
To download the latest version of the macOS installer, you will need to open the App Store application on your Mac. The App Store can be found in the Applications folder or Dock. Once the App Store is open, you should see a button or link on the front page to download the latest version of macOS. If you do not see this, you can click on the Search field at the top right and type in “macOS” and it should show the latest installer available for download.
Click the “Get” button next to macOS to begin the download process. The size of the installer will be over 4GB so it may take a while to fully download depending on your internet speed. Make sure your Mac remains connected to the internet and power until the download is complete. You will see a progress bar indicating the status of the download.
Once the download is finished, the macOS installer will be located in your Applications folder. Do not delete this installer yet as you will need it in the next step to create a bootable installation drive. With the installer downloaded, you now have the file required to proceed with reinstalling macOS on your Mac.
For additional details, refer to Apple’s support article on how to download macOS: https://support.apple.com/en-us/HT201372
Create a Bootable Install Drive
To reinstall macOS, you first need to create a bootable USB install drive. This allows you to boot your Mac from the USB drive and install a fresh copy of macOS. Here are the steps to create a bootable USB installer for macOS:
1. Plug in an 8GB or larger USB flash drive. The flash drive will be erased, so make sure there’s nothing important on it.
2. Download the macOS installer from the App Store on your Mac. The installer will be in your Applications folder.
3. Launch Terminal, located in /Applications/Utilities/.
4. Enter this command in Terminal, replacing “MyVolume” with the name of your USB drive:
sudo /Applications/Install\ macOS\ Big\ Sur.app/Contents/Resources/createinstallmedia --volume /Volumes/MyVolume
5. Enter your administrator password when prompted.
6. The USB flash drive will be erased and converted to a bootable macOS installer. This may take some time to complete.
Once the bootable USB drive is ready, you can use it to install a fresh copy of macOS on your Mac. Be sure to back up your data first.
For step-by-step instructions, see Apple’s support article: How to create a bootable installer for macOS.
Erase and Reinstall macOS
To erase your Mac’s drive and perform a clean install of macOS, follow these steps:
- Restart your Mac and immediately press and hold Command-R to boot into Recovery mode.
- When the macOS Utilities window appears, select Disk Utility and click Continue.
- In Disk Utility, select your startup disk from the sidebar and click Erase at the top.
- Choose a format like APFS or Mac OS Extended, name the disk, and click Erase to confirm.
- After the drive is erased, quit Disk Utility to return to the macOS Utilities window.
- Click Reinstall macOS and follow the onscreen prompts to install the latest macOS version cleanly.
This will completely erase your drive and perform a fresh installation of macOS, removing any files, apps, or settings. Be sure to back up your data beforehand. The clean install will give you a fresh start with a new macOS system.
Restore Your Data
After reinstalling macOS, you’ll want to restore your personal files and settings from your backup. Here are some tips for restoring data smoothly:
Go to the Finder and open the location where your backup files are stored. This is typically an external drive or cloud storage location. Navigate to the folder containing your user files and settings.
Select and drag the files/folders you want to restore to your Home folder or other desired restore location. For example, drag your Documents folder to the Documents folder on your Mac. Make sure to copy rather than move files so you don’t delete anything from the backup.
To restore system settings and preferences, open the Apple menu and select System Preferences. Go through each settings panel and customize as desired based on your previous setup. Your custom themes and wallpapers can also be copied back into place from your backup files.
If you used Time Machine or another complete system backup utility, you may be able to restore your entire system more automatically using that software’s restore tools. This will retrieve your applications, settings, files, and folders in one step.
Be selective about which files you restore if you want a fresh system setup. Restore only your must-have files and data. Refer to your backup regularly to retrieve other files as needed.
For help finding deleted files that may not have been captured in your backup, consider data recovery software like Disk Drill (https://www.cleverfiles.com/) or EaseUS Data Recovery Wizard for Mac (https://www.easeus.com/mac-file-recovery/). These tools can retrieve data even after reinstalling macOS.
Reinstall Apps
After reinstalling macOS, you will need to reinstall the apps you had previously downloaded. Apps downloaded from the App Store can be easily reinstalled:
Go to the App Store and click on your profile icon in the lower left. Here you will see a list of all the apps you have previously downloaded. Find the app you want to download again and click the “Install” button next to it. The app will download and install just like when you originally installed it [1].
For apps downloaded outside the App Store, you will need to re-download them from the original source. Depending on the app, you may be able to sign in to your account and re-download it directly. Check the app developer’s website for instructions on reinstalling. You may need to re-purchase or reactivate some third-party apps after reinstalling macOS.
If you have the original app installer file (DMG file) for apps purchased outside the App Store, double click this file to launch the install process again. Apps that came pre-installed on your Mac may need to be downloaded individually from the developer’s website.
Configure Settings
After reinstalling macOS and restoring your data, you will likely need to reconfigure some of your system settings and preferences. Here are some tips for restoring key settings:
To restore your system preferences like desktop background, Dock settings, and more – open System Preferences and go through each section to customize things back to your liking. Many preferences are stored in your user account, so they may return to your defaults after reinstalling macOS.
For security preferences like passwords, keys, and certificates – you will need to reset these manually. Make sure to reset any custom passwords, regenerate new keys, and reinstall any imported certificates that you need.
If you use custom keyboard shortcuts, mouse/trackpad settings, Accessibility settings, or other input preferences – reconfigure these in System Preferences > Keyboard, Mouse, Accessibility, etc. Your custom settings do not carry over after reinstalling macOS.
Apps that rely on browser extensions, plugins, and customizations may need those configured again. Reinstall any extensions you use in Safari or other browsers and customize them to your liking.
To restore your contacts, calendars, and other iCloud data – simply sign back into your Apple ID in System Preferences after reinstalling. This will sync your iCloud data back down to your Mac.
Check your notifications and sharing settings in System Preferences to make sure apps have permission to send you notifications, access data, integrate with sharing services, etc. These permissions reset after reinstalling macOS.
While it takes some work, you can fully restore your Mac to a familiar customized setup after reinstalling macOS. Just take it section by section in System Preferences and with your key apps.[1]
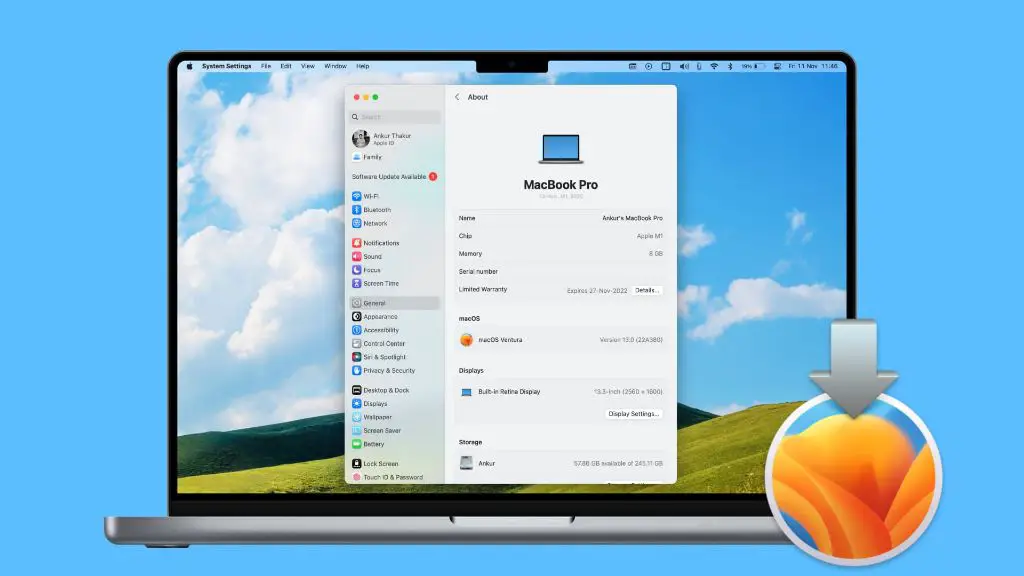
Update Software
After completing the reinstallation of macOS, it’s important to check for and install any available software updates. Apple periodically releases updates to macOS that include bug fixes, security patches, and new features. Reinstalling macOS will revert your system back to the original version, so you’ll want to make sure you download the latest updates.
To check for updates, go to System Preferences > Software Update. The Mac will automatically look for any updates to macOS, as well as updates to apps from the App Store. Make sure to click “Update Now” or “Upgrade Now” to download and install any available updates. This will help ensure your Mac is running the most recent and secure version of macOS.
It’s a good idea to regularly check for macOS updates going forward. Major updates tend to be released once per year, with supplemental updates in between. Keeping your system fully updated improves performance, fixes problems, and keeps your Mac protected against emerging security threats. For convenience, you can enable automatic updates in System Preferences so your Mac always stays up to date automatically.
Conclusion
In summary, reinstalling the macOS on your Mac does not necessarily mean you will lose all your data. As long as you properly back up your files, photos, apps and settings before reinstalling, you can safely restore them afterwards.
The key steps covered in this article were:
- Back up your data using Time Machine or another backup service
- Download the macOS installer from the App Store
- Create a bootable install drive
- Erase and reinstall macOS cleanly
- Restore your data from backup
- Reinstall apps and reconfigure settings
The benefits of reinstalling macOS include clearing out clutter, fixing system problems, removing malware, and improving performance. With a fresh start, your Mac can run like new again. Just be sure to properly back up first and have a bootable installer ready for a smooth process.