When your Windows 7 system encounters issues that prevent it from starting up or running properly, the System Repair utility can help diagnose and fix many common problems. System Repair is built into Windows 7 and can be accessed in a few different ways depending on your situation.
Accessing System Repair Options at Startup
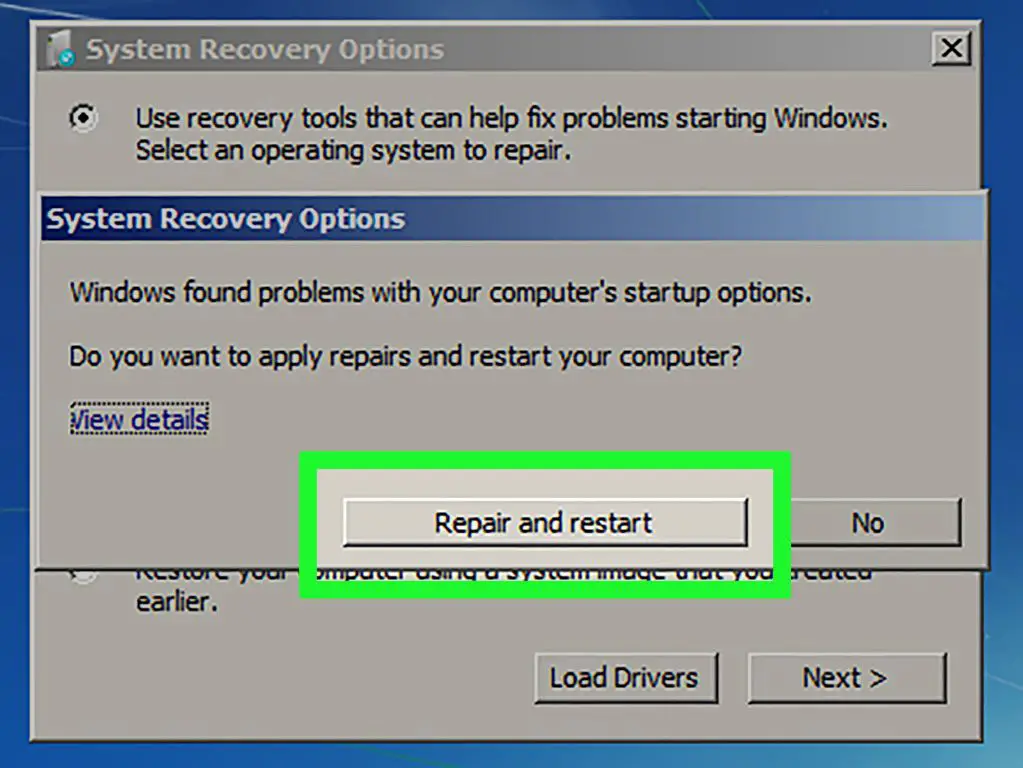
If Windows 7 fails to start up properly, you may see a message prompting you to launch Startup Repair. This will automatically open the System Repair utility and scan for issues. You can also manually access the startup repair options by following these steps:
- Restart your computer and press F8 during the initial boot process (before the Windows logo appears).
- On the Advanced Boot Options screen, select “Repair Your Computer.”
- This will load the System Recovery Options menu. Click on “Startup Repair” to launch the utility.
Startup Repair will scan your system and automatically attempt to fix any issues preventing Windows from loading properly. This is the easiest way to access System Repair when Windows will not start normally.
Booting from the Windows 7 Installation Disc
If Startup Repair is unable to fix the issues with your boot process, you can also access System Repair by booting from your Windows 7 installation disc. Here’s how:
- Insert the Windows 7 installation DVD and restart your PC.
- As the computer boots, press any key when prompted to boot from the disc.
- On the Install Windows home screen, click “Repair your computer” in the lower left corner.
- This loads the System Recovery Options menu. Select “Startup Repair” to scan and repair startup issues.
Using the installation disc provides additional repair tools beyond Startup Repair. From the System Recovery Options menu you can access the Command Prompt for advanced troubleshooting, restore system images, and revert your system back to an earlier state.
Using the F8 System Repair Options
Windows 7 also includes a set of built-in repair tools accessible from the Advanced Boot Options menu. To use these, follow these steps:
- Reboot your PC and press F8 during the initial boot process.
- Select “Repair Your Computer” from the Advanced Boot Options screen.
- This loads the System Recovery Options menu. The following repair tools are available:
- Startup Repair – Automatically scans and repairs startup issues.
- System Restore – Reverts system files back to a previous restore point.
- Windows Memory Diagnostic – Scans for memory issues.
- Command Prompt – Opens a command line to manually run diagnostics and repairs.
These utilities provide advanced troubleshooting and repair capabilities without needing the Windows 7 installation media.
Using the Windows Recovery Environment
The most comprehensive way to access the System Repair toolset is to boot into the Windows Recovery Environment (WinRE). This is an advanced startup environment with access to all recovery tools. To load WinRE:
- Open the Start Menu and type “Recovery” to open the Recovery control panel.
- Click “Launch System Recovery Options.” This restarts the PC into WinRE.
- You can now choose Startup Repair or access the other system recovery tools.
WinRE can also be loaded using the installation media or recovery partition in some cases. It provides a full windowed interface and expanded networking support for complex repairs.
Using SFC and DISM Command Line Tools
Two powerful command line utilities called SFC (System File Checker) and DISM (Deployment Image Servicing and Management) are included in Windows 7 for repairing system files and corruption issues. To use them:
- Boot into the Windows Recovery Environment, as explained above.
- Click “Command Prompt” to open an administrative command line.
- Type sfc /scannow and press Enter to scan for system file corruption.
- Type DISM /Online /Cleanup-Image /RestoreHealth to repair component store corruption.
SFC replaces corrupt files from a cache while DISM reinstalls missing or faulty components. Using these tools in WinRE provides access to the required repair files and commands.
When to Use Each System Repair Method
With the various System Repair access methods available in Windows 7, it helps to know when to use each option:
- Startup Repair – Use first for boot issues, runs automatically on failure.
- F8 Options – For basic no-start diagnostics like Last Known Good Configuration.
- Installation Disc – When Startup Repair fails, provides recovery tools.
- Windows Recovery Environment – For advanced diagnostics and repairs with full interface.
- SFC / DISM – To repair system file and component store corruption.
Trying Startup Repair first is recommended, then escalating to the more advanced options if the problem persists. The WinRE environment provides the most robust toolset for complex issues.
Common Startup and System Repair Scenarios
Here are some of the most common situations where using Windows 7’s built-in System Repair tools can help resolve issues:
- Startup crashes or freezing – Use Startup Repair to diagnose and fix startup problems.
- Blue screen errors – Startup Repair can automatically resolve many BSOD issues.
- Corrupted system files – SFC scans and replaces corrupted files.
- Damaged boot sectors – Startup Repair will automatically rebuild corrupt boot sectors.
- Recent driver or update issues – Use System Restore to roll back to a previous state.
- Windows components damaged – DISM can repair and reinstall damaged components.
Running Startup Repair first will detect and automatically fix many common problems. For more persistent or complex issues, advanced utilities like System Restore, SFC, and DISM may be required.
Third-Party System Repair Utilities
In addition to the built-in recovery tools, there are many third-party system repair utilities compatible with Windows 7:
- Hiren’s BootCD – Bootable CD with diagnostics and repair tools.
- Ultimate Boot CD – Bootable utility collection for system recovery.
- Super Grub2 Disk – Specialized boot utility for boot sector repairs.
- Recuva – File recovery utility to restore deleted files.
- Puran File Recovery – Another good undelete and file recovery tool.
These utilities provide alternative options for diagnosing and repairing broader PC issues beyond just startup and system file problems.
Accessing Advanced Startup Options
Windows 7 provides additional advanced startup settings that can aid in troubleshooting system problems:
- Safe Mode – Starts Windows with minimal drivers and services.
- Safe Mode with Networking – Same as Safe Mode but with network support.
- Safe Mode with Command Prompt – Starts with command prompt access only.
- Enable Boot Logging – Logs startup activity to the ntblog.txt log file.
- Enable low resolution mode – Starts Windows in 640×480 resolution.
- Last known good configuration – Reverts to most recent working settings.
- Debugging mode – Advanced troubleshooting startup mode.
These are accessed from the F8 Advanced Boot Options menu. They allow isolating specific issues during the startup process.
Common System Repair Utility Uses
Here are some examples of how to leverage the various System Repair utilities to fix different problems in Windows 7:
Startup Repair
- Fix boot sector corruption or invalid boot configuration data preventing startup.
- Automatically rebuild corrupt system files or boot components.
- Restore missing startup files that were deleted or modified.
- Resolve issues caused by installing incompatible drivers.
System Restore
- Roll back system after faulty driver, patch, or software installation.
- Revert system files, registry, and programs back to working state.
- Undo recent changes that caused stability or startup issues.
SFC
- Scan for and replace corrupted system files.
- Resolve issues caused by missing or damaged system files.
- Fix stability issues, crashes, or error messages during operation.
DISM
- Repair damaged or corrupted Windows components and image files.
- Restore corrupted component store to fix issues installing updates or programs.
- Fix component registration and stability issues causing crashes.
Conclusion
Windows 7 offers a robust set of built-in utilities for diagnosing and repairing virtually any system issue. Taking advantage of all the System Repair access methods along with advanced utilities like SFC, DISM, and System Restore will allow you to quickly get a malfunctioning PC back up and running again. Becoming familiar with the various options for System Repair is an essential skill for troubleshooting Windows 7 problems.
