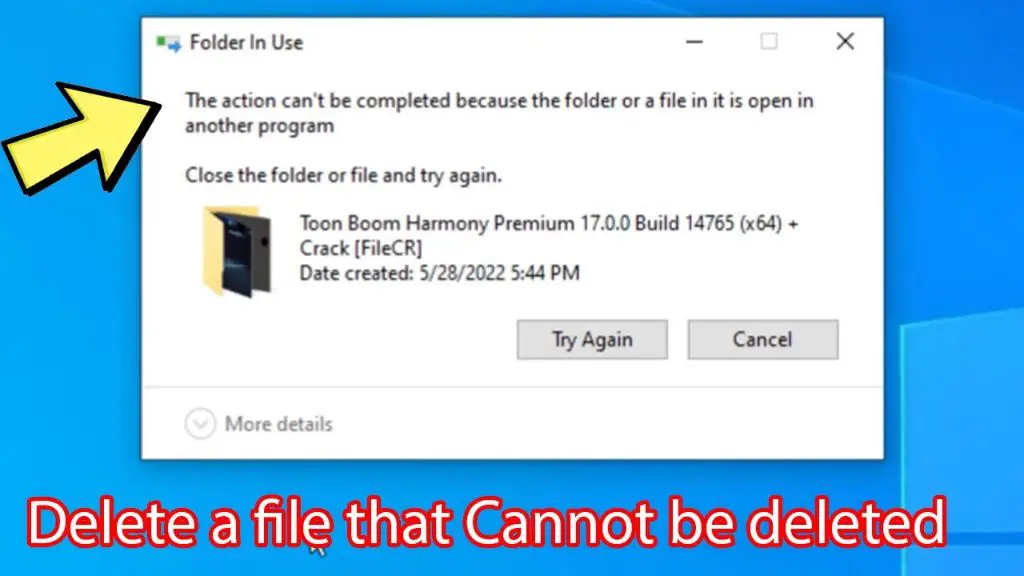
Trying to delete a file in Windows Explorer only to get an error message that the file is open or in use is a common frustration. This happens because Windows blocks deleting files that are currently being accessed by a running program.
Files can get stuck in an open or in-use state for various reasons. An application may still have the file open in the background, the file could be infected by malware, or there may be permission issues preventing you from deleting it. Thankfully, there are several ways to force delete files that won’t close.
Check if the File is Really in Use
Before deleting a file, it’s important to check if the file is actually in use by another program. Here are some ways to check what programs have the file open:
- Open Task Manager by right-clicking the taskbar and selecting “Task Manager”. Go to the “Processes” tab.
- Click the “Open files” section at the bottom to see a list of open files on your system. Look for the file you want to delete in the list. The “Process” column shows the program using that file.
- You can also use the “Details” tab in Task Manager, right-click on the column headers, and enable the “Open file handles” column to see open files per process.
- On Windows Server, you can use Resource Monitor within Task Manager to view open file handles. Go to the CPU tab and click “Open Resource Monitor” at the bottom.
If you find the file is in use by another process, you’ll need to close the program using the file before you can delete it.
Close the Program Using the File
To close the program that has the file open, first identify which program is using the file. You can check this by opening File Explorer, right-clicking on the file and selecting Properties. Under the General tab, it will show the program name that is accessing the file if it is in use.
Once you know the program, you can close it properly to release the file. The easiest way is to right-click on the program icon in the taskbar and select Close window. This will prompt the program to close. You can also use the keyboard shortcut Alt + F4 while the program window is selected to force close an application (Source 1). Alternatively, open Task Manager (Ctrl + Shift + Esc), go to the Processes tab, right-click on the program name, and select End task (Source 2).
Once the program is closed properly, you should then be able to delete the file in File Explorer without getting the “open in another program” error.
Unlock the File
If a file is locked or in use by another program, you won’t be able to delete it in Windows Explorer. File locking prevents multiple programs from modifying the same file at once, which can lead to data corruption. There are a couple ways to unlock a file so you can delete it:
First, you can use Unlocker software like LockHunter or EaseUS Unlocker. These tools can forcefully close the handle that’s locking the file so you can gain access. Simply right-click on the locked file, choose the unlock option, and confirm to unlock it. Then you should be able to delete the file normally.
File locking is an important part of managing data access between programs. But sometimes a lock gets stuck, preventing you from modifying or deleting a file normally. Using dedicated unlocker utilities can quickly resolve the issue and remove faulty locks.
Restart the Computer
One way to delete a file that says it’s open in Windows Explorer is to restart your computer. A full restart clears any lockups and refreshes the entire operating system. This ensures that any programs using the file are fully closed.
You can also try restarting just the Windows Explorer process specifically. Windows Explorer controls the desktop, taskbar, and file browsing. Restarting Explorer will reload it and release any locked files. To restart Explorer, open Task Manager by right-clicking the taskbar and selecting it. Then find Windows Explorer in the Processes tab, right-click it, and choose “Restart.” [1]
After restarting your computer or Windows Explorer, try deleting the file again. If it still says it’s open or in use, you may need to use another method like closing the locking program or unlocking the file.
Delete on Boot
One option to delete a file that is locked or in use is to schedule the deletion to occur the next time you restart your computer. There are a couple utilities that can help with this:
Unlocker is a free tool that lets you delete, rename, or move files that are locked or in use. You can right-click on the file, choose Unlocker, and then select the action you want to schedule for the next reboot. It will create the necessary registry entries to carry out the deletion upon restart.
You can also create a scheduled task in Windows to delete the file on boot. Open the Task Scheduler and create a new Basic Task, then configure it to run at startup with the action being to delete the file using the command line (del C:\myfilename.ext). This will remove the file right as Windows starts up before it has a chance to be opened and locked again.
Scheduling deletion on reboot gives the file a chance to close and releases the lock, allowing the queued deletion to proceed. Just make sure you really want to delete the file, as the action cannot be undone after a restart.
Take Ownership
Sometimes permission issues can prevent you from deleting a file in Windows Explorer. This happens when you don’t have ownership of the file. To take ownership and override the security settings, right-click on the file, select “Properties”, go to the “Security” tab, and click “Advanced”. Then click “Change” under Owner and select your username as the owner. This will grant you full control to delete the file (Source).
You can also take ownership of an entire folder to recursively gain permissions on all files within it. Right-click the folder, go to Properties > Security > Advanced > Owner. Change the owner to your username to take ownership. This gives you permissions to delete any files in that folder (Source).
Taking ownership overrides the security settings on a file or folder so you aren’t blocked from deleting it. This is useful when permission issues are preventing you from deleting a file in Windows Explorer.
Disable Antivirus Temporarily
Sometimes the antivirus software can falsely detect the file you want to delete as malicious or unsafe. This will cause the antivirus to block the deletion to protect your system. To get around this, you can temporarily disable your antivirus software.
The easiest way is to boot into Safe Mode. This will automatically disable most antivirus software and Windows Defender. Here are the steps to boot into Safe Mode on Windows 10 and 11:
- Open the Start menu and click the Power button.
- Hold down the Shift key while clicking Restart.
- Troubleshoot → Advanced options → Startup Settings → Restart.
- After restarting, press 5 or F5 to boot into Safe Mode.
Once in Safe Mode, you should be able to delete the file. Remember to re-enable your antivirus protection after deleting the file.
For third-party antivirus, you may also be able to disable real-time scanning or turn off the antivirus engine temporarily through the software interface. Just make sure to turn protection back on after deleting the file. Instructions can be found on the vendor’s website, such as for disabling antivirus on Windows 10.
Use Command Prompt
The Command Prompt provides access to powerful commands that can force the deletion of locked files. Here are the steps to delete a locked file using the Command Prompt:
1. Open the Command Prompt as an administrator. Type “Command Prompt” into the Windows search box, right-click on the result, and select “Run as administrator”.
2. Navigate to the folder containing the locked file. Use the cd command to change directories.
3. Type the command “del filename” and hit Enter. Replace “filename” with the actual name of the locked file.
4. If the file is still not deleted, use the /f option to force deletion. Type “del /f filename” and hit Enter.
The /f parameter forces the deletion of the file regardless of any locks or permissions set on it [1]. This should remove the locked file.
Other useful Command Prompt commands include:
- del /s to delete files in subfolders
- del /q to delete files quietly without confirmation
- del /a to delete files with read-only or hidden attributes
With the proper commands, the Command Prompt can forcefully delete any locked files in Windows.
Recover Deleted Files
If you’ve deleted a file in Windows and need to recover it, there are a couple options you can try:
One is to use a free undelete utility like Recuva or Pandora Recovery. These tools scan your drives and allow you to restore deleted files that haven’t yet been overwritten.
Another option is to restore the file from a backup. If you regularly back up your data, you may be able to recover a previous version of the deleted file. This can be done using built-in Windows tools like File History or Previous Versions, or 3rd party backup software.
When recovering deleted files, it’s important to act quickly and avoid writing new data to the drive, as this can overwrite the deleted file making it unrecoverable. The sooner you attempt to restore the file using an undelete tool or backup, the better your chances of getting it back.
