A clean install of macOS Big Sur allows you to wipe your Mac’s disk and install the operating system from scratch. This can help resolve persistent issues you may be having with your current installation and give you a fresh start. Here are the steps to do a clean install of Big Sur:
Back Up Your Mac
Before installing any new operating system, it’s crucial to back up your Mac. This will save all your files, settings, and apps so you can restore them after the clean install. There are a few ways to back up a Mac:
- Use Time Machine to create a full system backup to an external hard drive or AirPort Time Capsule.
- Manually copy important files to an external drive or cloud storage service.
- Use a cloud backup service like iCloud or Carbonite to backup files and settings.
Once you’ve created a recent backup, you’re ready to proceed with the clean install.
Check Compatibility
Before downloading and installing Big Sur, you’ll want to make sure your Mac is compatible with the new operating system. Big Sur requires the following:
- MacBook models from 2015 or later
- MacBook Air models from 2013 or later
- MacBook Pro models from 2013 or later
- Mac mini models from 2014 or later
- iMac models from 2014 or later
- iMac Pro (all models)
- Mac Pro models from 2013 or later
You can check your Mac’s model year by choosing About This Mac from the Apple menu. If your Mac is not compatible with Big Sur, you will need to stay on your current OS or have your hardware upgraded.
Prepare Installation Media
The macOS Big Sur installer will need to be downloaded from the App Store. Here’s how:
- Open the App Store app on your Mac.
- Search for “macOS Big Sur” in the search bar.
- Click “Get” and then “Download” to download the installer.
Once downloaded, the installer will appear in your Applications folder as an app named “Install macOS Big Sur”.
For the cleanest install, it’s best to create dedicated installation media. You have two options:
- USB drive: Use an 8GB or larger USB thumb drive. Connect it to your Mac and launch Disk Utility. Select your USB drive in the sidebar, click Erase, choose “Mac OS Extended (Journaled)” as the format, and click Erase. This will wipe the USB drive. Next, launch the Big Sur installer app and follow the steps to install Big Sur onto your wiped USB drive.
- External SSD/HDD: Use an empty external SSD or hard drive partition. Connect the drive to your Mac, open Disk Utility, and click Erase to wipe the external drive partition. Then launch the Big Sur installer and choose the external drive as the destination. This will create dedicated installation media.
The advantage of using a USB or external drive is that it won’t download the full Big Sur installer each time you boot from it. The data will persist on the drive.
Boot Into Recovery Mode
With your installation media ready, it’s time to boot your Mac into Recovery mode:
- Fully shut down your Mac
- Plug in your USB install drive or external drive containing the macOS installer
- Turn on your Mac and immediately press and hold Command (⌘) + R
- Keep holding Command + R until you see the Apple logo or a spinning globe. This will boot you into Recovery mode
If using a USB or external drive, hold down the Option key after turning on your Mac. Select your installation drive in the Startup Manager.
Erase Your Disk
Now that you’re booted into Recovery mode, you can erase your disk:
- Click Disk Utility in the macOS Utilities window
- Click Continue to acknowledge that you are erasing your drive
- Select your main internal hard drive in the sidebar (usually named Macintosh HD)
- Click Erase near the top of the Disk Utility window
- Choose APFS as the format and GUID Partition Map as the scheme
- Click Erase to wipe your drive – this will just take a few seconds
Your internal drive is now fully erased and prepped for a clean Big Sur install.
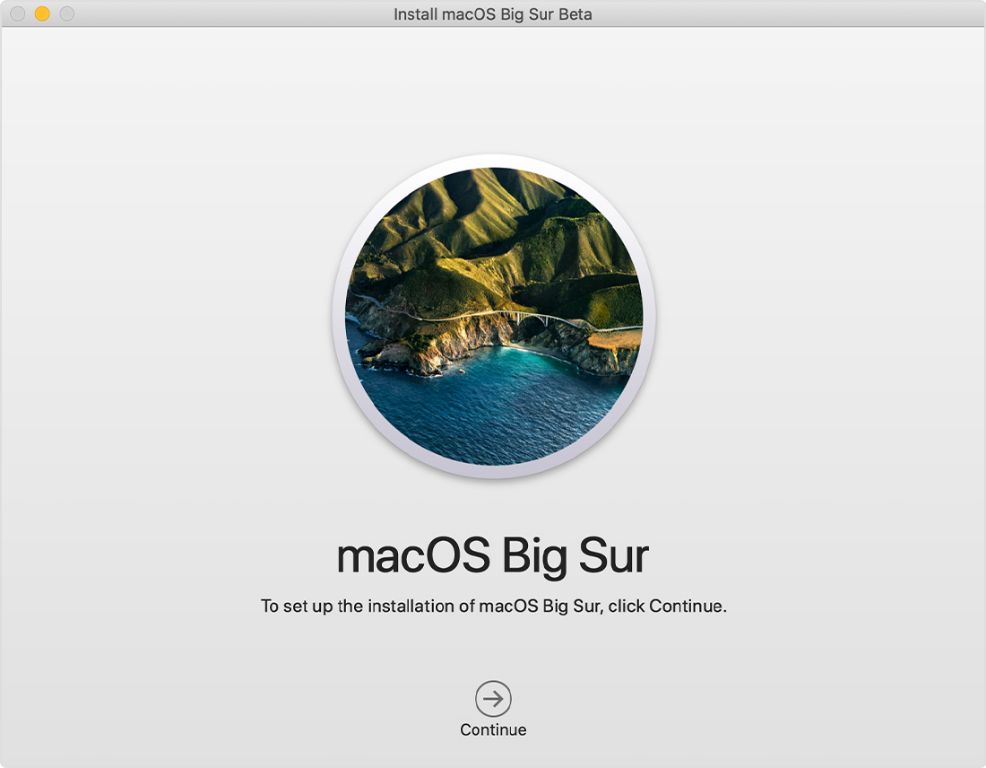
Install macOS Big Sur
With your drive erased, close out of Disk Utility and proceed with installing Big Sur:
- Click Install macOS Big Sur in the macOS Utilities window
- Continue through the prompts until you reach the Licensing Agreement. Agree to the terms.
- Select your newly erased internal drive as the destination to install Big Sur.
- Let the installation process run – this can take upwards of 30-45 minutes.
- Your Mac will restart a couple times during install. Eventually, it will boot up to a setup assistant for you to configure Big Sur.
- Follow the onscreen steps to choose your preferences and settings for your new Big Sur installation. The setup assistant will walk you through the process including setting up an account
When the setup assistant completes, you will be logged in to a completely clean macOS Big Sur install!
Restore Your Apps And Data
Now that you have a fresh Big Sur install, you can migrate back your apps, settings, and files from your backup:
- Via Migration Assistant – If you have a Time Machine backup, you can use the Migration Assistant app to transfer data during the Big Sur setup process.
- From external drive backup – If you manually copied data to an external drive, transfer the files/folders back to your Mac.
- From cloud backup – Download your files from an iCloud or other cloud backup.
- Reinstall apps – Download and reinstall your Mac apps from the App Store or internet.
Some apps may need you to enter your license keys again after a clean install. Check with the app developers for details.
Checking for Software Updates
After restoring your files and apps, it’s a good idea to check for any macOS updates:
- Click on the Apple menu and choose System Preferences
- Go to Software Update
- Click “Check Now” to check for updates
- If any updates are available, click the “Update Now” button to install them
- Follow the prompts to complete the installation process
Updating to the latest version of Big Sur (if available) will give you the most secure and feature-rich experience.
Conclusion
That covers the full process for doing a clean install of macOS Big Sur! With your files and settings restored, you now have a bootable macOS Big Sur system running on a completely clean state. This can help resolve many system issues caused by outdated files, caches, and clutter accumulating over time. It’s generally recommended to do a clean install every few years or when transitioning to a major new macOS version like Big Sur. Enjoy your fresh new setup!