If you’ve accidentally spilled water or liquid on your laptop, it’s important to act quickly to try to dry it out and prevent permanent damage. Here are some quick answers to common questions about drying out a wet laptop:
How long do I have to dry out my laptop before it’s damaged? You’ll want to start drying it immediately if possible. The longer the water sits inside, the more likely it is to cause corrosion and electrical shorts. Act within minutes or hours if you can.
Should I take the laptop apart to dry it? No, never take a laptop apart yourself as this can cause further damage. The best way is to dry the outside and openings thoroughly.
Is it safe to turn on my laptop to see if it still works? No, do not turn on a wet laptop! This can short circuit the device. Let it dry completely over several days before trying to use it again.
Assessing the Water Damage
When you first spill water on your laptop, your initial priority is to stop any further liquid from getting inside. If it’s still out in the open, close the lid and turn the laptop off immediately. If there’s standing water on the keyboard or base, gently tilt the laptop to drain off as much as you can.
Before drying, take a quick assessment of the spill. Was it a fairly small amount of water like a spilled cup, or was it a lot of liquid like dropping the laptop in a puddle? If it was fully submerged or water poured through top vents, the damage may be more extensive.
Pay attention to where on the laptop the water landed. The most vulnerable components are the motherboard, ports, keyboard, trackpad, and speakers. If the spill was concentrated over one area, dry it especially thoroughly.
Materials Needed for Drying
Gather together the following supplies to help with the laptop drying process:
- Clean towel or cloth
- Compressed air canister
- Small vacuum cleaner or dust blower
- Q-tips
- Alcohol wipes or isopropyl alcohol
- Uncooked white rice
- Sealable bag or container
- Desiccant packets
Paper towels work in a pinch, but a soft clean cloth is ideal for gently blotting moisture. Have plenty on hand to swap out damp towels for dry ones.
How to Dry the Outside of a Wet Laptop
Your first step is to thoroughly dry the outer case and openings of the laptop. This helps prevent further liquid seepage inside:
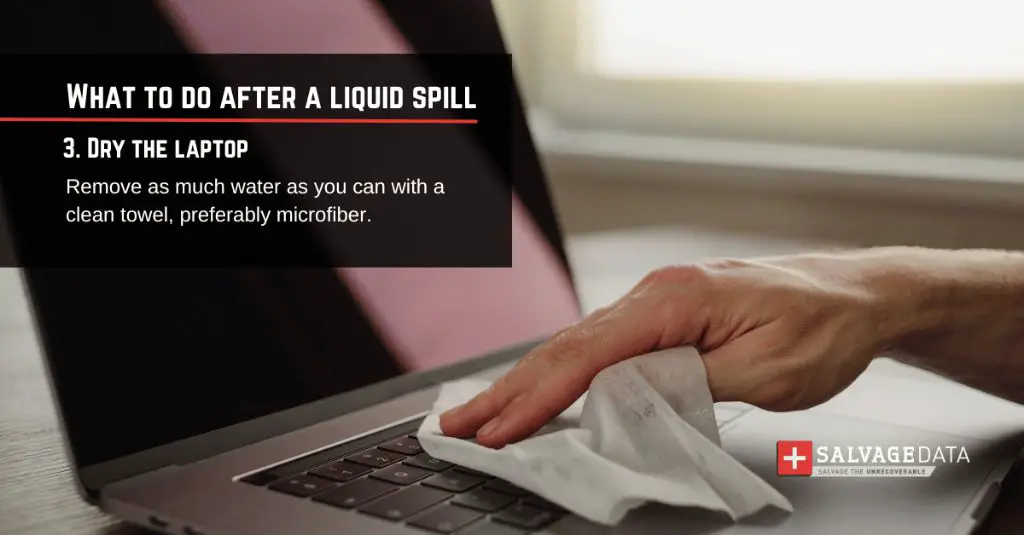
- Wipe down the entire outside of the closed laptop with a dry soft cloth. Carefully blot and wipe around openings like vents, ports, and the keyboard.
- Use compressed air to blow out moisture from cracks and crevices. Focus on vents, ports, under keys, etc.
- Use a dry vacuum cleaner attachment or dust blower to suction out water from openings.
- Lightly pat any standing moisture dry. Be gentle on screens and keyboards.
- Swap out damp towels frequently as you dry. Repeat drying steps until cloth comes away dry.
Take extra time drying the keyboard area by gently wiping between keys. If the trackpad has visible water underneath, blot it gently without fully pressing down.
Important Don’ts
Avoid these common mistakes that can inhibit drying and cause further water damage:
- Don’t leave the laptop closed and uneaten. It needs maximum air circulation.
- Don’t submerge the laptop or rinse it under a faucet.
- Don’t press power or keys to test if it works when wet.
- Don’t blow harsh air directly into ports or vents.
- Don’t shake the laptop or pat it forcefully.
Drying the Inside of a Wet Laptop
Once the exterior is dry, you’ll want to draw moisture out of the interior. Position the laptop at an angle to help water drain out openings. Aim a fan directly at the laptop to facilitate evaporation. Here are some other internal drying techniques:
Use Desiccant Packets
Place desiccant packets inside the battery compartment or any other openings. Desiccants absorb moisture rapidly. You can find them in shoe boxes, medication bottles, or purchase them online.
Blow Warm Air
Use a blow dryer on low or cool setting to circulate air inside the laptop. Avoid heat damage by holding it 6+ inches away and checking surface temperature.
Isopropyl Alcohol Flushing
Wipe just inside vents and ports with 70% isopropyl alcohol using cotton swabs. This helps displace water and evaporates quickly without conducting electricity.
Rice Absorption Method
Place laptop in an airtight bag filled with uncooked white rice. The rice will gradually absorb moisture from the interior air.
Replenish the rice daily to maximize moisture absorption. This technique can take 3-5 days but is a gentler alternative to heat drying.
When to Turn On the Laptop Again
The biggest mistake is powering on a laptop before it’s fully dry internally. This can short circuit components and result in permanent damage. Here are signs it’s safe to try turning it on again:
- No visible moisture on the exterior or interior
- Key surfaces like the keyboard are completely dry
- It’s been at least 24-48 hours since drying
- You’ve verified no hissing, sparking or smells when plugged in
When first powering up, watch and listen closely for any odd sounds, sparks, smoke or smells. Power back down immediately if anything seems off and continue drying.
Cleaning Up After Water Exposure
Once satisfied the laptop is dry and undamaged, there are a few steps recommended to clear away any lingering moisture:
Inspect for Residual Dampness
Visually inspect all nooks and crannies for hidden moisture, especially around internal components and under the keyboard.
Disinfect Affected Areas
Wipe down exterior and interior with isopropyl alcohol. This prevents mold or bacterial growth from wetness.
Swab Out Ports
Clean inside ports and connectors with cotton swabs dipped in isopropyl alcohol to avoid corrosion.
Remove Debris
Use compressed air to blow out any debris that may have collected from drying agents like rice.
Reinstall Battery and Cables
Replace any parts like SIM card trays, batteries or removable cables that were taken out during drying.
Long-Term Water Damage Effects
Even if a laptop seems to work fine post-drying, water can still impact its long-term functioning. Here are some common water damage effects that may show up later on:
- Corrosion causing malfunctioning components
- Mineral deposits left behind inside ports
- Degraded performance due to electrical shorts
- Mold or moisture damage beneath the keyboard
- Rust buildup on interior metal parts
To help minimize the chance of future problems, get the laptop professionally inspected if possible. Technicians can check for any signs of lingering water damage.
When to Seek Professional Repair
While quick action can often save a wet laptop, some circumstances require professional repair help. Seek out a laptop repair shop if:
- You notice burning/melting smells from the laptop when drying
- It emits smoke or sparks when powered on after drying
- It won’t power on or function normally after thorough drying
- There are signs of visible internal corrosion or damage
- Diagnostics detect component or connectivity issues after water exposure
Repair technicians have the skills and tools to fully dismantle the laptop, clean interior components, and repair or replace damaged parts. This gives water damaged devices the best chance of being revived.
Preventing Future Water Damage
Take steps to avoid liquids coming in contact with your laptop again down the road:
- Keep drinks away from the laptop and use coasters under glasses.
- Choose a water resistant laptop bag if using the device outdoors.
- Never eat or drink over the device.
- Close the lid when walking from room to room.
- Shut down and store the laptop if bringing it into the bathroom.
- Keep small children and pets away from laptops.
Accidents happen but being careful can help avoid many spills. Invest in a good laptop water damage warranty as an extra layer of protection.
Conclusion
Dealing with water damaged electronics can be stressful, but in many cases quick action can save a wet laptop. Thoroughly drying the device inside and out, watching for problems afterward, and taking it to a professional when needed can often salvage it. Just be sure never to power on a laptop prematurely before internal moisture is removed.
With the right drying techniques and some patience, there’s a good chance of bringing a waterlogged laptop back to life. Just act fast when spills happen and avoid risky behaviors around electronics that could lead to damaging liquid exposure.
| Quick Drying Steps | Materials Needed |
|---|---|
|
|
