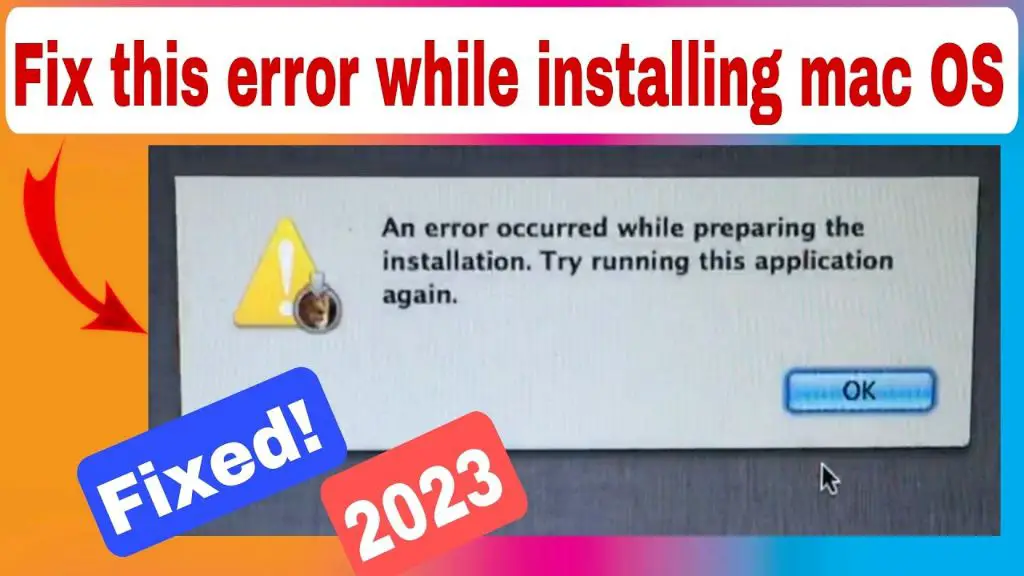
Sometimes when installing new software on a Mac, the installation can fail or become stuck. This can be frustrating, but don’t worry – there are a few troubleshooting steps you can take to try and fix the failed installation. In this guide, we’ll walk through some of the most common reasons an installation may fail on a Mac, and what you can do to try and resolve it.
Quick Fixes to Try First
If an installation fails on your Mac, here are some quick things to try before diving into more complicated troubleshooting:
Restart Your Mac
Restarting your Mac essentially provides a “clean slate” for the installation to work with. Shut down your Mac completely, wait a few seconds, then turn it back on and try the installation again. This simple restart can fix many failed installs.
Check Your Internet Connection
Many installers need to download additional files or components from the internet during the installation process. Make sure you’re connected to a stable, high-speed internet connection when trying to install. Slow or spotty connections can disrupt an installation.
Temporarily Disable Security Software
Security software like antivirus, firewalls, or VPNs can sometimes interfere with installers. Try disabling any active security software on your Mac temporarily during the installation. Don’t forget to re-enable it afterwards!
Free Up Disk Space
Installers need enough free storage space on your Mac to unpack and copy files. Make sure you have at least 10-15% of your total disk space free before trying to install new software.
Close All Other Apps
Other open apps on your Mac can potentially interfere with an installation. Make sure to close all other applications before retrying a failed install.
Troubleshooting in Safe Mode
If those quick fixes don’t resolve the failed installation, try booting your Mac into Safe Mode and retrying the install. Safe Mode loads macOS with only essential drivers and services, which isolates potential software conflicts.
To boot into Safe Mode:
Step 1
Fully shut down your Mac
Step 2
Press the power button to turn it back on
Step 3
Immediately press and hold the Shift key after hearing the startup chime
Step 4
Let go of Shift once you see the login screen (Safe Mode will be at the top)
Step 5
Log in normally and retry the installation
If the install works in Safe Mode, it indicates potential software conflicts were causing issues. You can then troubleshoot which application may be causing a conflict.
Checking Installation Logs
Installation processes on a Mac create detailed log files that can help pinpoint exactly where an error occurred.
To find installation logs:
Step 1
Go to Finder > Applications > Utilities > Console
Step 2
In Console, click the Logs button on the left sidebar
Step 3
Look for log files related to the installation around the timestamps of your install attempts. Common log file locations:
– /var/log/install.log
– /Library/Logs/Install.log
– ~/Library/Logs/Install.log
Step 4
Examine the logs leading up to the failed install for any errors. Google any specific error codes to troubleshoot further.
Checking System Files
Corrupted system files can also prevent installations from completing properly. You can check your Mac’s system files using Disk Utility.
To verify and repair system files:
Step 1
Open Disk Utility (located in Applications > Utilities)
Step 2
Select your main disk on the left sidebar
Step 3
Click First Aid > Run to verify disk integrity
Step 4
Click Repair Disk if errors are found to fix corrupted files
Step 5
Retry the installation after fixes complete
Repairing disk permissions can also resolve potential system file issues that cause failed installs.
Removing Previous Installation Attempts
If an install became stuck and quit halfway through, leftover files from the partial installation can also create conflicts preventing successful installs.
To completely remove previous installation attempts:
Step 1
Delete the installer application/package. This removes the program trying to be installed.
Step 2
Look for any additional files or folders created during installation, and send them to Trash. Common installation file locations:
– /Applications
– ~/Library
– /Library
Step 3
Empty Trash to fully delete all uninstalled files.
Step 4
Restart your Mac before attempting the installation again.
Removing all traces of the previous partial install gives you the best shot at a clean, successful new installation.
Reinstalling macOS
If you still can’t resolve a failed installation after trying all other troubleshooting, reinstalling macOS entirely may be required. This gives you a completely clean OS slate.
Before reinstalling macOS:
– Backup important files externally
– Make a full system backup to Time Machine
– Ensure you have the Internet connection, power cord, and time needed
To reinstall the Mac operating system:
Step 1
Restart your Mac and hold Command + R during boot to enter Recovery mode
Step 2
Select Reinstall macOS from the Recovery window
Step 3
Follow the onscreen prompts to complete reinstallation
Step 4
Test the original installation again after macOS is reinstalled
Reinstalling macOS erases your hard drive, so make sure important data is backed up first. After reinstalling, you can restore files from backup.
Common Causes of Installation Failure
Understanding what generally causes installation issues can help you avoid them in the future:
Outdated or Corrupted macOS
Having an old or corrupted Mac operating system can prevent installers from working properly. Keep your OS up to date.
Low Disk Space
Installers need room to unpack files during the process. Maintain at least 10-15% free space.
Security or Privacy Settings
Antivirus software or strict privacy settings may block installations. Add exceptions if needed.
Unreliable Internet Connections
Spotty WiFi or disconnects can disrupt downloads from installers. Use a stable wired connection.
Power Interruption
Any loss of power during installation can corrupt the process. Use a surge protector.
Multiple Installers at Once
Too many installers trying to make changes can create conflicts. Stick to one at a time.
Background Apps and Services
Apps running in the background take up resources needed for installation. Close all before installing.
Conclusion
Fixing a failed installation on a Mac generally requires isolating potential points of conflict through troubleshooting in Safe Mode, checking logs, verifying system files, removing previous partial installs, or reinstalling macOS completely. Avoiding common causes like low disk space, outdated OS versions, and unstable internet are key to preventing failed installs in the first place. With the right approach and patience, almost any failed Mac installation can be repaired. Don’t be afraid to restart, delete files, or wipe your system – sometimes fixing a botched install requires being aggressive. And make sure to backup important data first before making major changes. With the steps in this guide, you’ll be able to get past failed installations and keep your Mac running smoothly.
Here are some key takeaways:
– Restart your Mac and try installing again from a clean slate
– Boot into Safe Mode to isolate potential software conflicts
– Check installation logs for specific error events leading to failure
– Use Disk Utility to verify and repair any system file corruption
– Completely remove any traces of previous partial installs
– Reinstall macOS entirely if needed to “start fresh”
– Maintain system health by keeping Mac OS updated and disk space free
– Use a stable wired internet connection for installers needing downloads
– Only run one installer at a time and close all other apps
– Prevent issues by understanding common causes of failed installs
With persistence and the right troubleshooting approach, you can resolve practically any failed installation situation on a Mac. Don’t be intimidated by the issue – take it step-by-step and use the tips in this guide when an install goes wrong. You’ll be back up and running smoothly in no time.
| Quick Fixes to Try First |
|---|
| Restart your Mac |
| Check your internet connection |
| Temporarily disable security software |
| Free up disk space |
| Close all other apps |
| Troubleshooting in Safe Mode |
|---|
|
| Checking Installation Logs |
|---|
|
| Checking System Files |
|---|
|
| Removing Previous Installation Attempts |
|---|
|
| Reinstalling macOS |
|---|
|