Quick Answers
If your Mac’s hard drive is not being detected or won’t mount, there are a few things you can try to get it working again:
- Restart your Mac – This can reset any temporary issues
- Reset NVRAM/PRAM – This resets your Mac’s memory and parameters
- Try a different cable – Use a known good cable to rule out cable issues
- Try a different port – Plug into another USB or Thunderbolt port if possible
- Run First Aid – Use Disk Utility’s First Aid to check and repair the disk
- Update drivers – Make sure you have the latest drivers from the device manufacturer
- Format the drive – Erase and reformat the drive to resolve any filesystem issues
If none of those options work, the drive itself may have failed and need to be replaced. Data recovery services could potentially recover data off the failed drive.
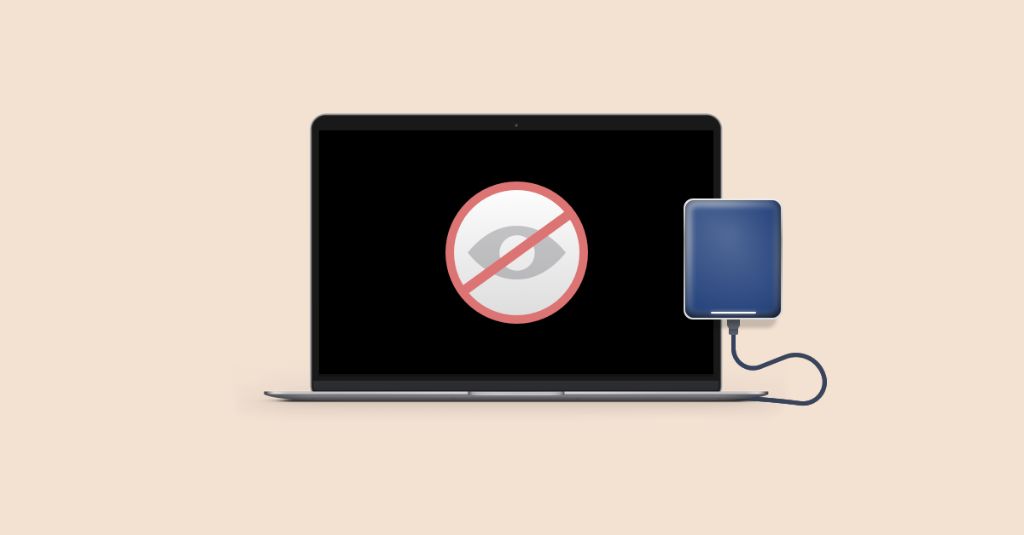
Dealing with an unresponsive or undetected hard drive can be incredibly frustrating. As a Mac user, you rely on quick and easy access to your data, so when your hard drive suddenly stops working properly, it can bring your productivity to a standstill.
A non-functioning hard drive may show various signs, like your Mac not detecting it, the drive not mounting, or strange noises coming from the drive. There are a number of potential causes for hard drive issues, including both software and hardware problems. The good news is that there are steps you can take to try getting your hard drive up and running again.
In this guide, we’ll cover the most common reasons your Mac hard drive may not be detected or functioning, along with the best troubleshooting tips to fix your drive. With some guided troubleshooting, you may be able to get your drive fixed yourself without needing to visit a repair shop.
Potential Causes of a Non-Detectable Mac Hard Drive
When your Mac won’t recognize an internal or external hard drive, what’s the cause? Here are some of the most common reasons a hard drive won’t read or mount on a Mac:
Loose connections
If your hard drive is internal, check that the SATA and power cables are properly seated. Loose connections can prevent the drive from working properly. Reseat the cables to ensure a snug fit.
Damaged drive cables/enclosure
Damaged cables or a malfunctioning drive enclosure can prevent your Mac from interfacing with the hard drive. Try swapping cables or using a different enclosure if possible.
Improperly formatted drive
Macs can only read certain file system formats. If the drive is formatted with NTFS or another incompatible file system, your Mac will not recognize it.
Failed drive components
Internal mechanical failure is a common cause of hard drive issues. The drive motor, heads or PCB could be damaged, preventing the drive from mounting.
Corrupted filesystem
Filesystem corruption from unexpected shutdowns, viruses or factory defects can sometimes cause a hard drive to fail. This prevents proper access to the data.
Incompatible hardware/drivers
Very old hard drives may not work properly with newer Macs due to missing drivers or hardware incompatibilities preventing communication.
Bad sectors/instability
Excessive bad sectors or instability from damaged platters can lead to a hard drive that intermittently drops off or fails to mount.
How to Troubleshoot a Mac Hard Drive That Won’t Mount
If your Mac hard drive is not mounting or being detected, there are a number of troubleshooting steps you can take to attempt to fix the drive. Here are the recommended steps to troubleshoot and resolve a Mac hard drive that is not working properly.
1. Restart Your Mac
The first step any time you encounter an unresponsive drive is to restart your Mac. A simple restart can clear out any software issues or glitches and allow proper detection of the drive after rebooting.
Shut down your Mac completely, wait at least 10 seconds, and then turn it back on. Then check to see if the drive mounts successfully. This straightforward fix resolves many drive detection issues.
2. Try a Different Cable and Port
One quick way to isolate the cause of a non-responsive drive is to use a different cable and port connection. For external drives, swap out the USB, Thunderbolt or FireWire cable with a known good one. If possible, connect the drive to a different port as well.
For internal drives, switch the SATA cable and port on the logic board the drive is connected to. If the drive works properly with a new cable and port, you’ve identified the culprit.
3. Reset NVRAM and SMC
Resetting your Mac’s NVRAM (non-volatile RAM) and SMC (System Management Controller) can help clear out any corruption that may be preventing the drive from mounting. Here are the steps:
Reset NVRAM on Macs without Touch ID:
- Shut down your Mac
- Turn it on and immediately press and hold Command + Option + P + R
- Keep holding down keys until you hear startup chime a second time
Reset NVRAM on Macs with Touch ID:
- Shut down your Mac
- Turn on and immediately press and hold Command + Option + P + R
- Keep holding keys until Apple logo appears and disappears for second time
Reset SMC on MacBooks and Macs with T2 chip:
- Shut down Mac and unplug power cable for 15 seconds
- Plug power cable back in and wait 5 seconds before turning on
This should reset hardware parameters to default settings, which can resolve drive detection problems.
4. Update Your Mac’s Software
Outdated software drivers and lingering bugs can contribute to hard drive errors. To rule this out, make sure you are running the latest version of macOS. Go to System Preferences > Software Update to check for and install any available updates.
Also update to the latest firmware for the drive if available from the manufacturer. Firmware updates address compatibility issues and bugs.
5. Try Mounting the Drive in Recovery Mode
MacOS includes a special recovery mode with limited functionality that can be used to troubleshoot drive issues. To enter recovery mode and attempt to mount the drive:
- Restart Mac and hold down Command + R keys immediately after powering on
- Once in recovery mode, select Disk Utility from the utilities window
- Connect the non-working hard drive
- See if Disk Utility can mount the drive – if so, run First Aid
Since recovery mode loads a stripped down, minimal version of the operating system, this can isolate whether the issue stems from macOS or the drive itself. If it mounts successfully, there may be a software problem.
6. Erase and Reformat the Drive
As a last resort, erasing and reformatting the hard drive may clear up any filesystem corruption or partition issues that could cause the mount failure. Backup any important data first, as reformatting will erase the drive.
To reformat the drive:
- Connect the drive to Mac and open Disk Utility
- Select the drive and click Erase
- Choose a file system format supported by Mac (APFS or Mac OS Extended)
- Rename the drive if desired and click Erase
Once complete, the drive should mount normally again after the reformat. Any data will need to be restored from a backup.
How to Repair a Hard Drive That Won’t Mount on a Mac
If your Mac hard drive still fails to mount after troubleshooting, it’s likely suffering from file system corruption or a mechanical failure. You can attempt repairs before considering replacement of the drive.
Run First Aid Using Disk Utility
Disk Utility includes a handy First Aid tool that can check and repair errors on the drive. To run it:
- Open Disk Utility
- Select the non-mounting hard drive
- Click First Aid in the top center and Run
- Repeat if errors are found until drive repairs successfully
First Aid will scan for and attempt to repair directory issues, unlinked files, filesystem corruption, and more. This can fix many errors preventing drive detection.
Try Data Recovery Software
If the drive has filesystem corruption, data recovery software may be able to access the data even if the drive won’t mount. Software like Disk Drill and Data Rescue can recover documents, media files, and other data from a failing drive.
Be sure to save any recovered files to a different drive, not the corrupted hard drive. Preview files first before attempting a full recovery.
Send Out for Professional Data Recovery
For mechanical failure or severe logical corruption, professional data recovery services represent the best chance for recovering your data. Companies like DriveSavers and Ontrack use specialized tools in a dust-free cleanroom to access drive components and recover data.
However, keep in mind that professional recovery can be expensive, with no guarantee of success. The cost may exceed the value of data stored on the drive.
Replace the Hard Drive
If the drive has physical damage beyond DIY fixes, eventual replacement of the hard drive may be necessary. For an internal drive, you can purchase a compatible replacement drive. For external drives, you may need to buy the same model.
Before replacing the drive, be sure to exhaust all options for recovering important data off the old drive first. Then properly wipe and dispose of the non-functioning drive.
Tips to Avoid Hard Drive Failure
To help maximize your Mac hard drive’s lifespan and avoid failures down the road:
Maintain backups
Always maintain at least 2 updated backups of your important data to avoid permanent data loss if a drive dies.
Handle drives gently
Avoid bumping or jostling external hard drives while in use. Also allow drives to sit flat and avoid dropping them.
Keep drives cool
Make sure hard drives have adequate ventilation and do not overheat. High temperatures can shorten drive life.
Eject properly
Always eject external drives properly before disconnecting them to avoid filesystem corruption.
Upgrade older drives
Replace hard drives after 3-5 years of use, as longevity diminishes over time with wear.
Scan for errors
Periodically scan drives using Disk Utility for early detection of developing bad sectors or data corruption issues.
Avoid excessive force
Unplug cables by pulling the connector, not the cord itself. Also do not twist or bend hard drives as this can damage sensitive components.
Recovering Data from a Dead Mac Hard Drive
If your Mac hard drive is completely dead and not even powering on, all hope for accessing your files is not lost. Here are a few last ditch options that may resurrect the data from a seemingly dead drive.
Try a Different Enclosure
For external drives, try removing the drive from its enclosure and installing it in a different compatible one. This allows you to rule out the enclosure being the issue, rather than the drive itself.
Remove and Reinsert Drive Cables
If an internal drive is undetected, remove the SATA and power cables and carefully reseat them to establish a secure connection. Check that the cables are not faulty or loose.
Connect Drive to Another Mac
Try connecting the problem drive to another Mac. If it mounts successfully, the issue is with your original Mac’s software, drivers or ports.
Access Data over Network
For NAS devices, attempt accessing the data over the network from another device to determine if the drive units have failed or the NAS enclosure/software is the problem.
Cool Down the Drive
Let the drive sit unplugged for an hour to cool off if it was getting hot before failure. Heat buildup can Sometimes cause temporary malfunctions.
Remove and Clean Drive Heads
If experienced with electronics, carefully open the hard drive casing and use isopropyl alcohol to gently clean the read/write heads. Replace the cover before reconnecting.
Conclusion
Troubleshooting and repairing a Mac hard drive that won’t mount takes patience, but is often doable with software tools like Disk Utility and data recovery programs. However, serious physical damage generally requires professional recovery or replacement of the drive.
Always maintain backups of your data, as hard drives can unexpectedly fail at any time. Seek help promptly once a drive shows signs of not mounting or becoming undetected, as quicker action can lead to more successful repairs and data recovery.
With the right approach and tools, many non-responsive drives can be brought back to normal operation again.
