A factory reset completely erases and reinstalls the operating system and software on a Dell computer. This resets the computer back to factory default settings, removing all personal files, custom settings, apps, and programs in the process. There are a few main reasons why someone may need to perform a factory reset on their Dell computer:
- To fix system errors, crashes, or performance issues – A factory reset can help resolve software problems by fully reinstalling Windows and drivers.
- Before selling or gifting the computer – Resetting removes personal data and customizations, preparing the system for a new owner.
- As part of a troubleshooting process – If other software fixes have not resolved an issue, a factory reset provides a clean slate.
- After a malware or virus infection – Resetting the computer can eliminate malware that has proven difficult to remove through other methods.
Performing a factory reset on a Dell PC essentially gives you a fresh start, though it comes at the cost of wiping your files and settings in the process. This guide will walk through the steps to fully reset a Dell laptop or desktop back to original factory conditions.
Back Up Important Data
Before performing a factory reset on your Dell computer, it is crucial to back up your important files and data. A factory reset will wipe the hard drive and restore your computer to its original out-of-the-box state. This means all of your files, documents, photos, music, downloads, and any other data stored on the computer will be permanently deleted.
To avoid losing valuable and irreplaceable data, you should transfer or save your important files to an external hard drive, USB flash drive, cloud storage service, or another computer on your network. Services like Google Drive and OneDrive make it easy to back up your files to the cloud.
Be sure to backup any files and folders stored locally on the computer, including documents, photos, videos, downloads, desktop files, music, email attachments, and more. You may also want to export your browser bookmarks so you have access to your favorite websites after the reset. Taking the time to properly backup your data before resetting your Dell PC will give you peace of mind and ensure you don’t lose valuable information.
Create Dell Recovery Media
Before performing a factory reset, it’s important to create Dell recovery media. Dell recovery media allows you to reinstall the original operating system, drivers, and software that came pre-installed on your Dell computer.
The Dell recovery media is typically created on DVDs or USB flash drives. To create Dell recovery media, you’ll need blank DVDs or a USB flash drive with at least 16GB of storage. The process to create the recovery media will differ depending on your specific Dell computer model.
Generally, you’ll boot into the Dell Recovery partition on your hard drive. This is done by pressing a specific F key during startup, which varies by model. Once in the Recovery partition, follow the on-screen prompts to create recovery DVDs or copy the recovery partition to a connected USB drive.[1]
The Dell recovery media allows you to perform a clean install of Windows to factory condition. It will reset the hard drive partitions and reinstall the original Dell software. Having this recovery media on hand makes it easy to restore your Dell laptop if anything goes wrong during the reset process.[2]
So in summary, creating Dell recovery media in advance gives you a backup plan to reinstall Windows, drivers, and apps if needed after factory resetting your computer.
[1] https://www.dell.com/support/kbdoc/en-us/000178465/os-reinstalls-using-dell-recovery-media
[2] https://www.dell.com/support/kbdoc/en-us/000131442/how-to-install-windows-10-from-the-dell-iso
Boot into the BIOS
To boot into the BIOS on a Dell computer, you’ll need to press a specific function key as the computer starts up. The key to press varies slightly depending on the specific model.
For most Dell laptops and desktops, continuously tap the F2 key as soon as you power on the computer. On some models, you may need to tap F12 or Delete instead. Keep tapping the key until you enter the BIOS setup screen.
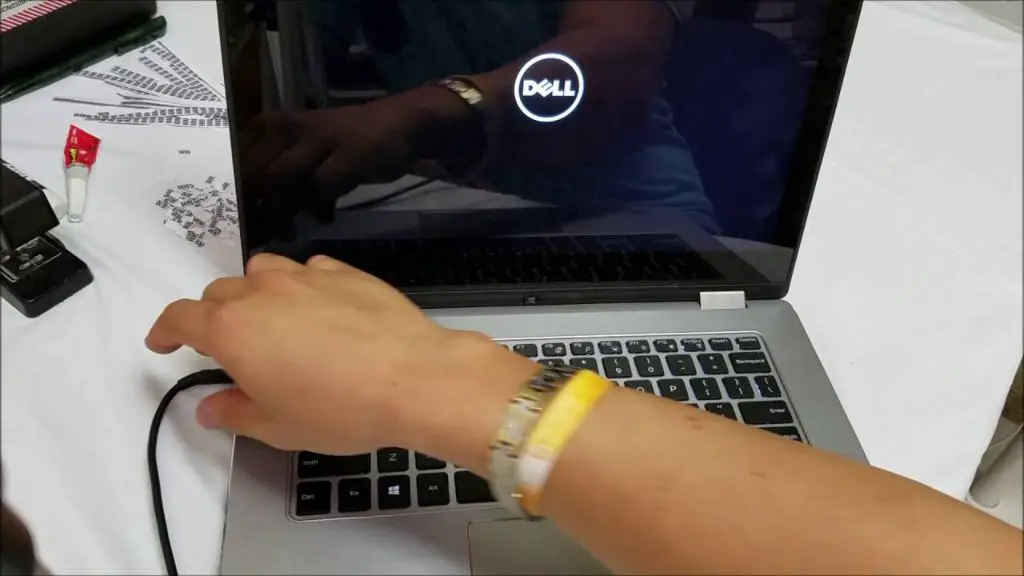
If you see the Dell logo splash screen, you’ll want to start tapping the key right as the logo appears. The goal is to enter the BIOS before Windows starts loading.
Here are some tips for accessing the BIOS on various Dell models (cite: Dell BIOS User Guide):
- For Dell Inspiron laptops, tap F2 continuously.
- For Dell XPS notebooks, tap F12.
- For Dell OptiPlex desktops, tap F2 or Delete.
- For Dell Precision workstations, tap F2.
Once you enter the BIOS setup utility, you can navigate the menus using your keyboard. The BIOS allows you to change boot order, manage system settings, and perform hardware configuration.
Perform Factory Reset in BIOS
The easiest method to perform a factory reset on a Dell computer is through the BIOS setup screen. Here are the steps:
- Restart your computer and press F2 when the Dell logo appears to enter the BIOS setup screen.
- Navigate to the “Exit” tab and select “Load Defaults” to reset BIOS settings to default.
- Go to “Exit > Exit Saving Changes” to save changes and restart.
- Once the computer boots back up, enter the BIOS again using F2.
- Go to “General” and find “Restore Factory Settings.” Select this option.
- A warning will appear. Select “Continue” to perform the factory reset.
- The system will reboot and restore the Dell computer to original factory settings.
This will wipe all data and reset the computer to factory state. Be sure to backup data first. If “Restore Factory Settings” is disabled in BIOS, you will need to reset using the recovery media method.
Boot into Recovery Media
After backing up your data and creating the Dell recovery media, the next step is booting your Dell computer from the recovery media. This allows you to access the recovery tools and options on the recovery media.
To boot into the recovery media:
- Insert the Dell recovery USB drive or DVD you created into your computer. Restart your Dell laptop.
- As the computer is booting, press the F12 key continuously or repeatedly. This will bring up the Dell boot menu.
- On the boot menu, use the arrow keys to select the USB drive or DVD drive containing the recovery media. Press Enter to boot from the selected drive.
- The computer will now boot into the recovery environment on the USB or DVD. You can now choose the factory reset option to reset your Dell laptop.
If you did not create recovery media, you may be able to boot into the Windows Recovery Environment and choose the reset option from there. Press F8 on boot and select “Repair Your Computer” [1].
Factory Reset from Recovery
If you created a Dell recovery drive or DVDs, you can boot into the recovery environment and perform a factory reset from there. Here are the steps:
- Insert the recovery media and reboot the computer. It should automatically boot into the recovery environment.
- On the Dell recovery screen, select the option to reset your PC to factory settings. This will remove all personal files, apps, and settings and revert the PC back to its out-of-the-box state.
- Follow the on-screen prompts to complete the reset process. The computer will restart several times during this process.
- After resetting, you will need to go through the initial Windows setup like when you first got your PC.
Resetting from the recovery environment will cleanly reinstall the operating system and restore the Dell factory image [1]. This is the most thorough option to erase all data and resets the computer to default settings.
Reinstall Windows
After performing a factory reset, Windows will need to be reinstalled from scratch. Dell provides a few options for reinstalling Windows:
- Reinstall from the recovery partition – Most Dell computers have a recovery partition that contains the original Windows image. You can boot into this recovery environment and reinstall Windows to factory settings. Just follow the on-screen prompts.
- Reinstall from recovery media – If you created Dell recovery media before the reset, you can boot from the USB drive or DVD to reinstall Windows. Make sure to set the boot priority in the BIOS.
- Clean install – You can do a clean install of Windows 10 by downloading the media creation tool from Microsoft and creating a bootable USB drive. You’ll need to enter a valid Windows key during setup.
Once Windows is reinstalled, you’ll want to make sure all the latest drivers and updates are installed. Dell provides drivers tailored for your specific model that you can download from their support site.
After Windows is up and running again, you can restore any data you backed up prior to the reset.
Reinstall Drivers and Software
After completing a factory reset, you’ll need to reinstall some important drivers and software. Here are the steps:
First, visit the Dell website and go to the support page for your specific Dell model. Look for the Drivers & Downloads section. This is where you can download the latest driver updates from Dell.
At a minimum, download and install these drivers:
- Chipset driver – handles communication between hardware components
- Graphics driver – for your dedicated or integrated graphics card
- Network adapter driver – for your ethernet and/or wifi adapter
- Audio driver – for sound card and audio output
For other peripheral devices like printers, scanners, webcams etc., visit the manufacturer’s website and download the latest drivers.
After installing device drivers, reinstall core software that you need like:
- Microsoft Office
- Antivirus software
- Virtualization software if any
- Other productivity or media software
Make sure to download the latest versions. You may need to dig out your license keys or re-enter them during installation.
Once all drivers and software are reinstalled, your Dell computer should be fully functional again.
Restore Backed Up Data
After completing the factory reset, you can restore your personal files and data from the backup you created. Before resetting your Dell computer, it is highly recommended to back up any files and data you want to keep, such as documents, photos, music, browser bookmarks, etc.
To restore your data on a Dell computer after a factory reset:
- First, reinstall any software needed to access your backups, such as the Dell Backup and Recovery app or Google Drive desktop app.
- Open the backup software and locate the backup files.
- Select which backup version you want to restore from. Choose the most recent backup prior to the reset.
- Select the specific files/folders you want to restore, or choose to restore everything.
- Designate a restore location on your Dell computer, such as your Documents or Pictures folder.
- Start the restore process. The software will copy the files from the backup to the designated location.
After restoring your files and data, you can then organize and access them on your Dell computer just as before the reset. Backing up important information is crucial before a factory reset so you can pick up right where you left off.
