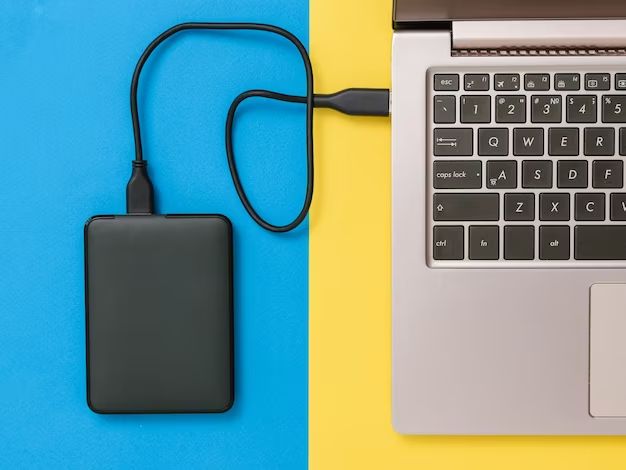
Using an external hard drive is a convenient way to back up files and transfer data between a Mac and PC. However, since Macs and PCs use different file systems by default, you’ll need to format your external drive properly to make it fully compatible with both operating systems.
Quick Answers
Here are some quick answers to common questions about using an external hard drive with Mac and PC:
- To make an external drive compatible, format it as exFAT using Disk Utility on Mac or Partition Wizard on Windows.
- exFAT allows the drive to be read/write on both Mac and PC.
- Always safely eject the external drive before unplugging it to prevent data loss.
- Using separate partitions formatted for Mac and PC on the same external drive can also work.
- FAT32 allows compatibility but limits single file sizes to 4GB.
- Mac OS Extended is optimized for Macs. Windows computers can read but not write.
- NTFS is optimized for Windows. Macs can read but not write unless using third-party software.
Comparing File System Formats
To understand how to make your external drive cross-compatible, you first need to know the key differences between file systems:
| File System | Mac Compatibility | Windows Compatibility |
|---|---|---|
| exFAT | Full read/write | Full read/write |
| Mac OS Extended | Full read/write | Read only |
| NTFS | Read only without 3rd party software | Full read/write |
| FAT32 | Full read/write | Full read/write |
As you can see, to get full compatibility you’ll want to format your drive as either exFAT or FAT32. Here’s an overview of the key advantages and limitations of each:
exFAT Advantages
- Works seamlessly with Mac and Windows right out of the box.
- No file size limits like FAT32.
- Faster performance than FAT32 for large files.
exFAT Limitations
- Not quite as universally compatible as FAT32.
- No built-in file permissions or encryption like NTFS.
- Lower max volume size limit than NTFS or Mac OS Extended.
FAT32 Advantages
- Truly universal compatibility with all versions of Mac and Windows.
- Simple and stable file system.
FAT32 Limitations
- Individual file size limited to 4GB.
- Not ideal for drives over 32GB due to formatting limitations.
- No built-in file permissions or encryption.
- Slower performance than exFAT for larger files.
How to Format an External Drive for Mac and PC
With an understanding of the available file system options, you’re ready to learn how to properly format your external drive for dual compatibility with Mac and PC.
On Mac
Here are the steps to format an external drive for both Mac and Windows on a Mac computer:
- Connect the external drive to your Mac using a USB cable.
- Open Disk Utility (Applications > Utilities > Disk Utility).
- Select your external drive on the left side panel.
- Click Erase at the top.
- For the Format, select exFAT or MS-DOS (FAT32).
- Give the drive a descriptive name.
- Click Erase to confirm.
That’s it! Your drive will now show up with the new format and file system, ready for cross-platform use.
On Windows PC
Here is how to format an external drive for Mac and PC compatibility on Windows:
- Connect the external drive to your Windows PC.
- Open the Disk Management utility. Right click the Start menu and select it or search Disk Management.
- Right-click your external drive and select Format.
- Under File System, choose exFAT or FAT32.
- Give the drive a new name under Volume Label if desired.
- Check Quick Format for faster formatting.
- Click Start to begin formatting.
After following these steps, your external drive will be set up for seamless data transfer between Mac and Windows machines.
Tips for Using an External Drive on Mac and PC
Here are some helpful tips when using an external drive formatted for Mac and PC compatibility:
- Always eject the drive properly on each system before unplugging.
- Transferring files over 4GB in size may require reformatting to exFAT instead of FAT32.
- Use separate partitions formatted for Mac and PC for easier organization.
- Store your backups in a different physical location than your computer.
- Consider encryption utilities if storing sensitive data.
- Reformat again if you start having performance issues.
Using Separate Mac and PC Partitions
In addition to using a universally compatible file system like exFAT, another option is to format your drive with two partitions – one for Mac, one for Windows.
Here’s how this configuration works:
- Partition 1: Mac OS Extended (HFS+) format for Mac.
- Partition 2: NTFS format for Windows.
- Each operating system can only read/write to its own partition.
- You can easily share files between the two using each system’s native partition.
This setup allows you to use the ideal file system for each OS without compromise. However, it does introduce a bit more complexity in managing the drive since you can’t just simply save files on either OS.
Create Partitions on Mac
To partition a drive for separate Mac and Windows use on a Mac:
- Open Disk Utility
- Select external drive and click Partition
- Specify number of partitions and format as Mac OS Extended and ExFAT
- Click Apply to format and partition the drive
Create Partitions on Windows
To partition a drive for separate Mac and Windows use on Windows:
- Open Disk Management
- Right-click external drive and click Shrink Volume
- Enter desired size for Mac partition
- Right-click unallocated space and create new simple volume as HFS+ for Mac
- Right-click remaining unallocated space and create new simple volume as NTFS for Windows
Third-Party Tools for NTFS Drives on Mac
If you format your external drive as NTFS for Windows, remember that macOS can only read NTFS drives, not write to them. To get full read/write access on Mac you need third-party software such as:
- Paragon NTFS for Mac – paid software with 10-day free trial available. Simple to use.
- NTFS for Mac – paid read/write access starting at $20.
- Mounty – free open source utility for NTFS write access.
These tools install the necessary drivers on your Mac to enable native NTFS read and write support. This allows you to use an NTFS formatted drive on Windows and Mac without partitions.
Troubleshooting External Drive Issues
Drive Not Showing Up On Mac or PC
If your external drive isn’t showing up at all on either Windows or Mac, try the following steps:
- Connect drive to another USB port and check connection.
- Try a different USB cable if possible.
- Check if the drive shows up in Disk Utility on Mac or Disk Management on Windows.
- Restart your computer and reconnect the drive.
- Check if the drive needs external power and is properly connected.
- As a last resort, contact the manufacturer for hardware troubleshooting.
Can’t Write to Drive on Mac or PC
If you can see the external drive but can’t write to it, a few things to check:
- Make sure drive is formatted for compatible file system like exFAT.
- Check if drive is NTFS and not yet set up for Mac compatibility.
- Does the drive have any physical read-only locks or tabs?
- Are you seeing permission errors when trying to access the drive? If so, check user account permissions.
- Try reformatting the drive again using Disk Utility or Disk Management.
Drive Formatting Failure
In some cases, you may have errors trying to format the drive properly for Mac and PC. Some troubleshooting tips:
- Try quick format first, then full format if that fails.
- Zero out all data on drive before partitioning and reformatting.
- Check for bad sectors – reformatting may not work if drive is failing.
- Try a different USB cable and port.
- If possible, connect the drive externally for better power.
- Consult with the drive manufacturer for additional formatting tips.
Conclusion
Using an external drive between Mac and Windows doesn’t have to be a headache. By formatting your drive properly as FAT32, exFAT, or with separate Mac/PC partitions, you can easily share data seamlessly between the two for backup, transfer, and improved workflow.
